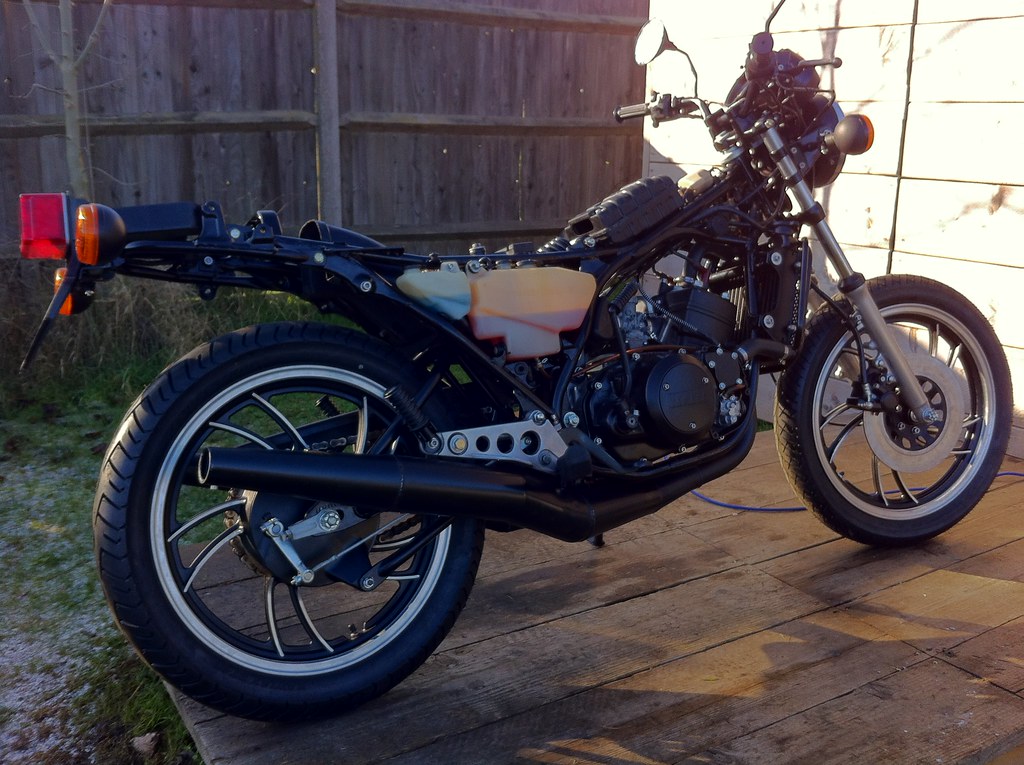
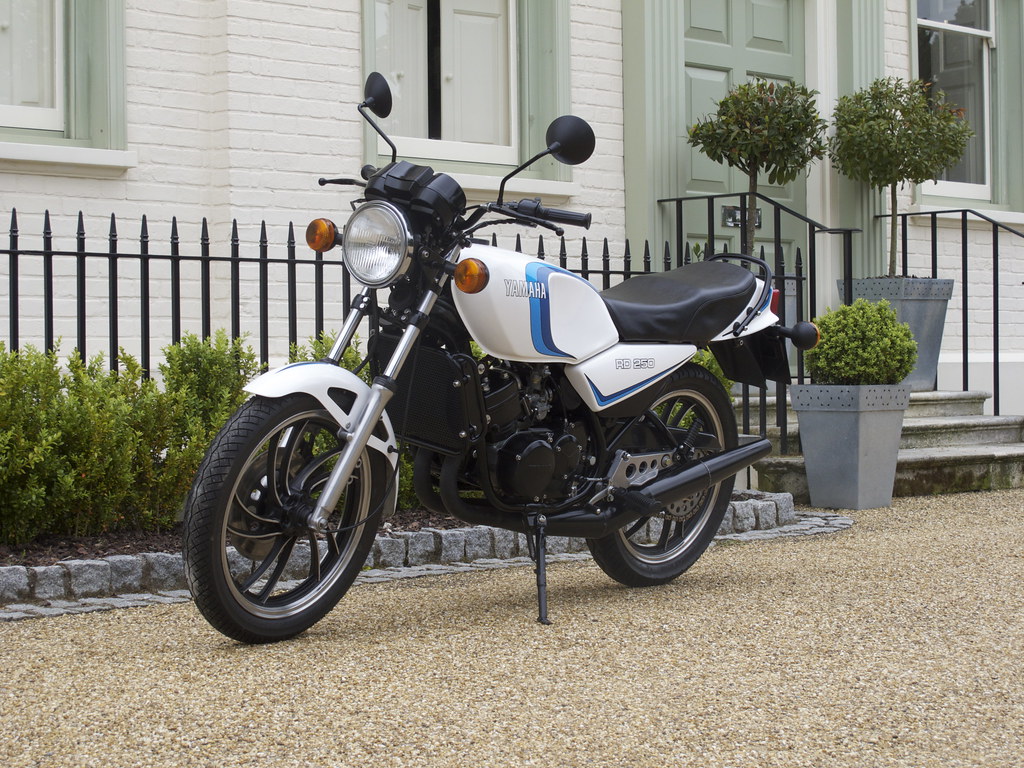
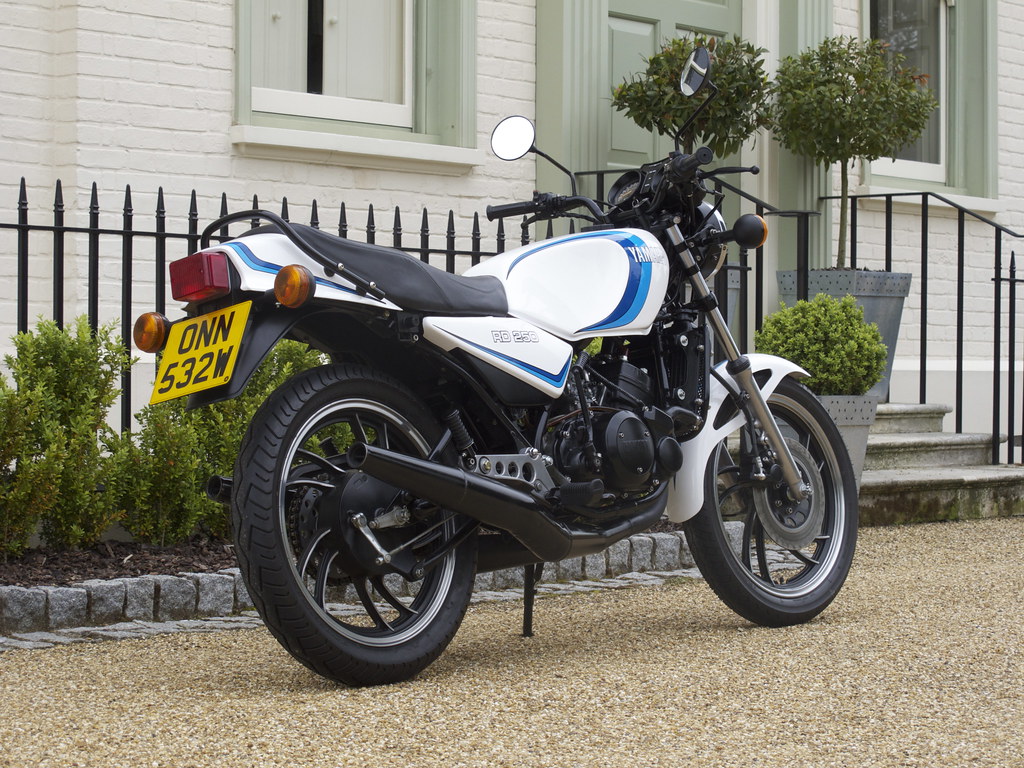
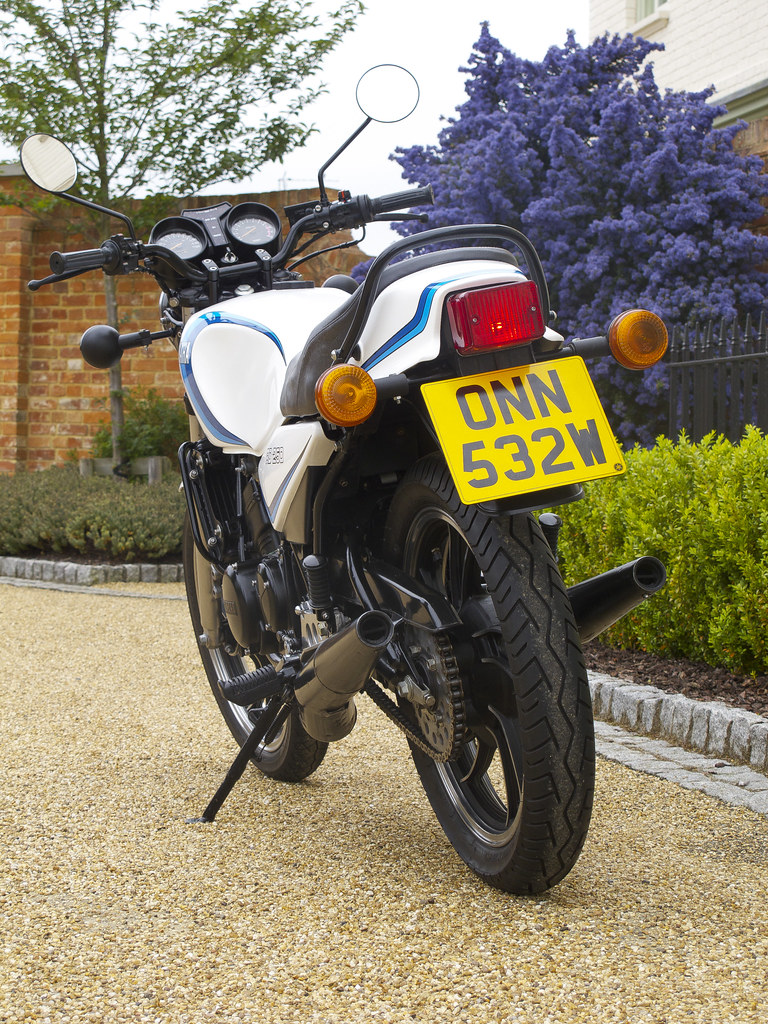
Normal 0 false false false EN-US JA X-NONE /* Style Definitions */table.MsoNormalTable {mso-style-name:“Table Normal”; mso-tstyle-rowband-size:0; mso-tstyle-colband-size:0; mso-style-noshow:yes; mso-style-priority:99; mso-style-parent:""; mso-padding-alt:0cm 5.4pt 0cm 5.4pt; mso-para-margin:0cm; mso-para-margin-bottom:.0001pt; mso-pagination:widow-orphan; font-size:12.0pt; font-family:Cambria; mso-ascii-font-family:Cambria; mso-ascii-theme-font:minor-latin; mso-hansi-font-family:Cambria; mso-hansi-theme-font:minor-latin; mso-ansi-language:EN-US;}Ever since my best friend bought an LC over20 years ago I’ve wanted one.
The classic lines and the iconic sound. For me, Yamaha got the LC‘Just right’
Having sold my KTM990 during the summer of2011 and went down to one bike, my Aprilia RSV.
As much as a adore my RSV (I really do)it’s far from a friendly bike to ride through the winter with tyres whichrequire a bit of temperature in order to be effective and big Brembo stopperswhich work best when worked hard. Its not the bike to have a bimble about on ona winters day.
I couldn’t bear the thought of not spendingany bike related time during the winter so I started looking for a project.
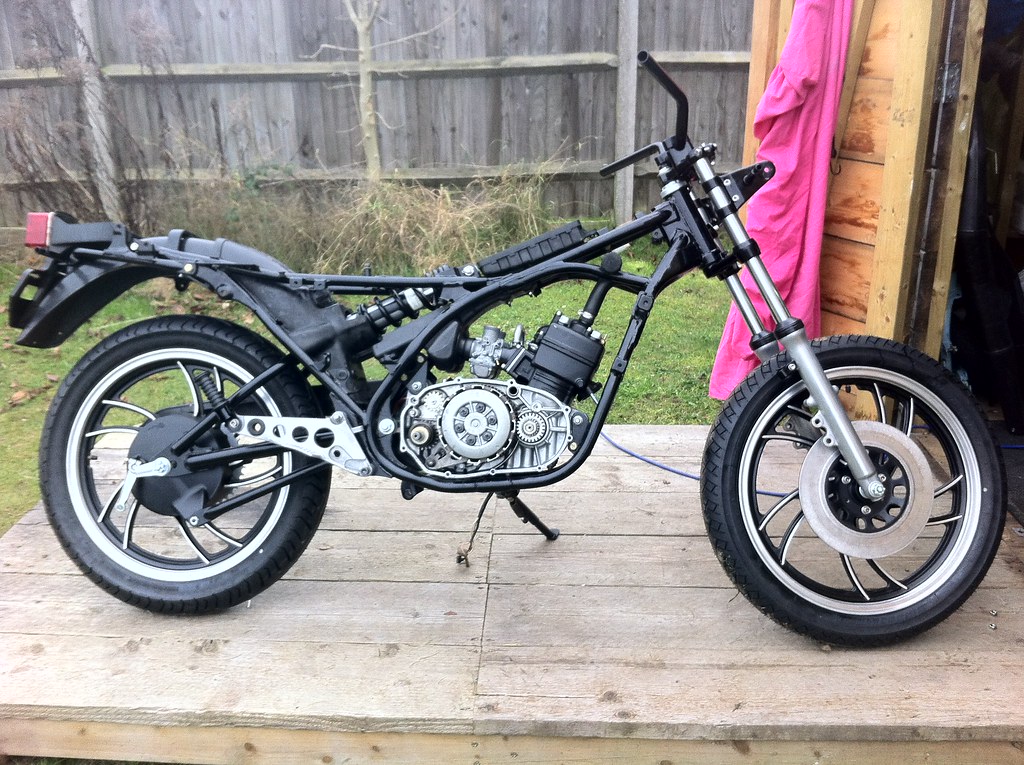
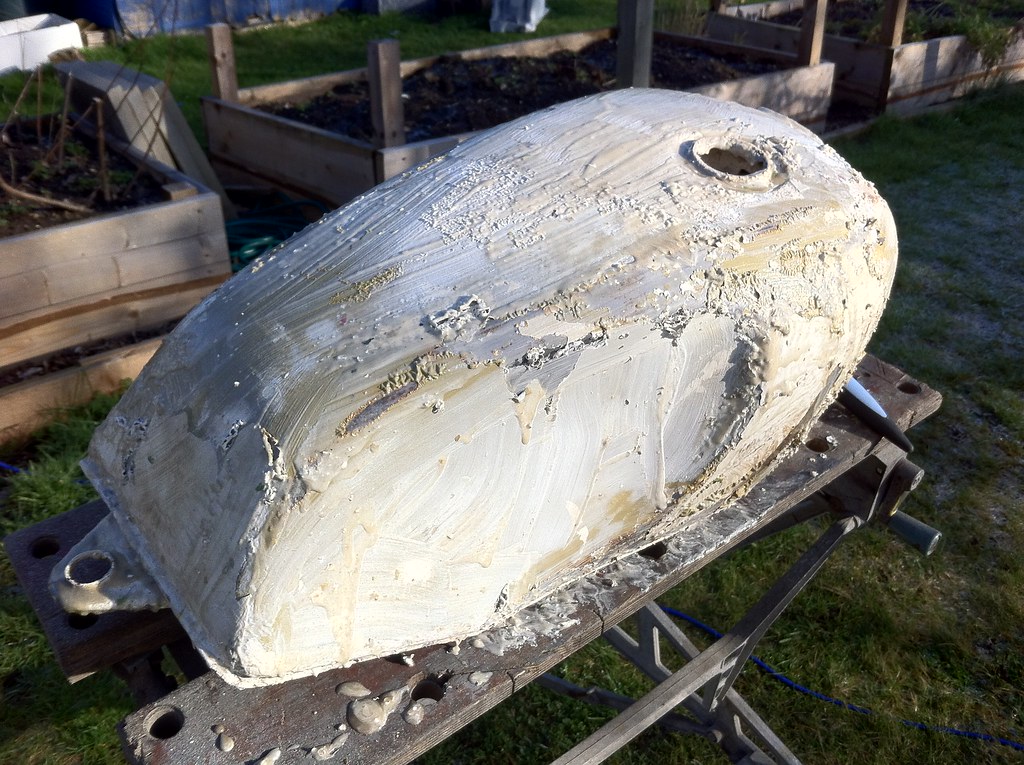
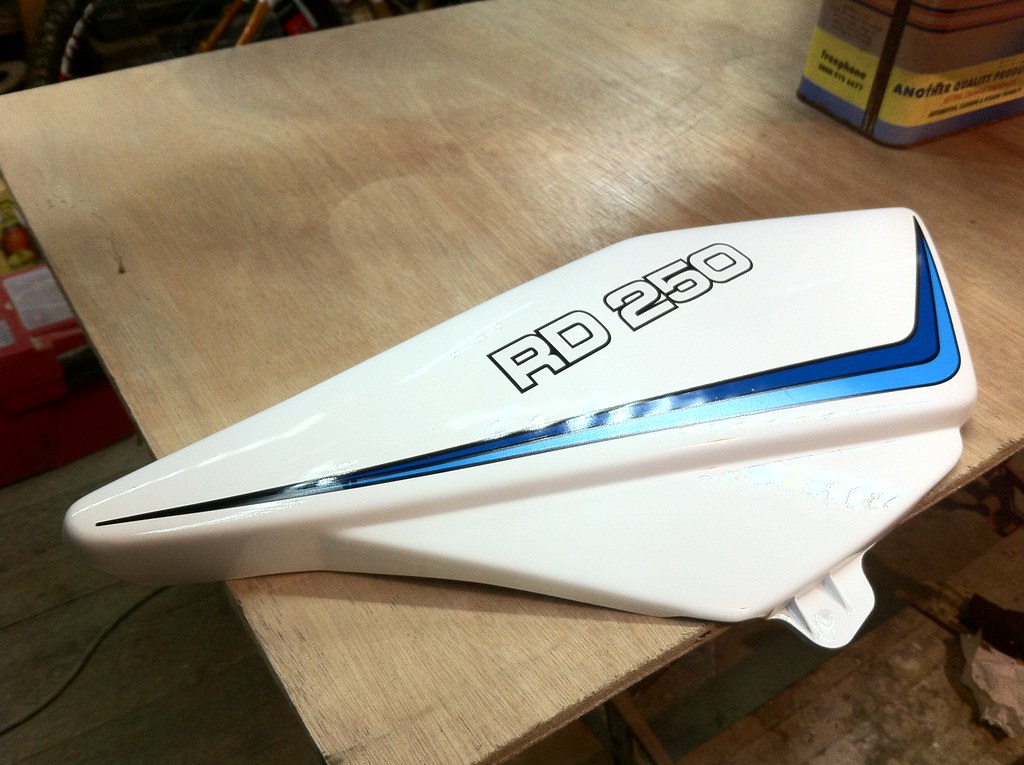
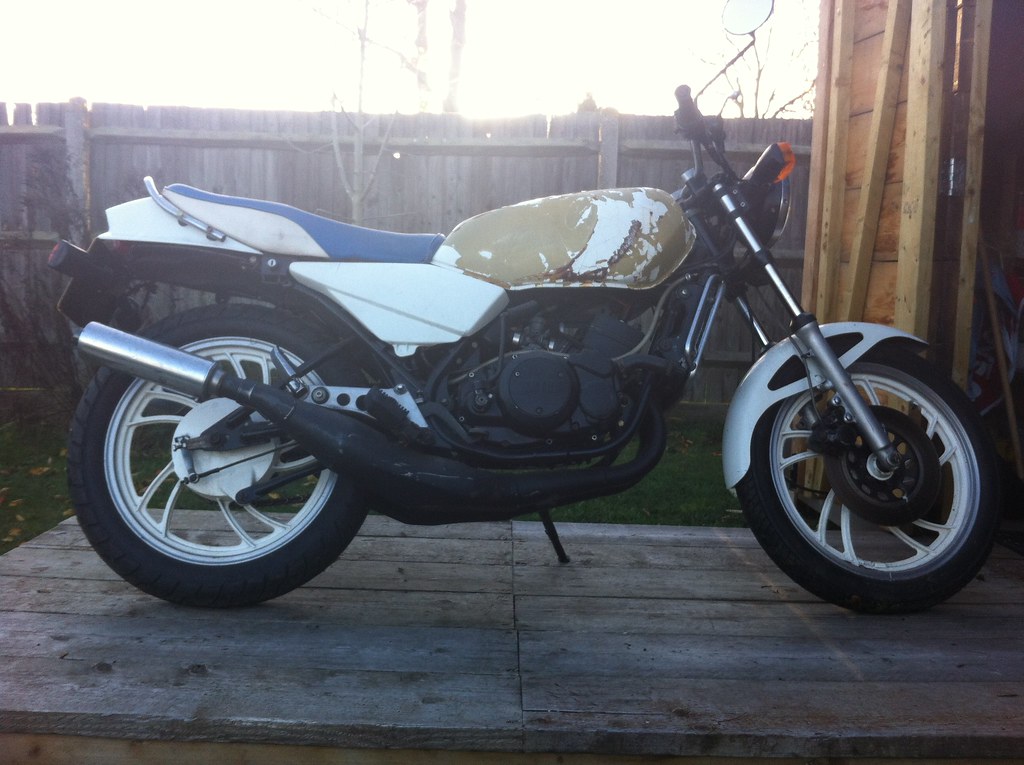
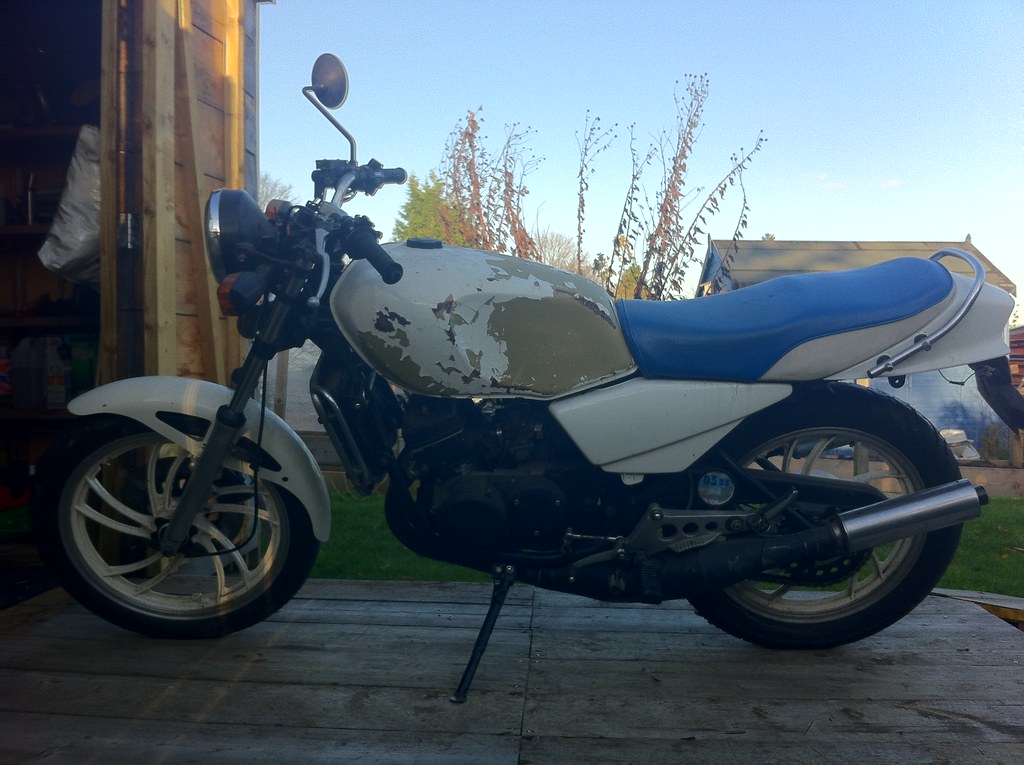
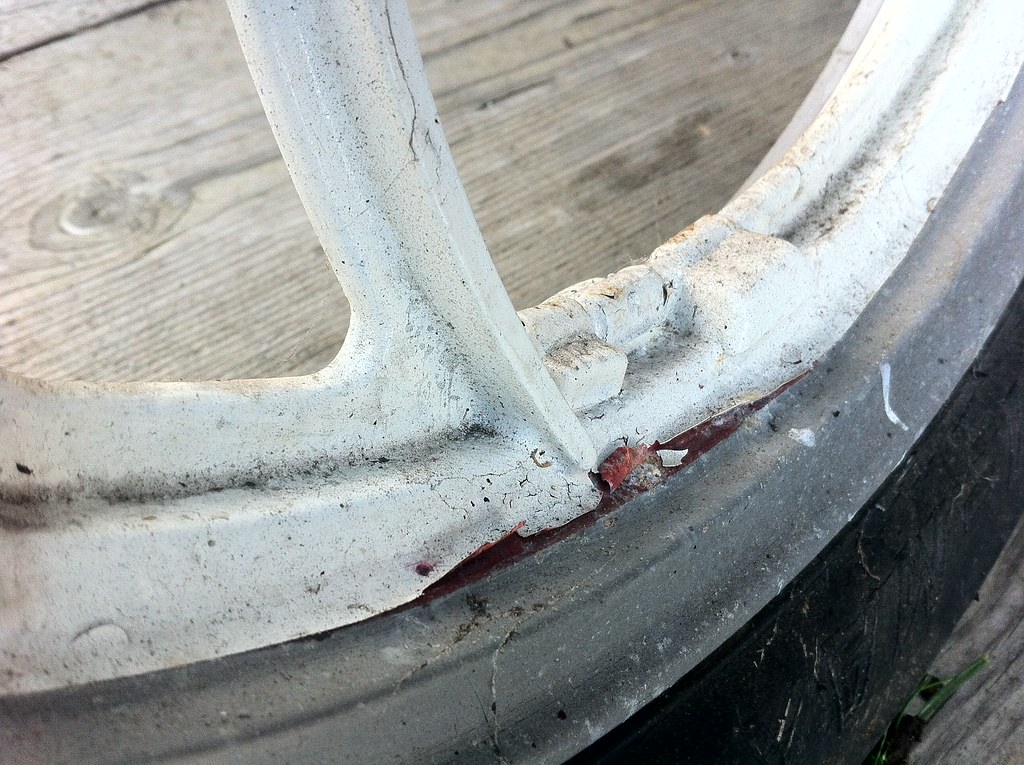
To my delight up popped this 250LC, a UKbike with Matching numbers. A non running but with good compression. The ownerhad owned the bike for eight years, he was an RD fanatic with several bikes,one of which is an RD400 with 40 miles on the clock which is sitting in hisliving room!
He’d never tried to start the bike, the keywas missing to the filler cap and there were no HT caps. Satisfied that I coulddo something with it, I loaded ‘Elsie’ onto the trailer and headed for home!


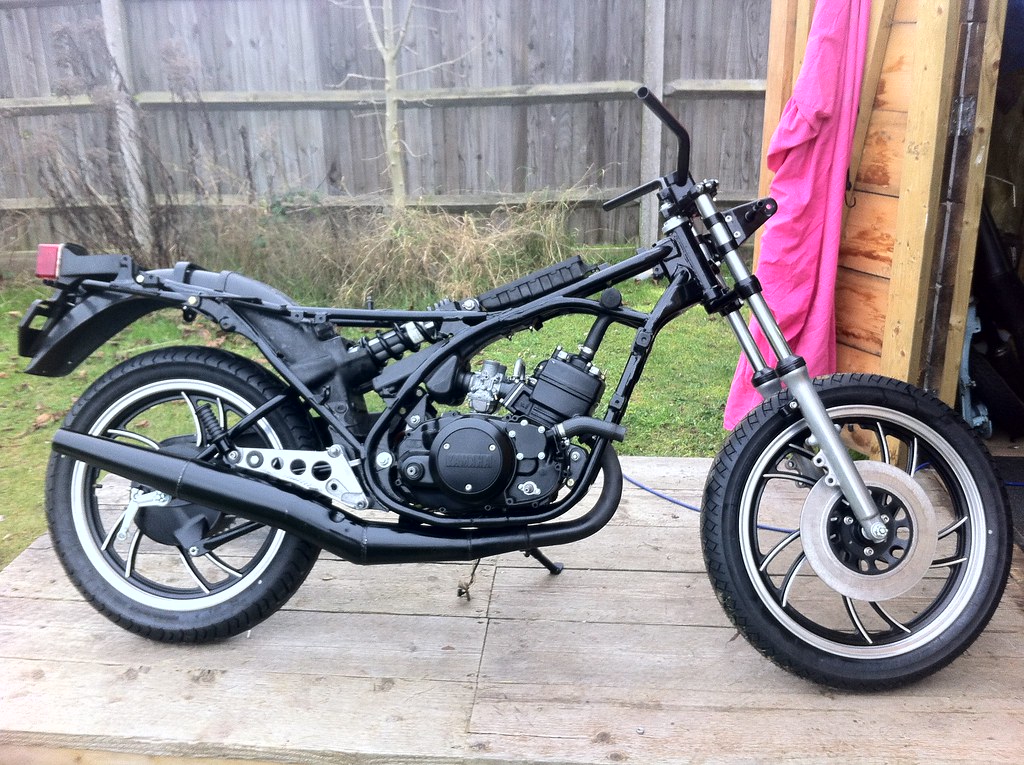
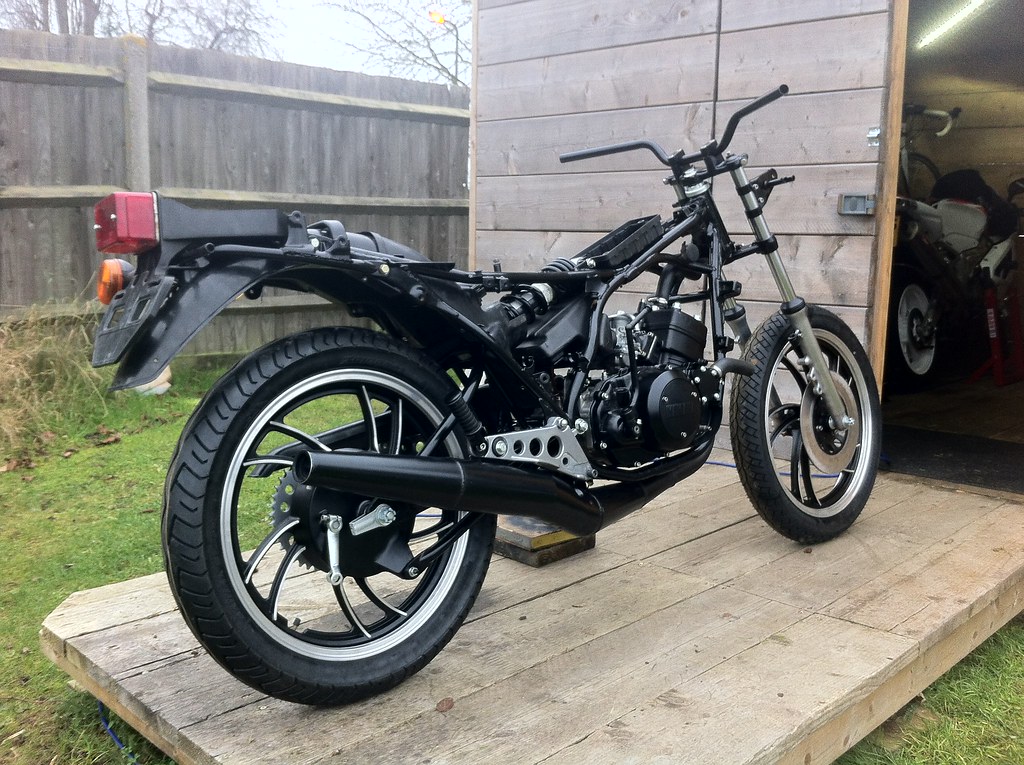
Picture if you will, a man pushing his newrestoration project up his garden towards his workshop whilst practicallychanging into his work clothes at the same time! I was desperate to hear herrun! Firstly because I wanted to hear that unmistakable sound (Despite thelater YPVS pipes) and secondly because I wanted to hear if there was anythingterminal within before I started the big strip down!
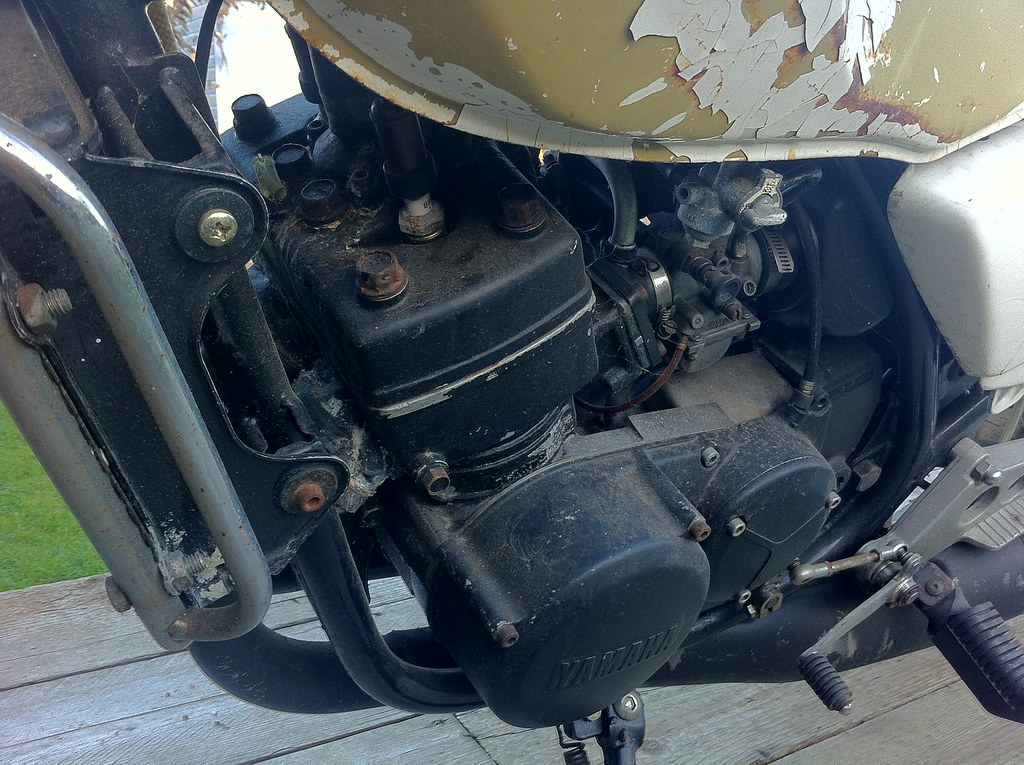
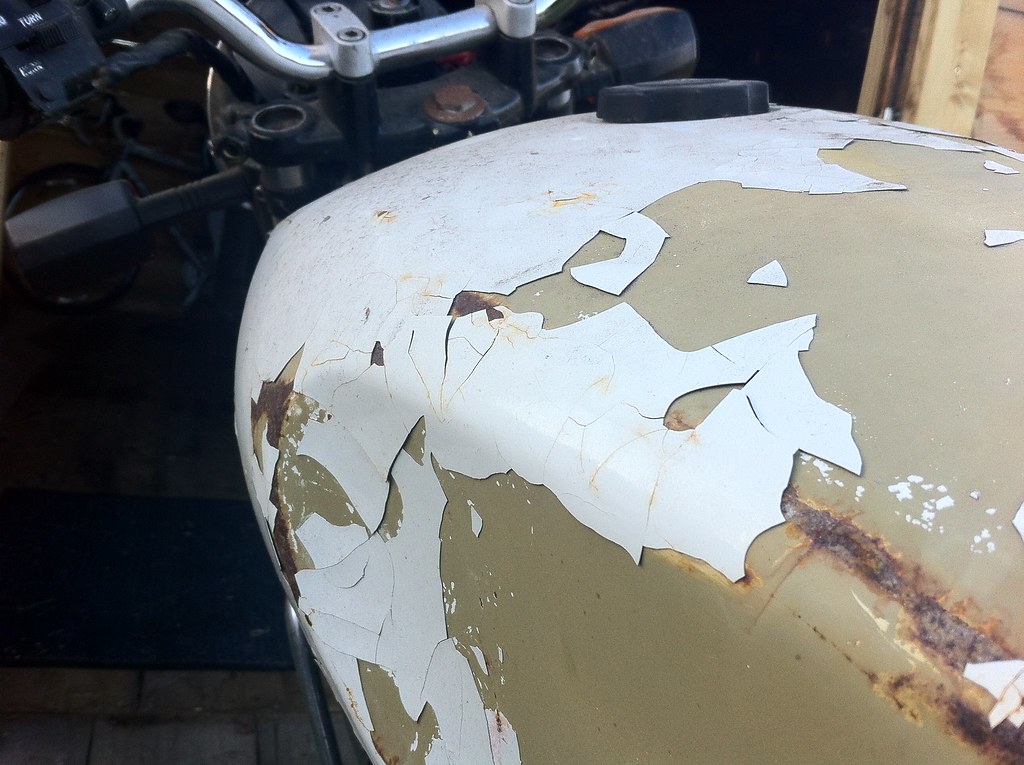
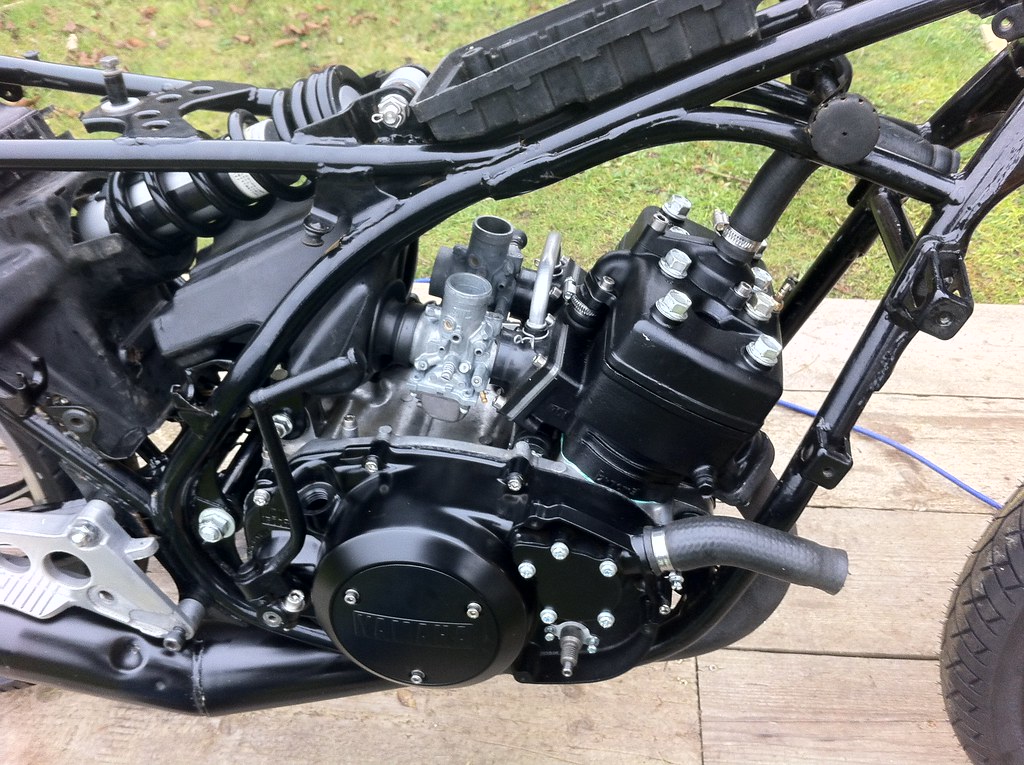
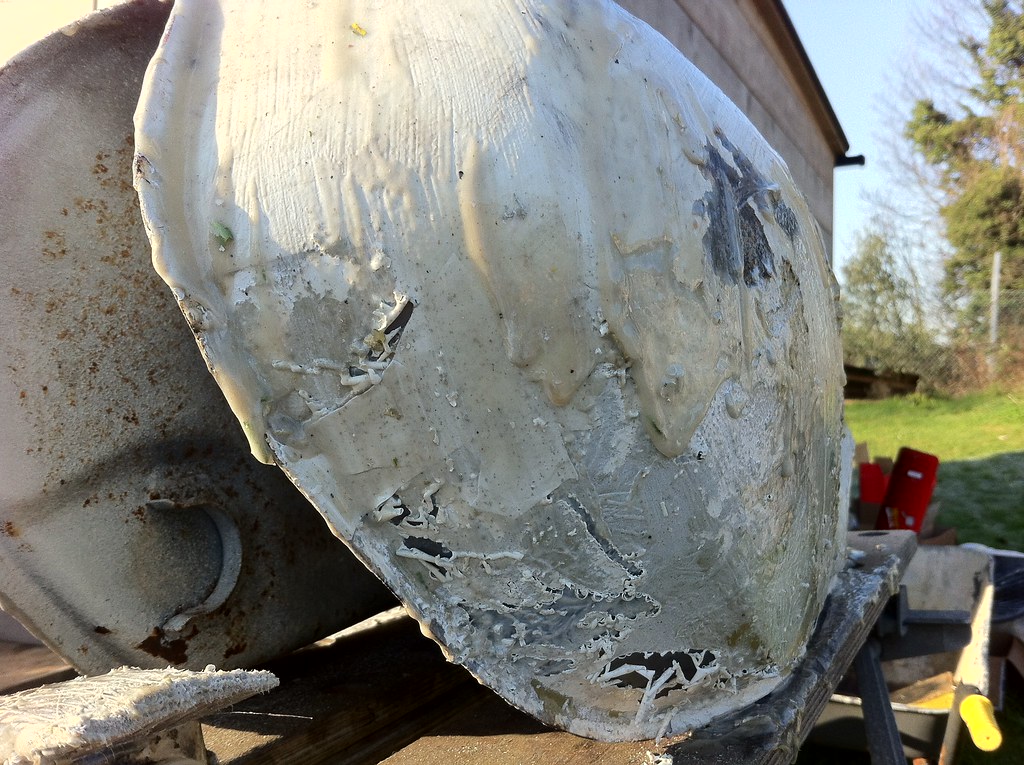
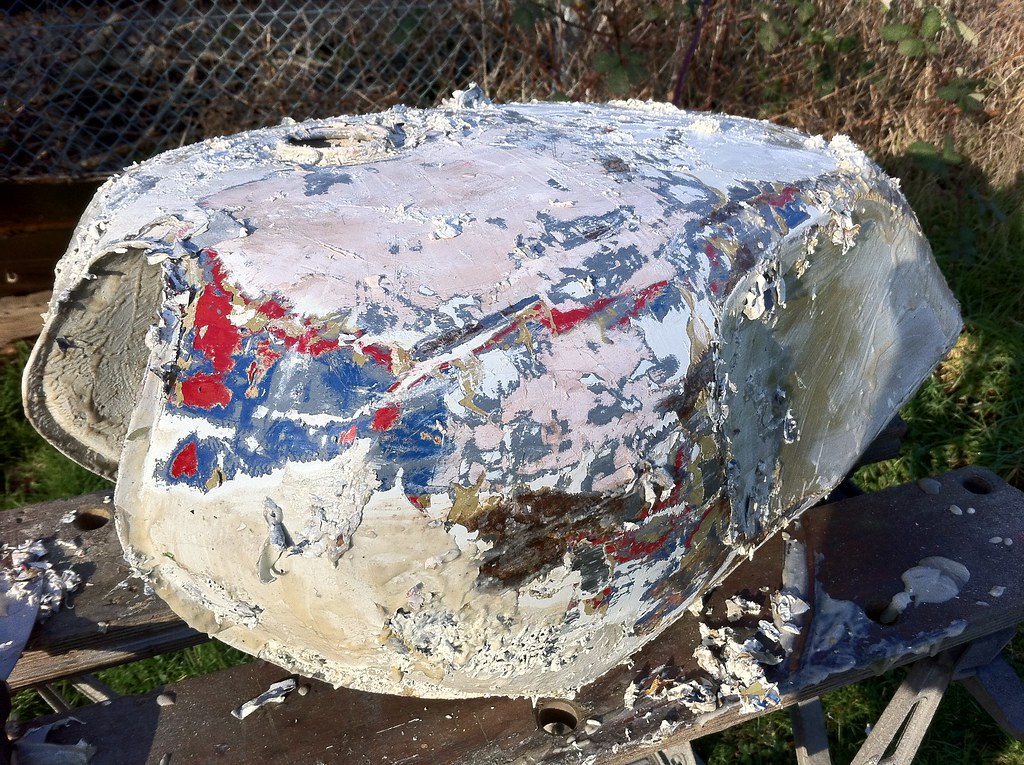
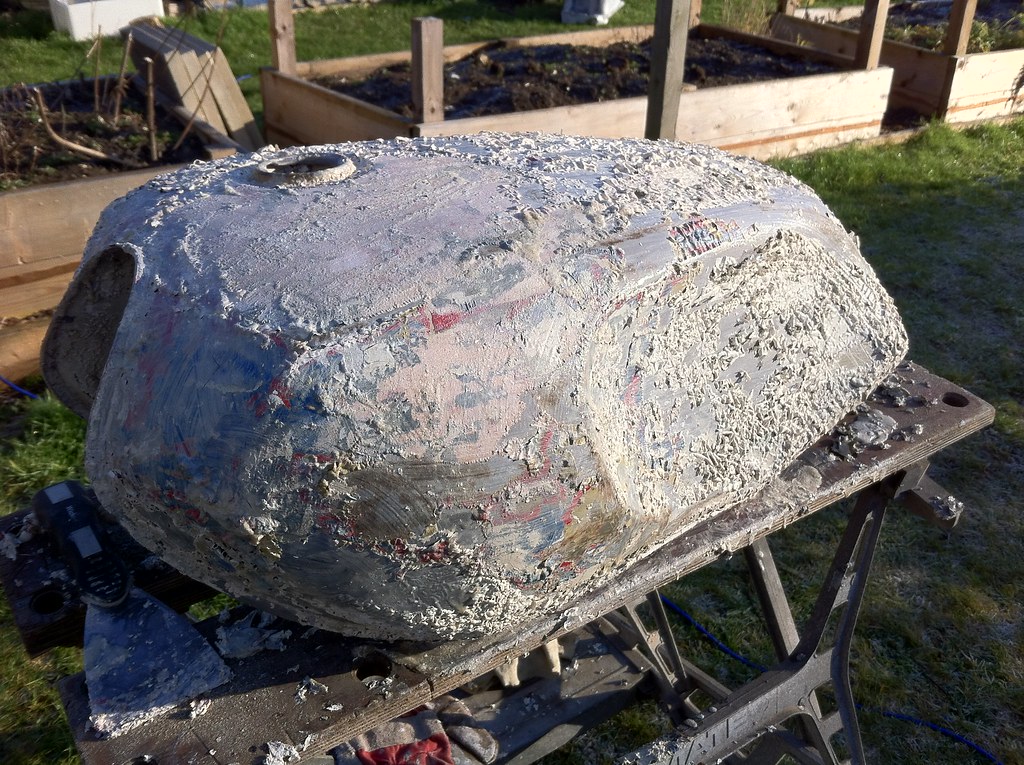
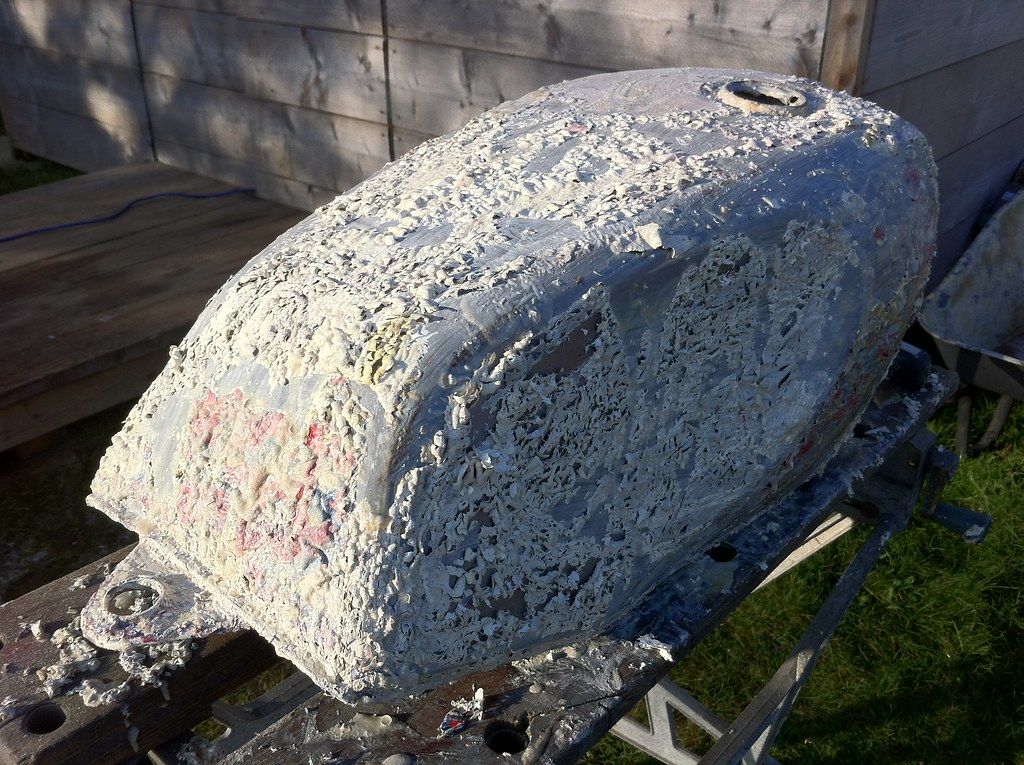
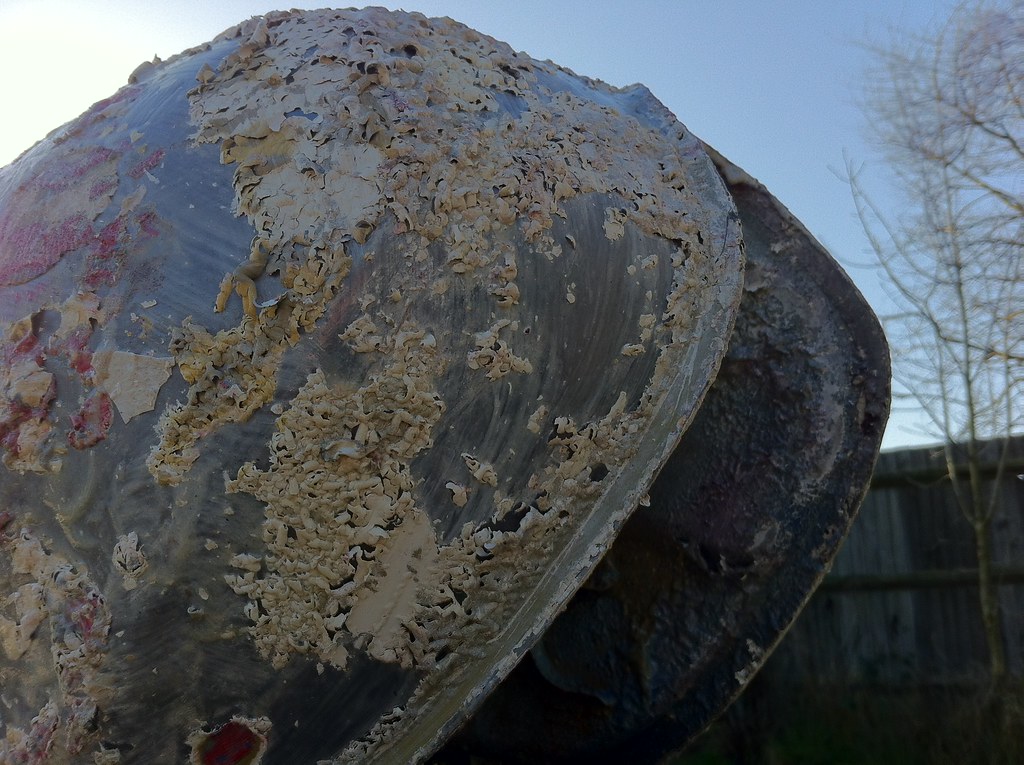
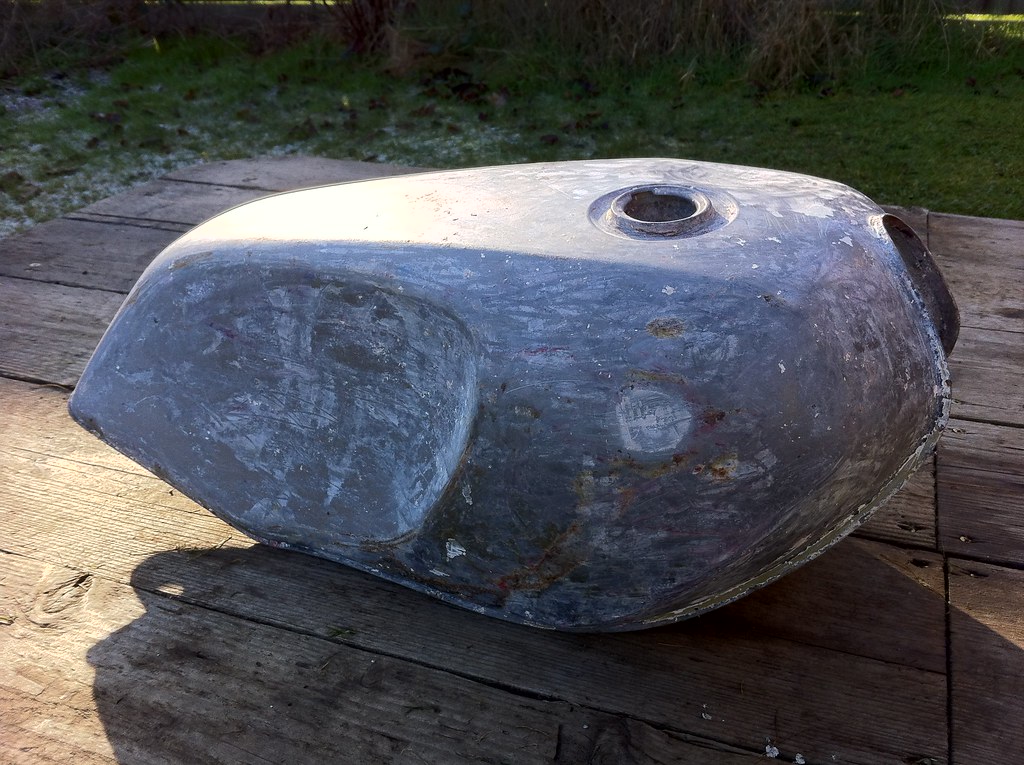
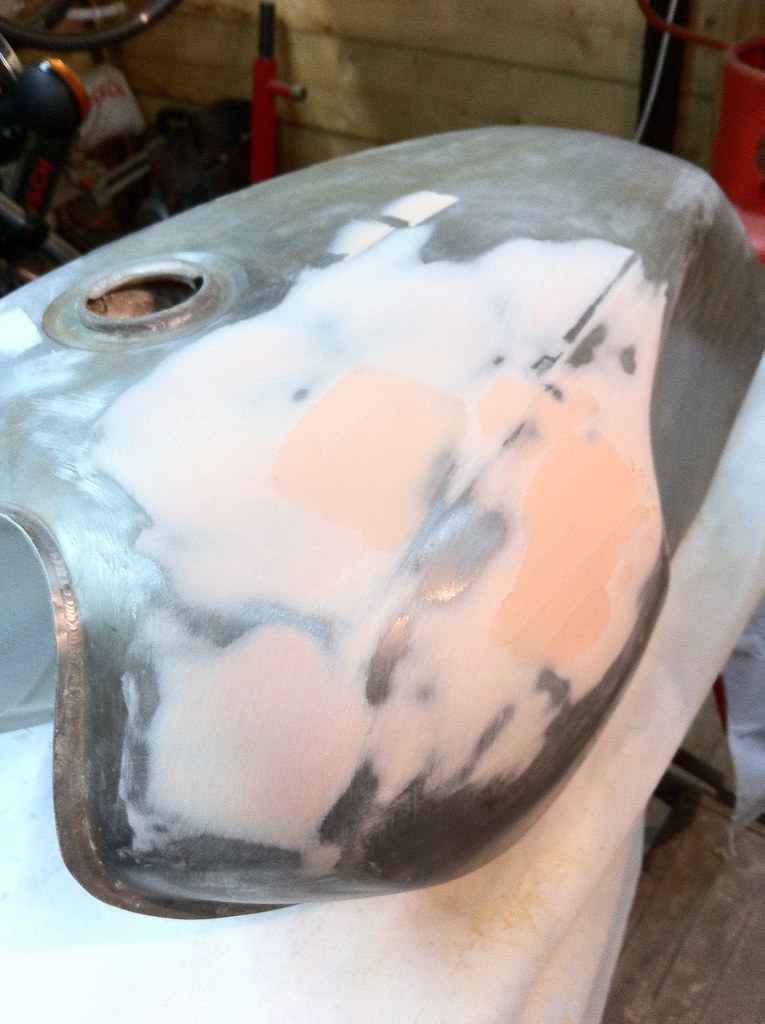
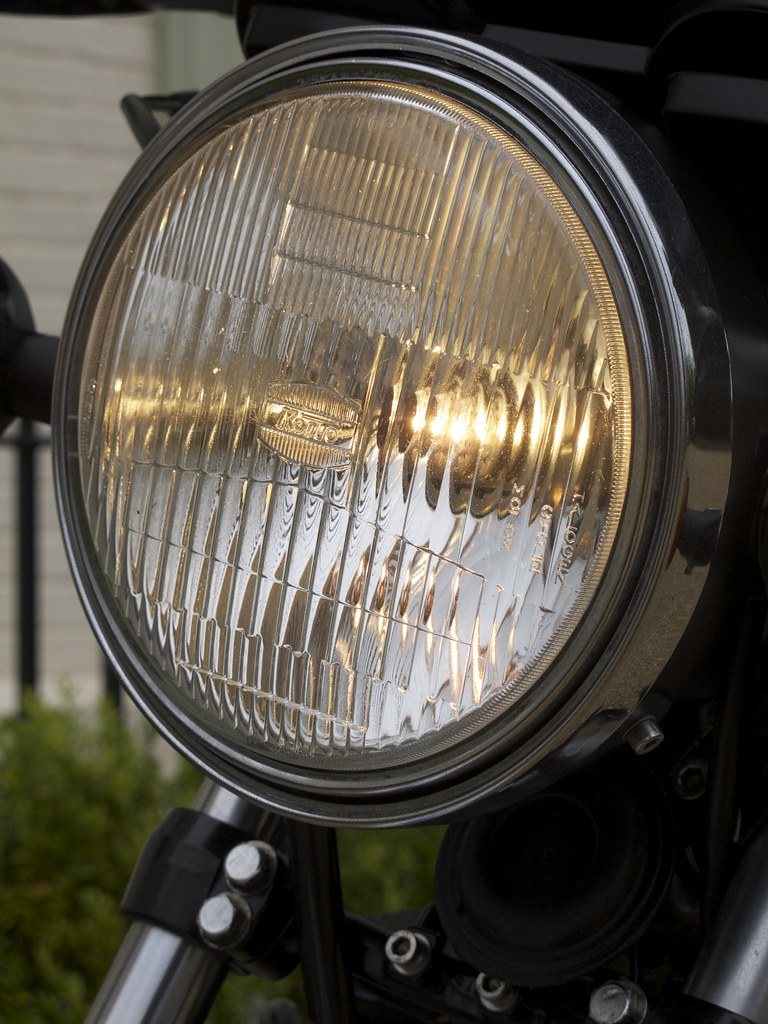
Out came the drill and within 2 minutes Iwas looking into a pristine tank, this was a great start despite the tanksdreadful exterior! A cup full of fuel flowed free and clean from the petroltap. I’d picked up a pair of spark plug caps on the way home so I wound thoseon and checked the spark …… Big, blue and fat!
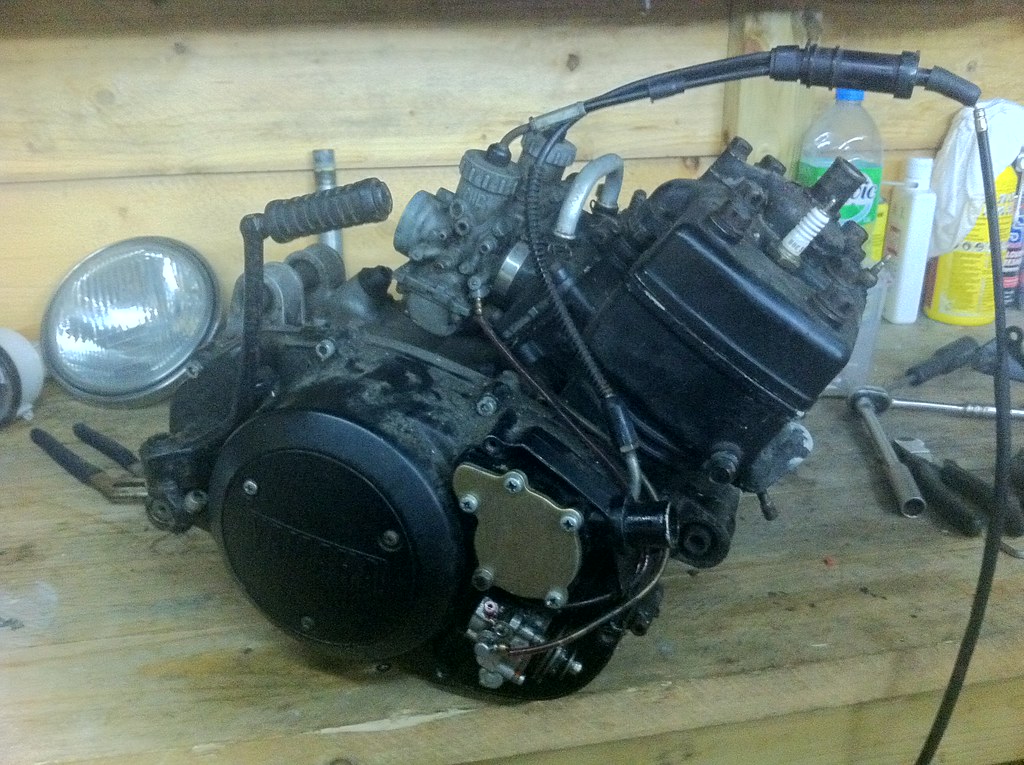
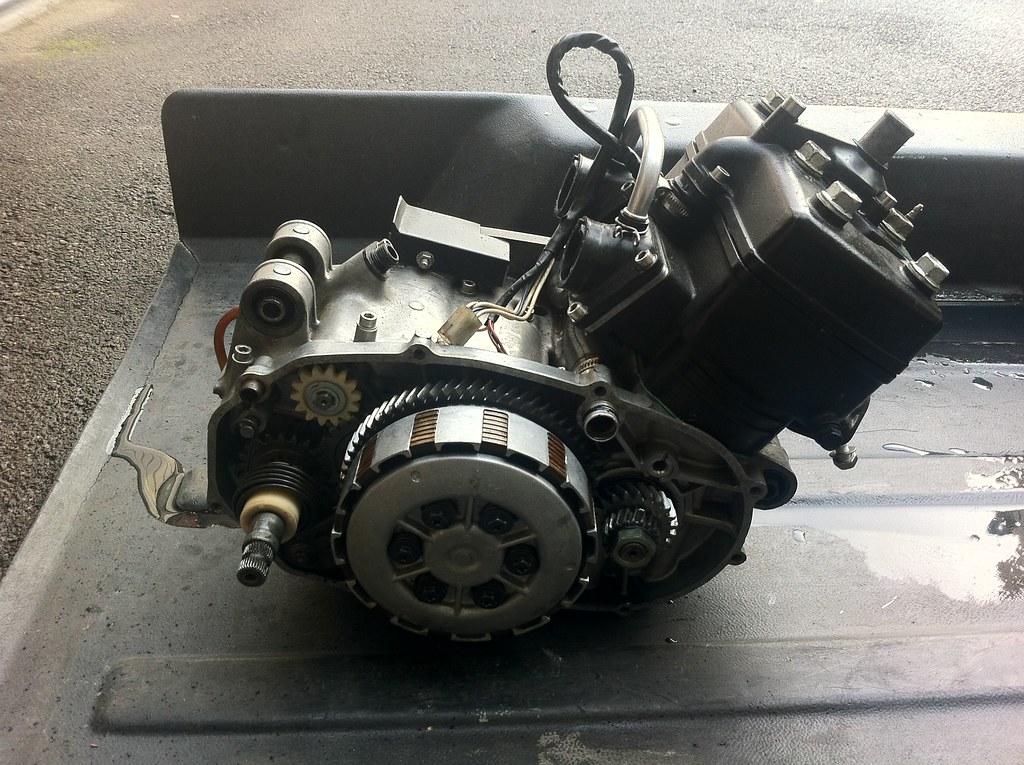
Plugs in, fuel on, choke out …… two kicksand away she went!!!
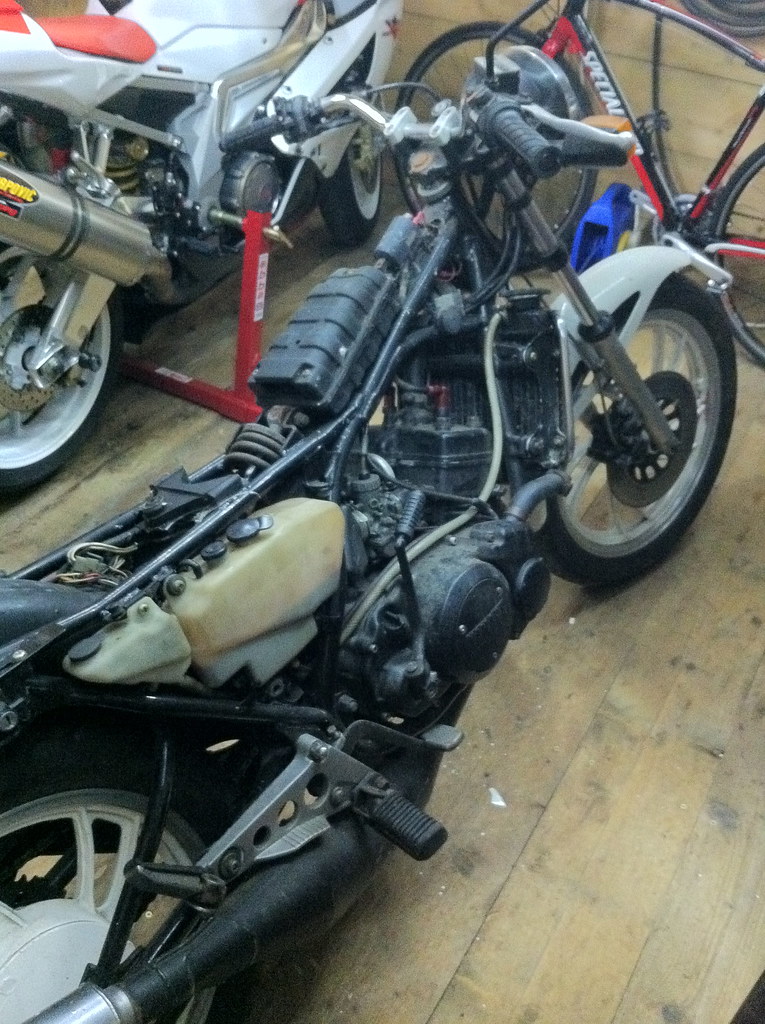
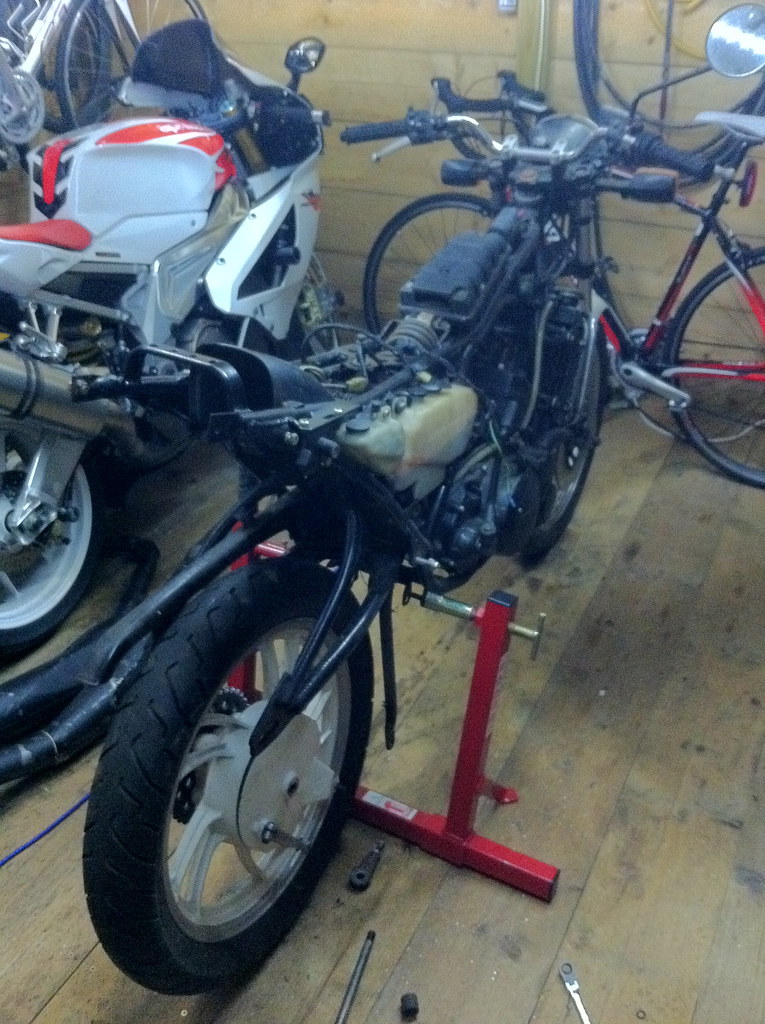
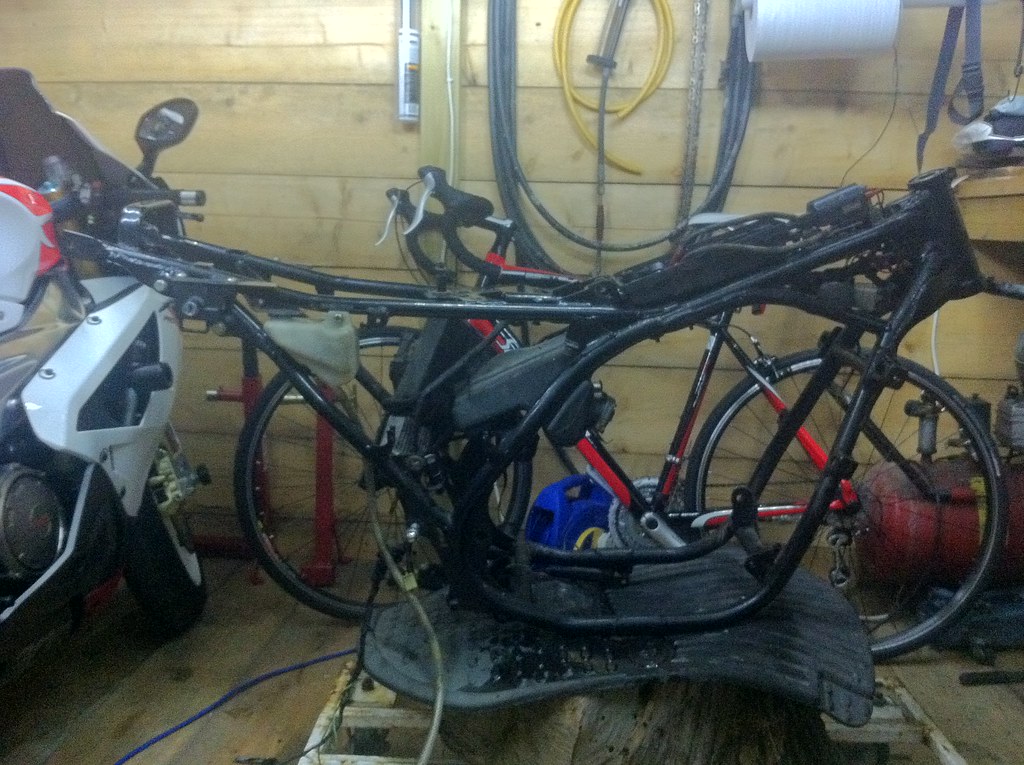
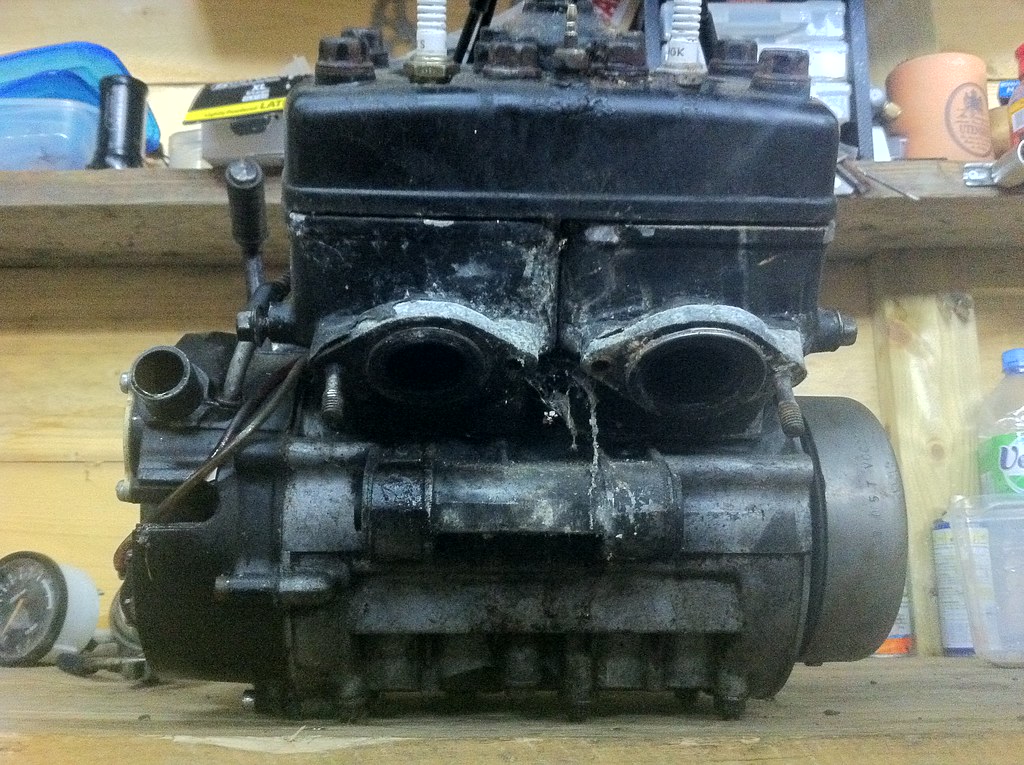
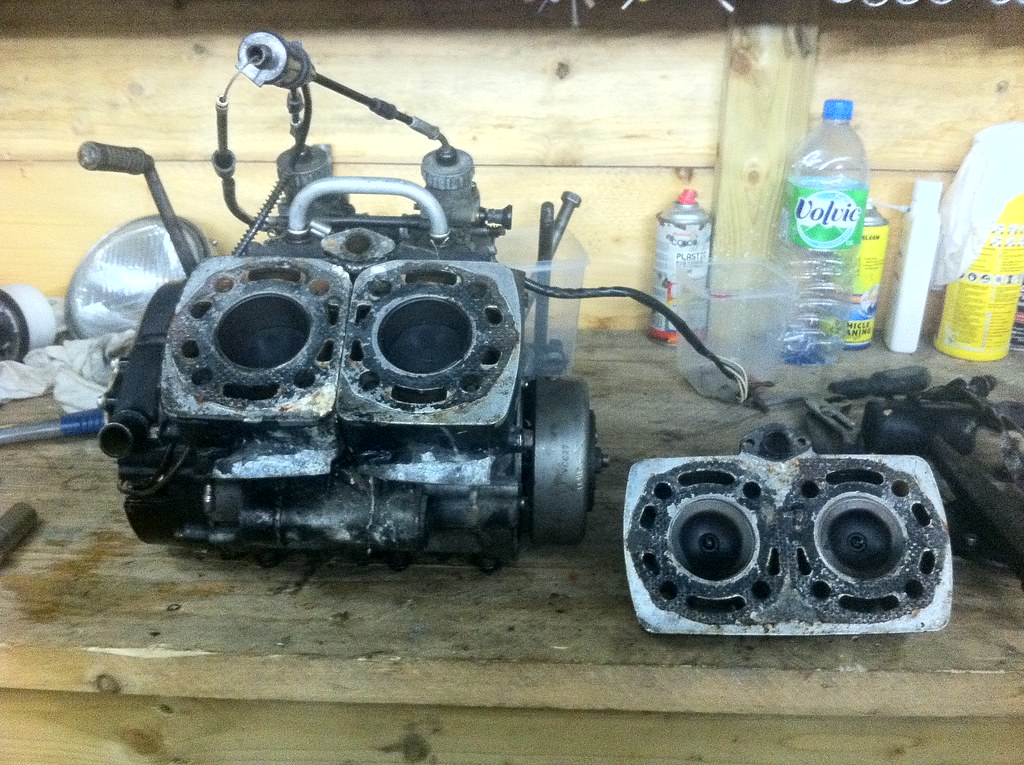
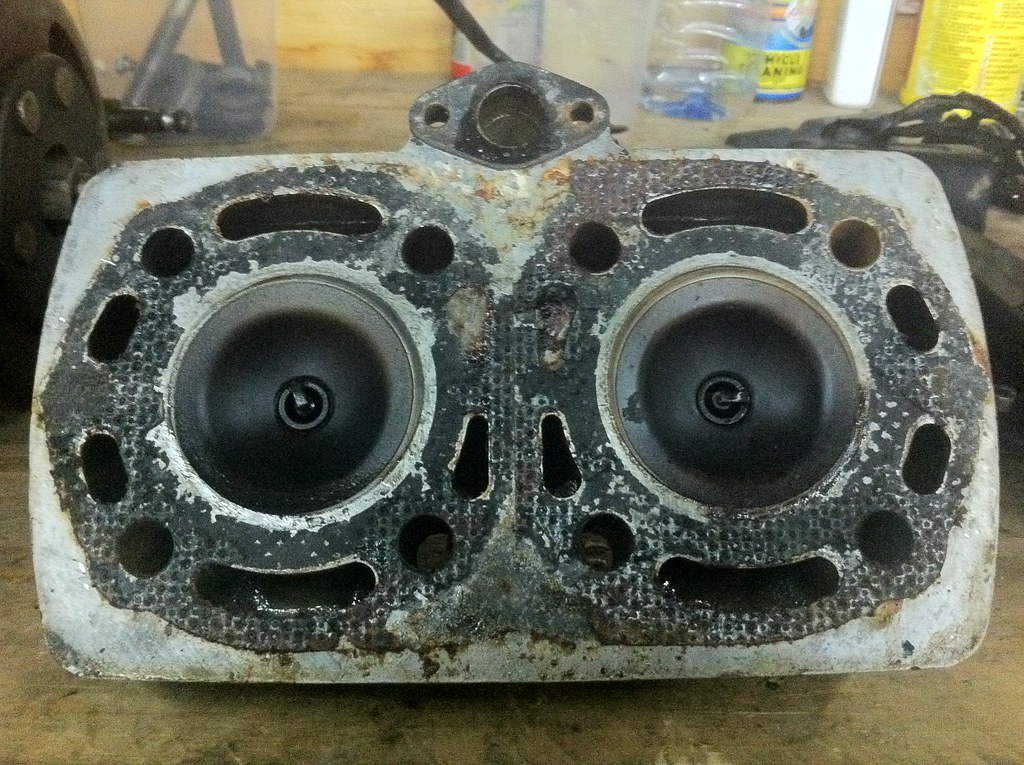
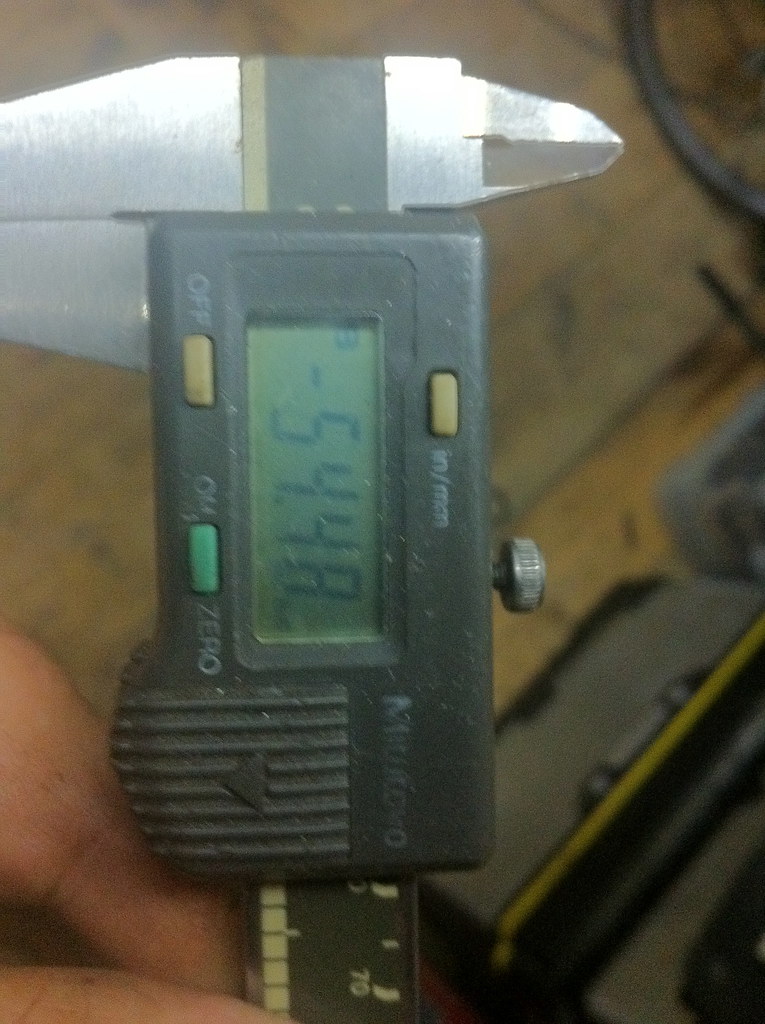
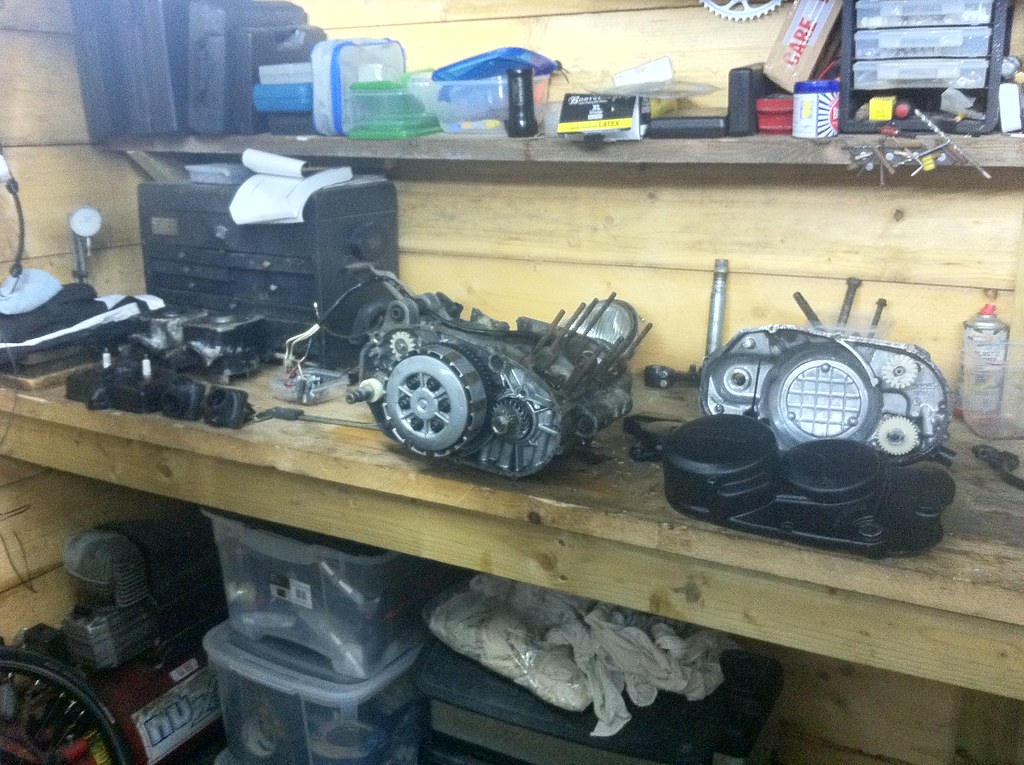
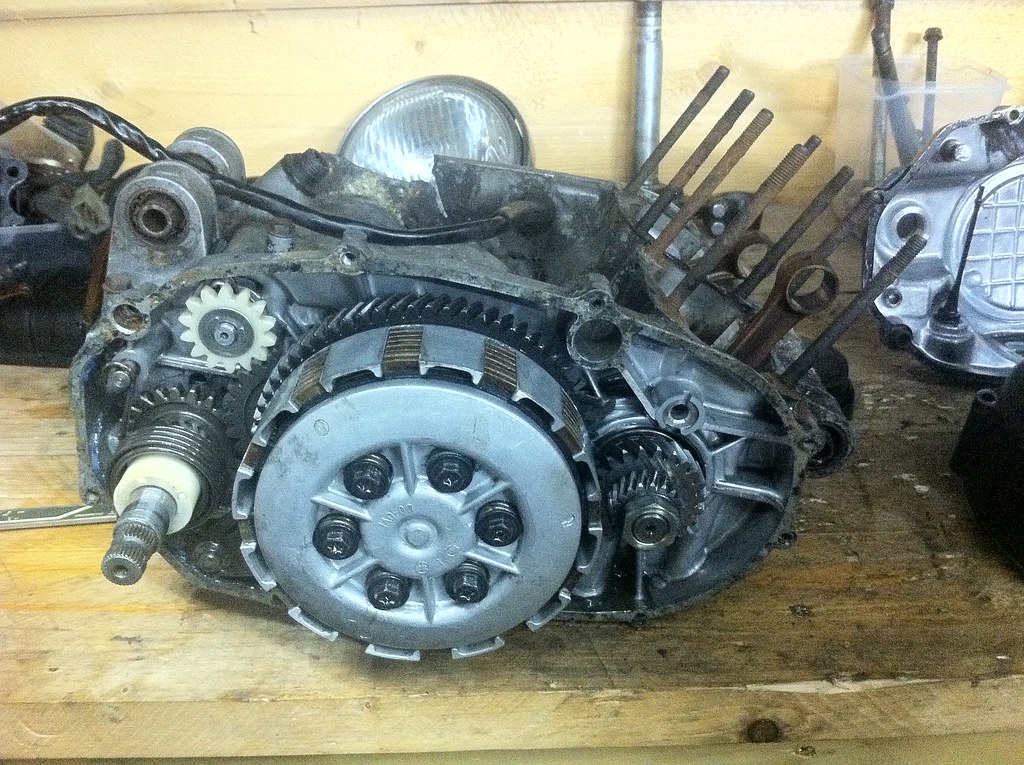
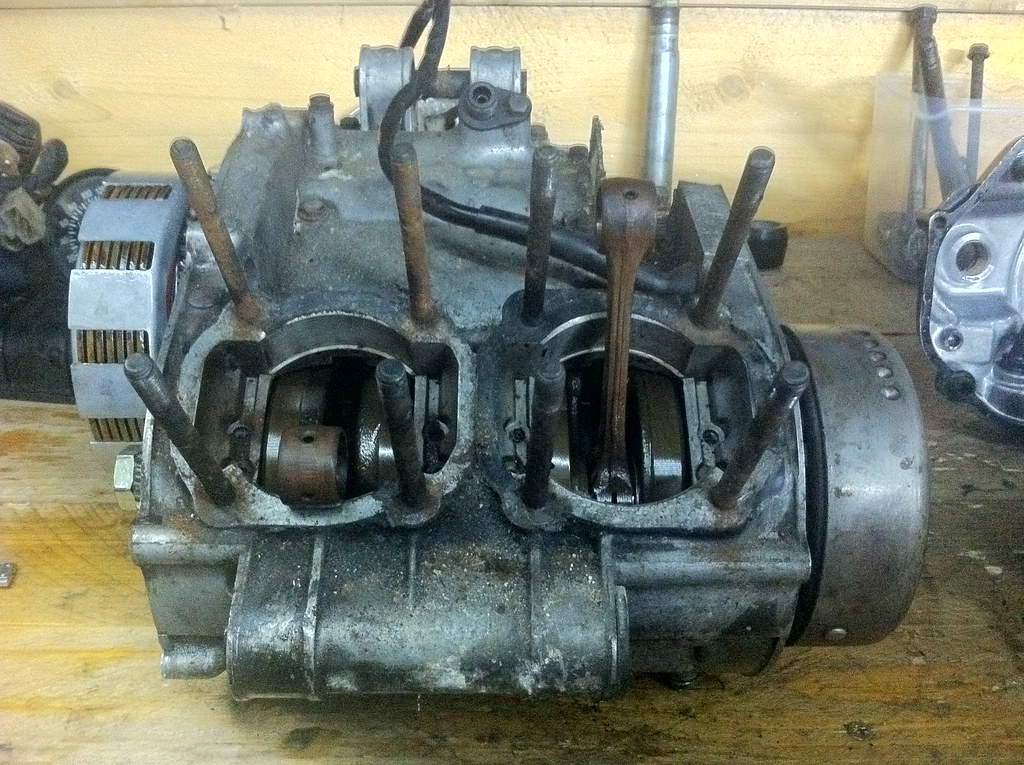
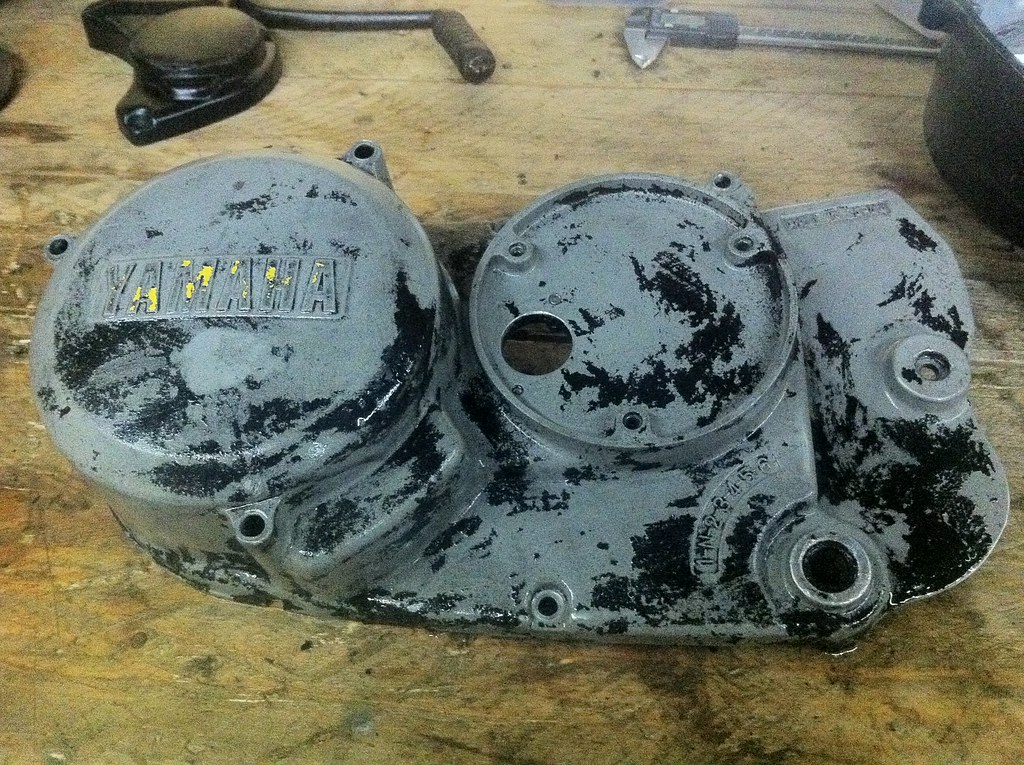
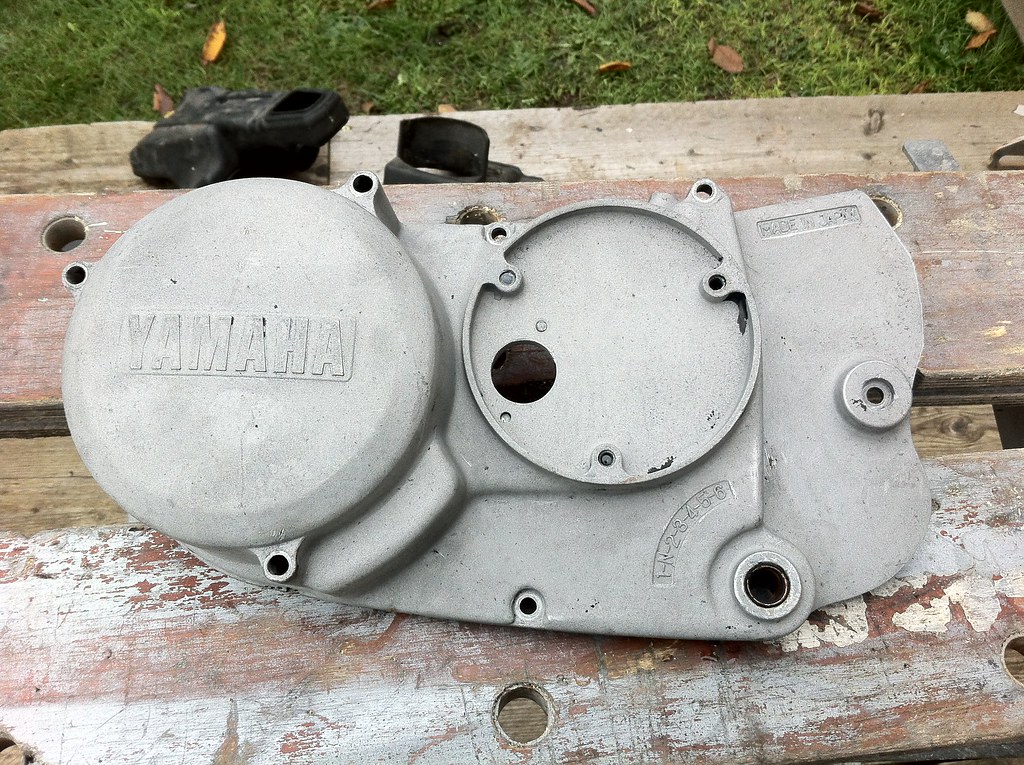
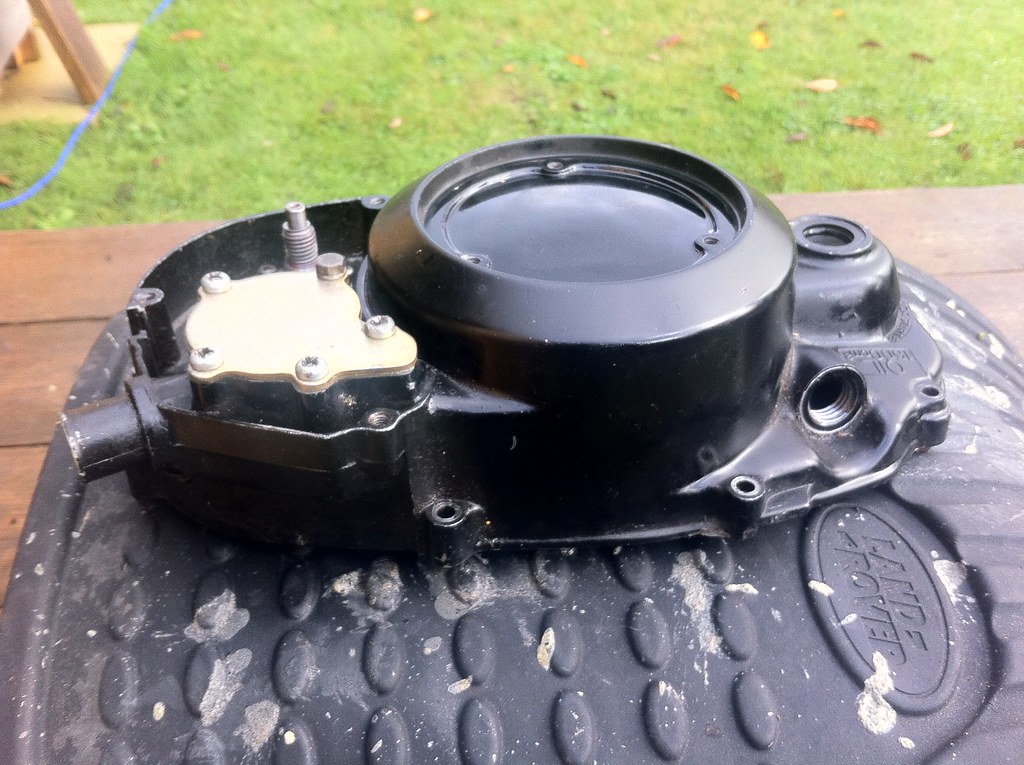
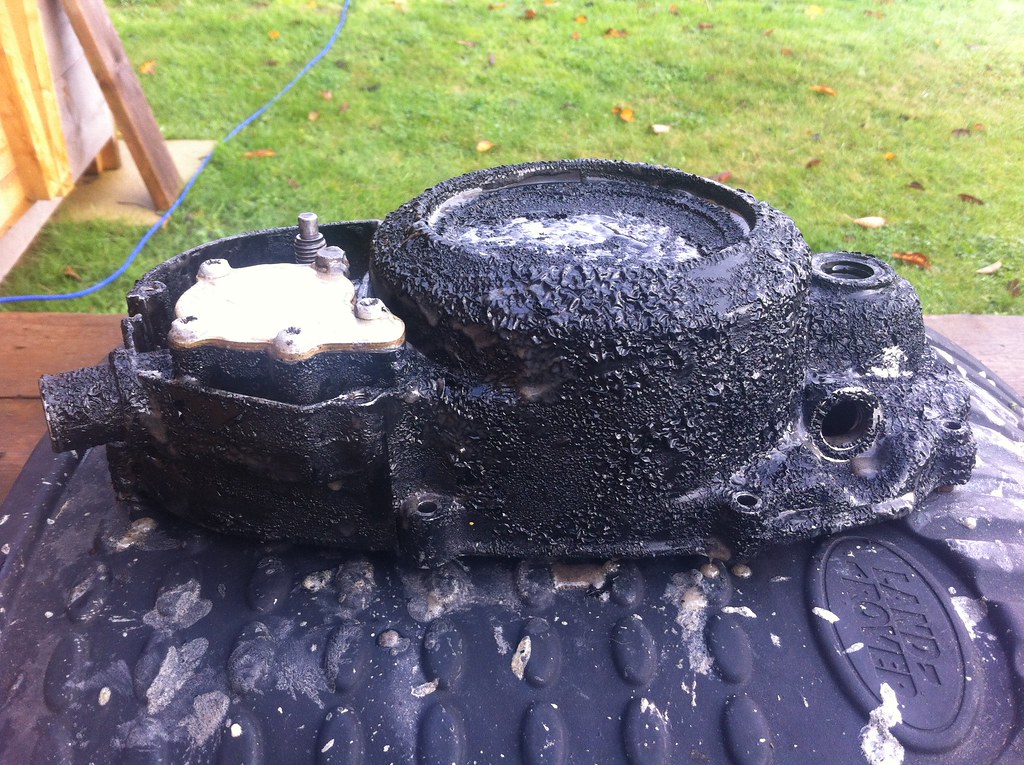
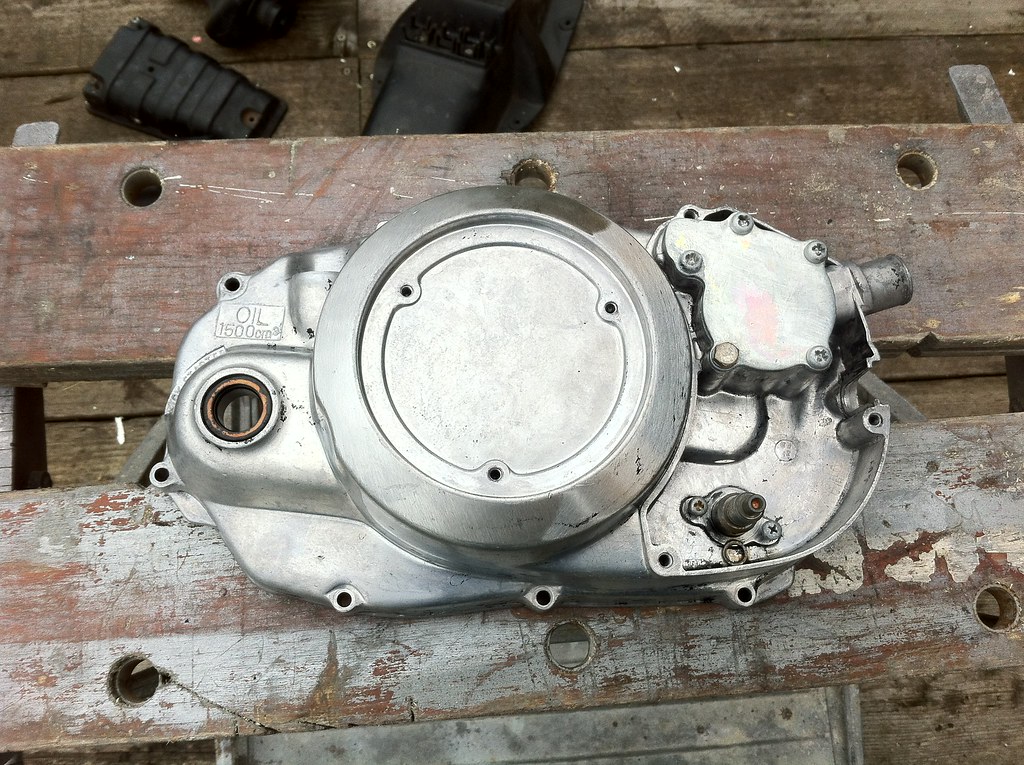
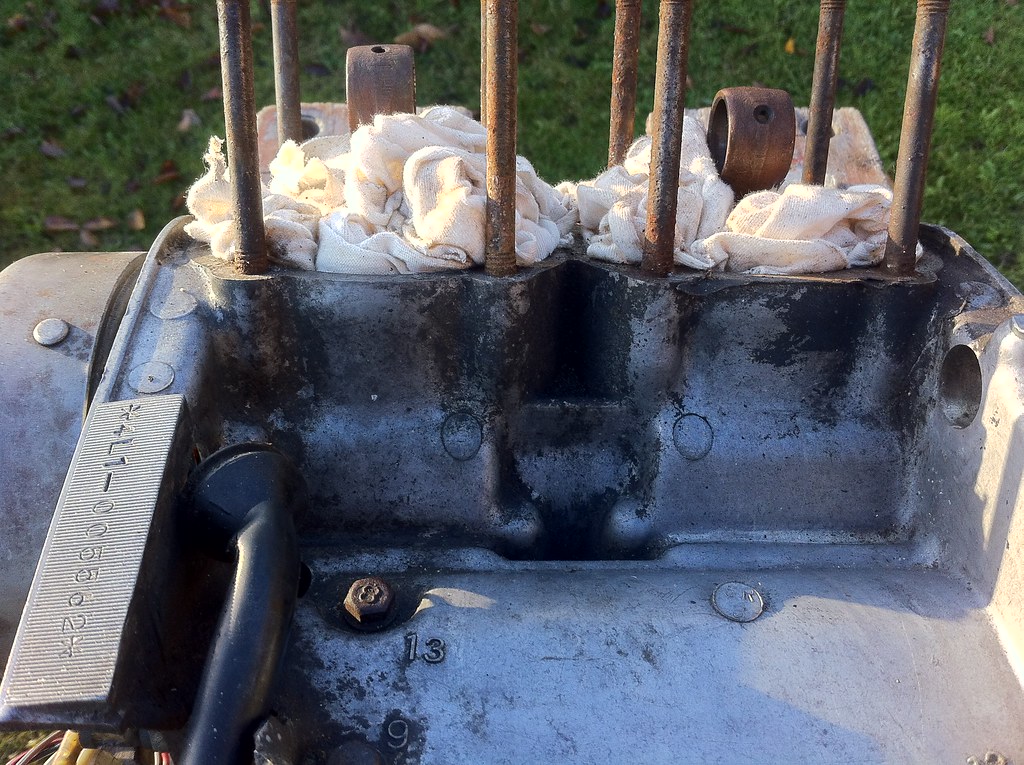
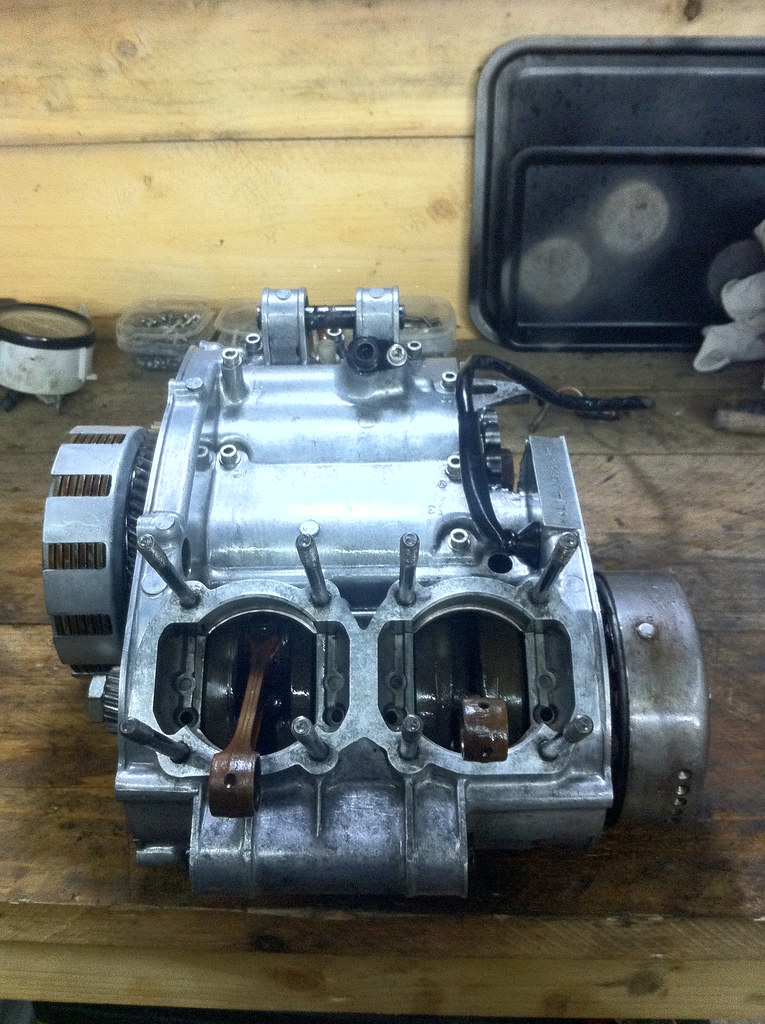
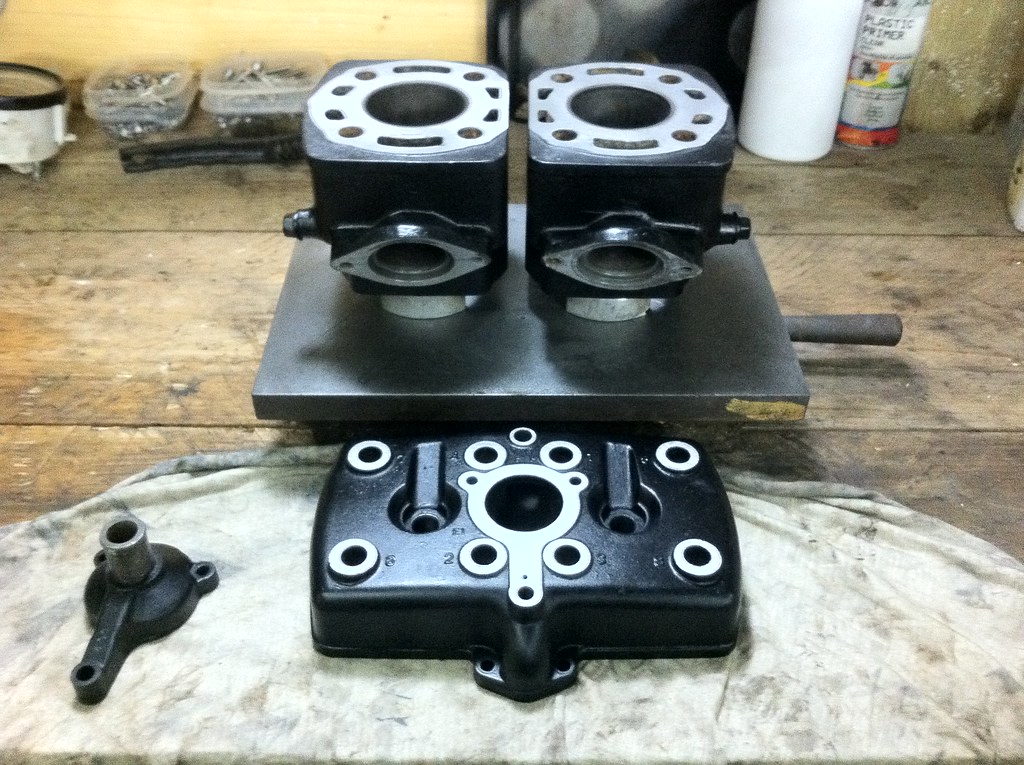
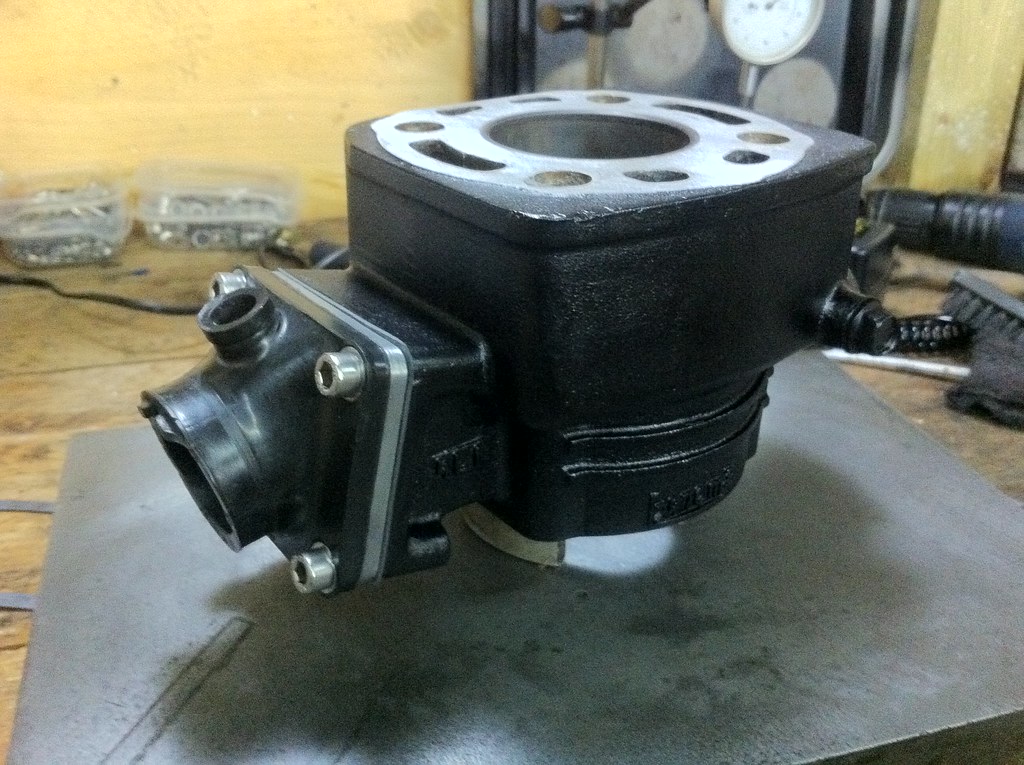
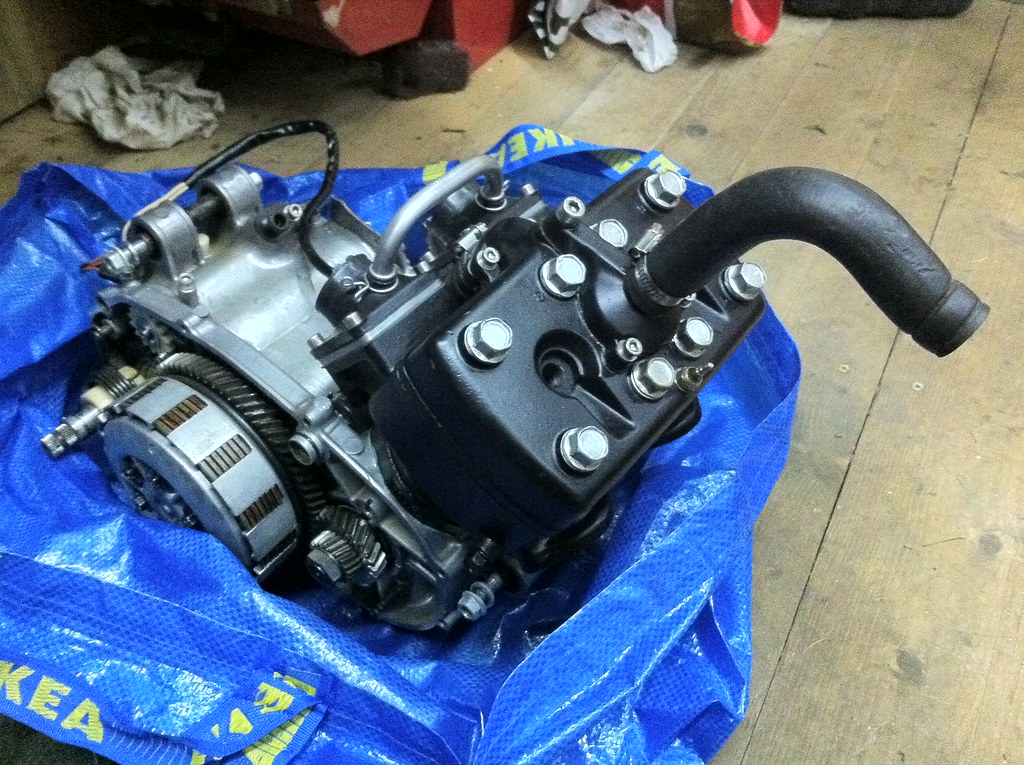
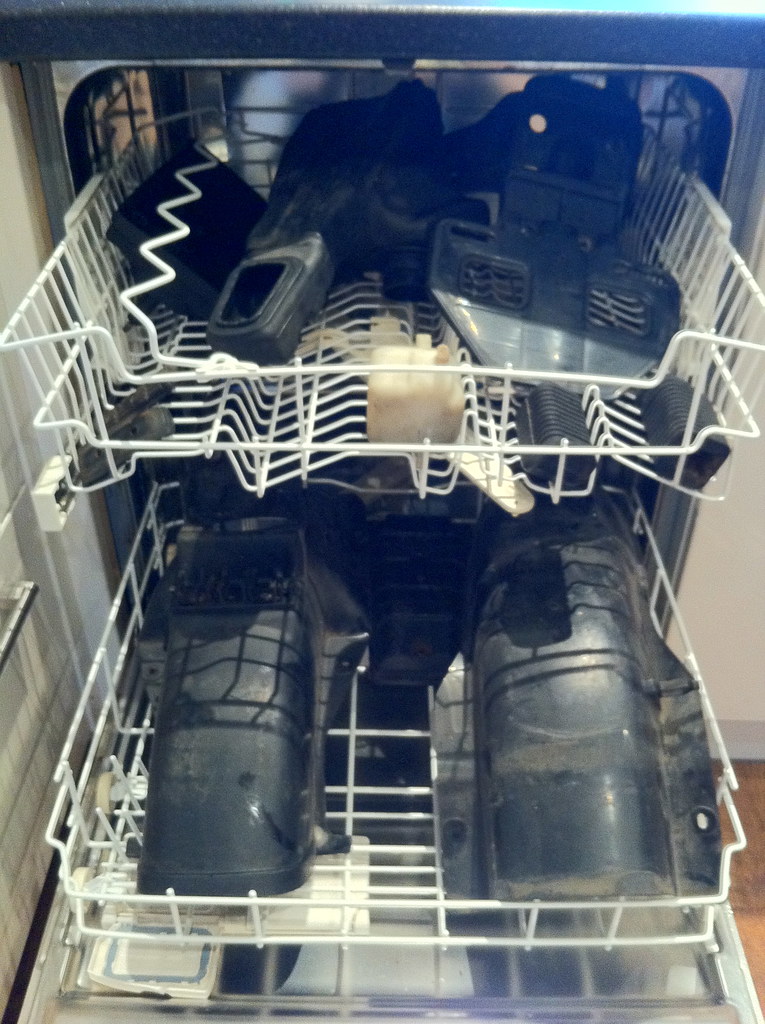
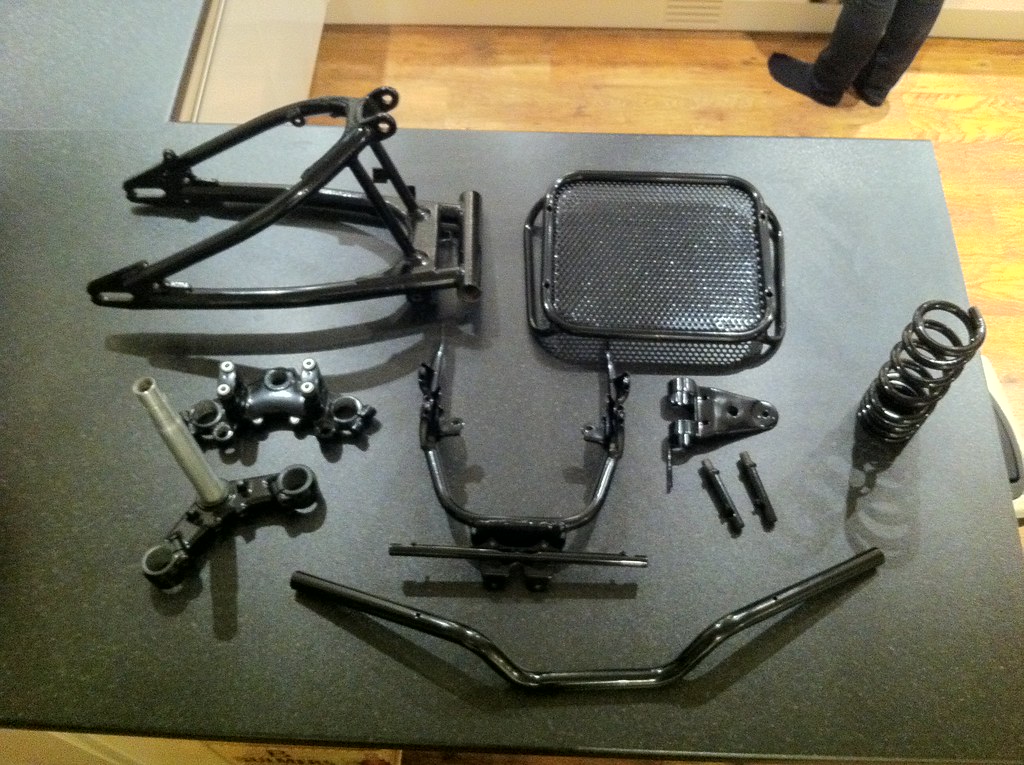
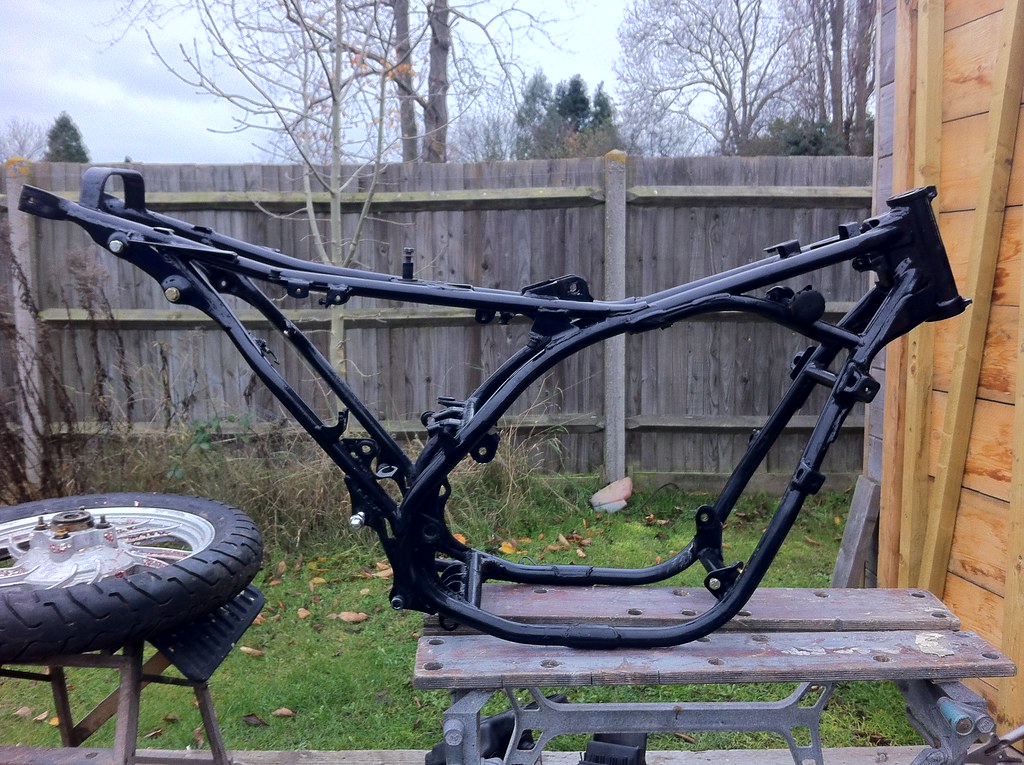
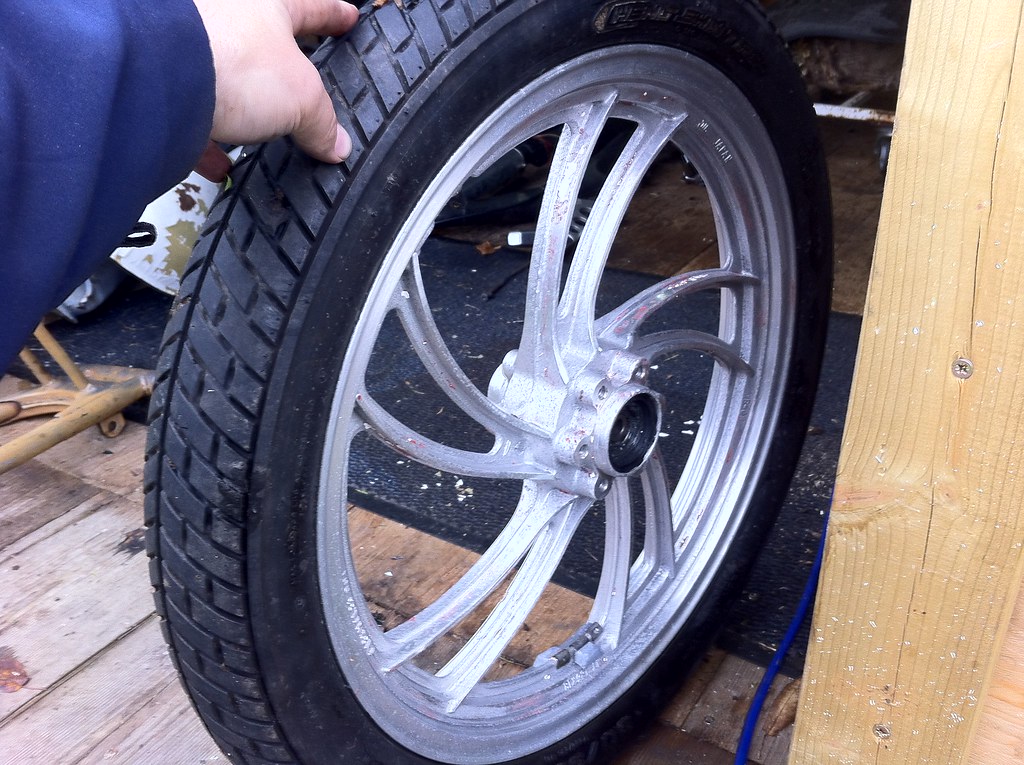
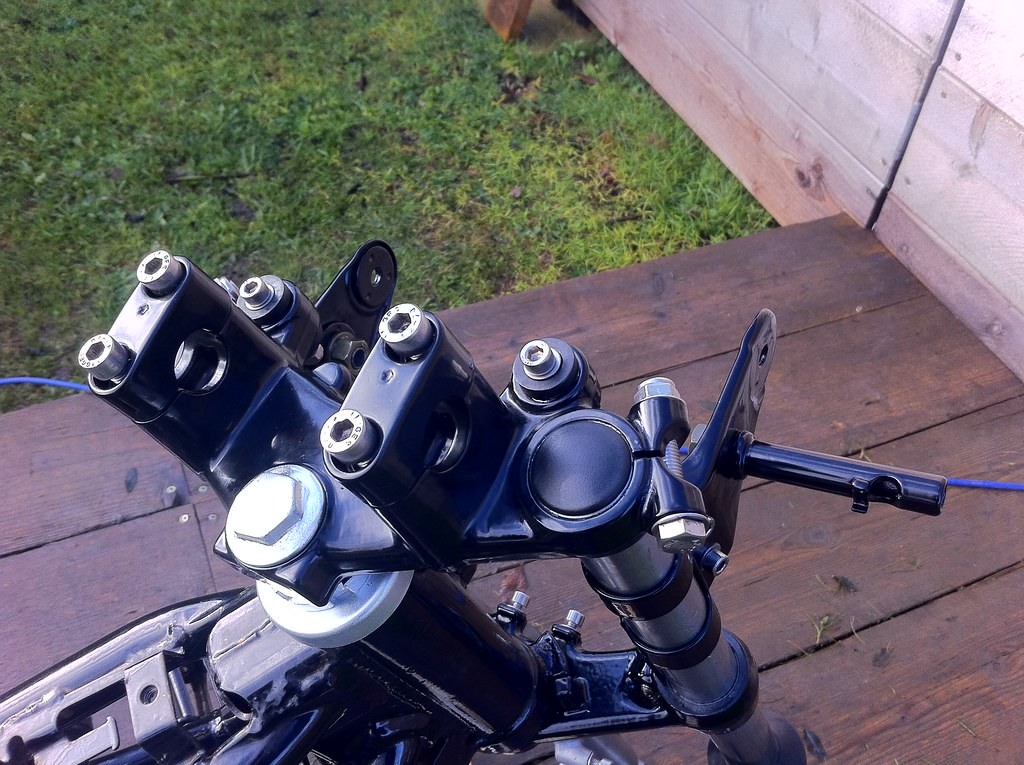
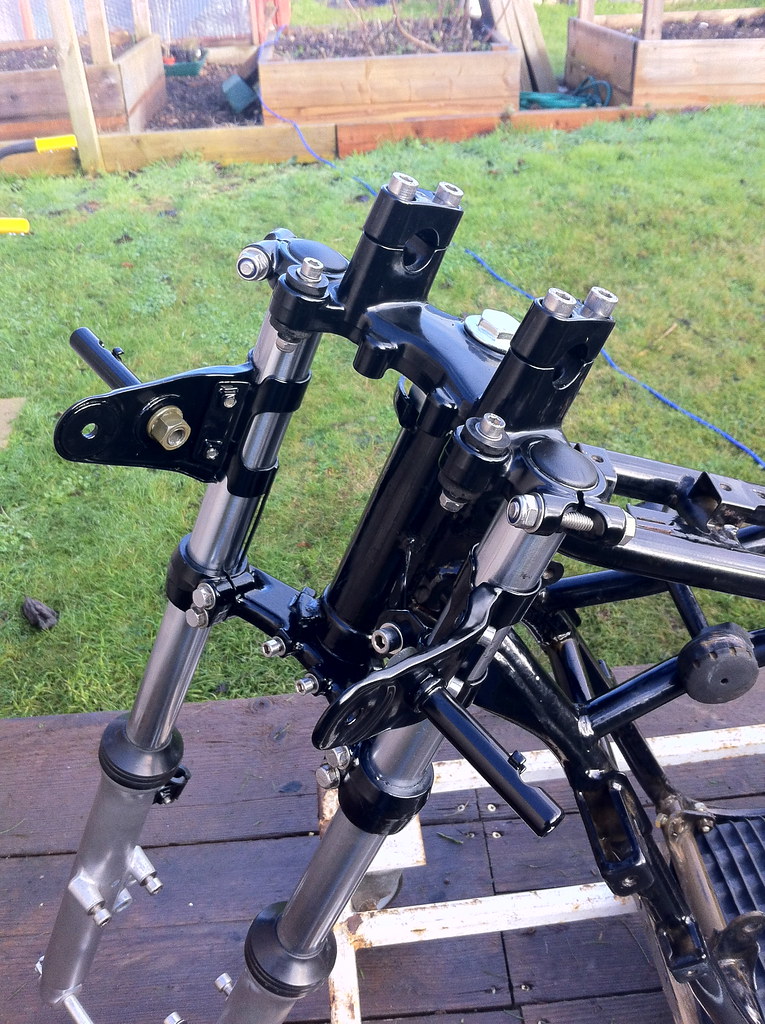
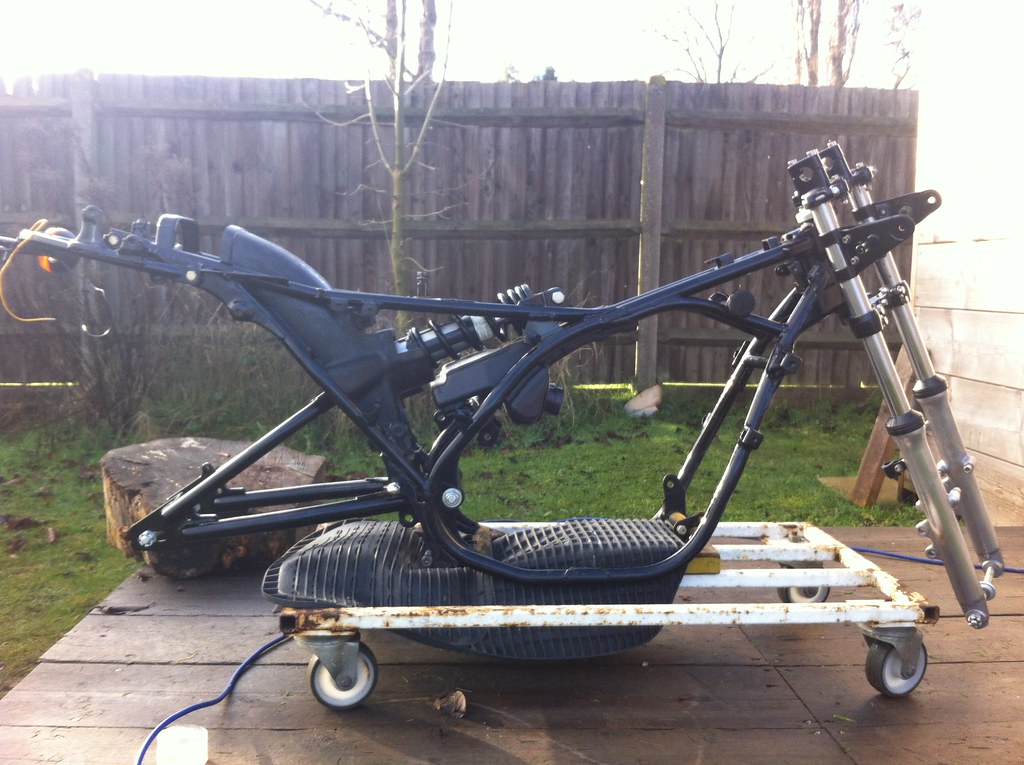
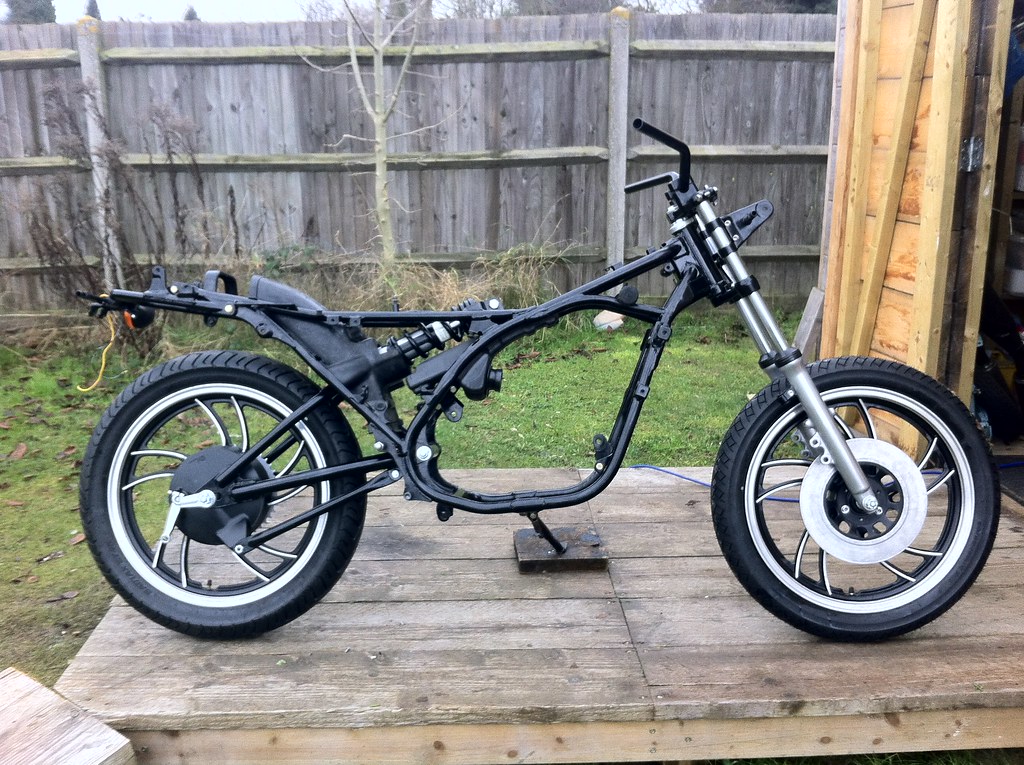
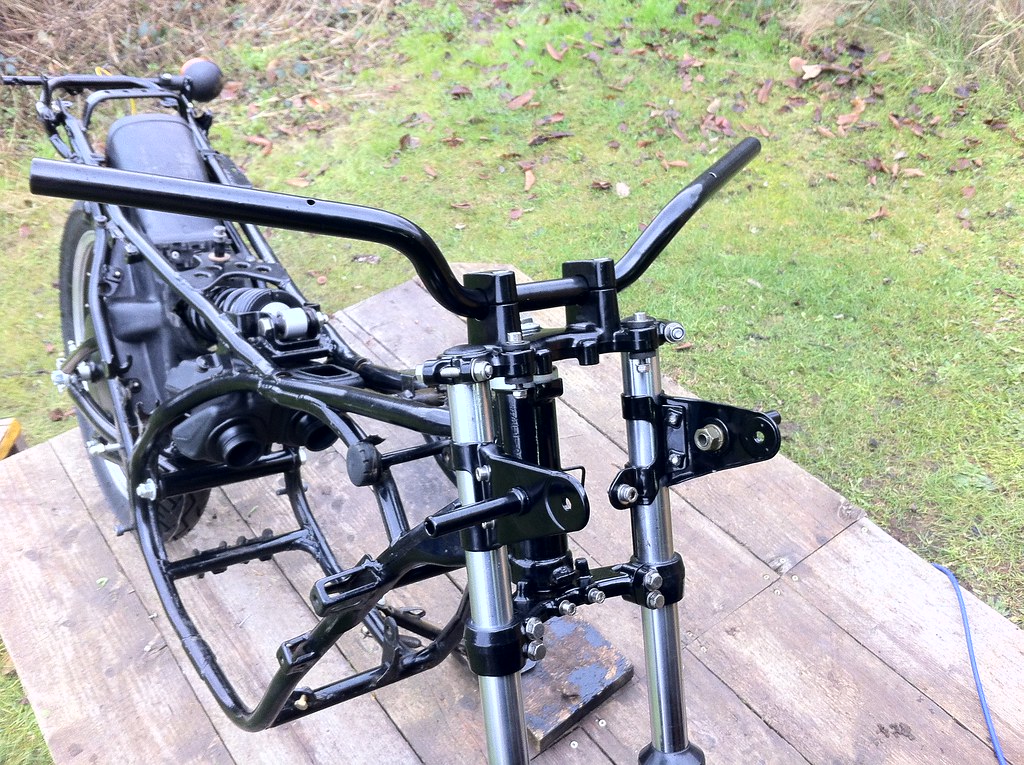
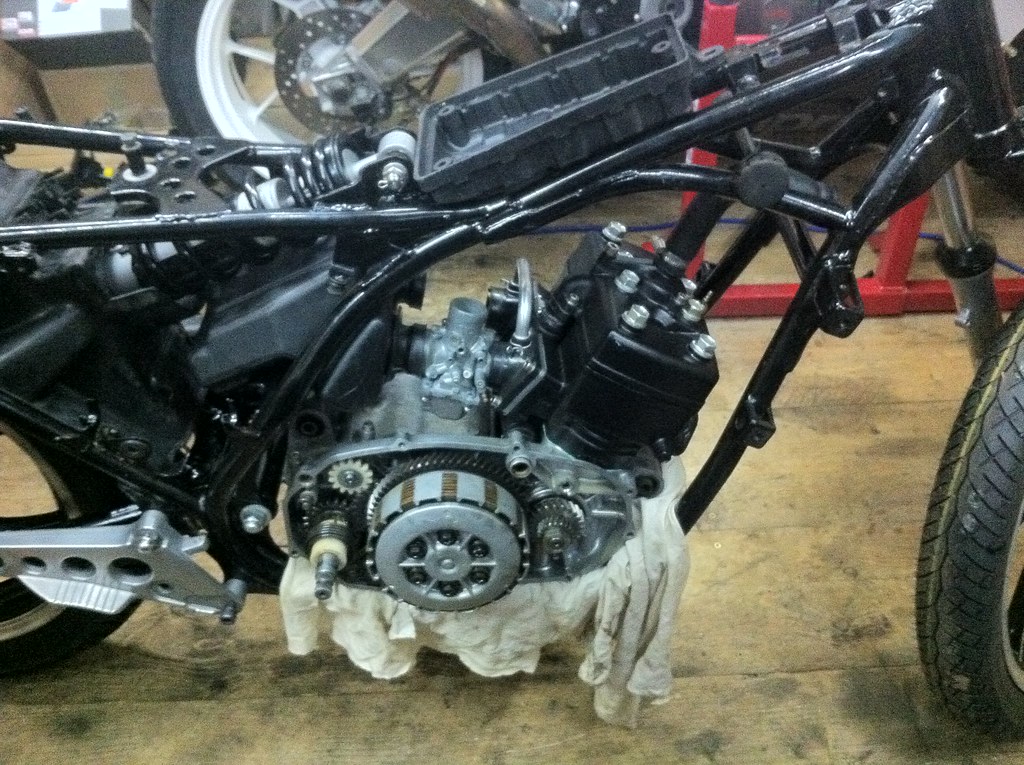
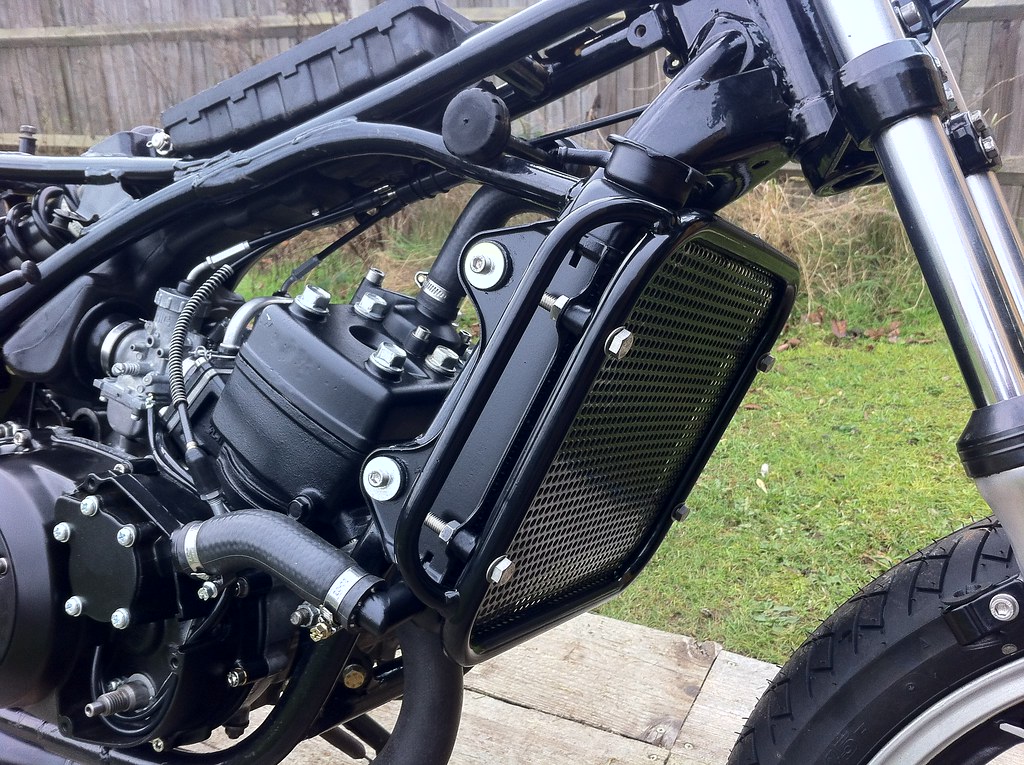
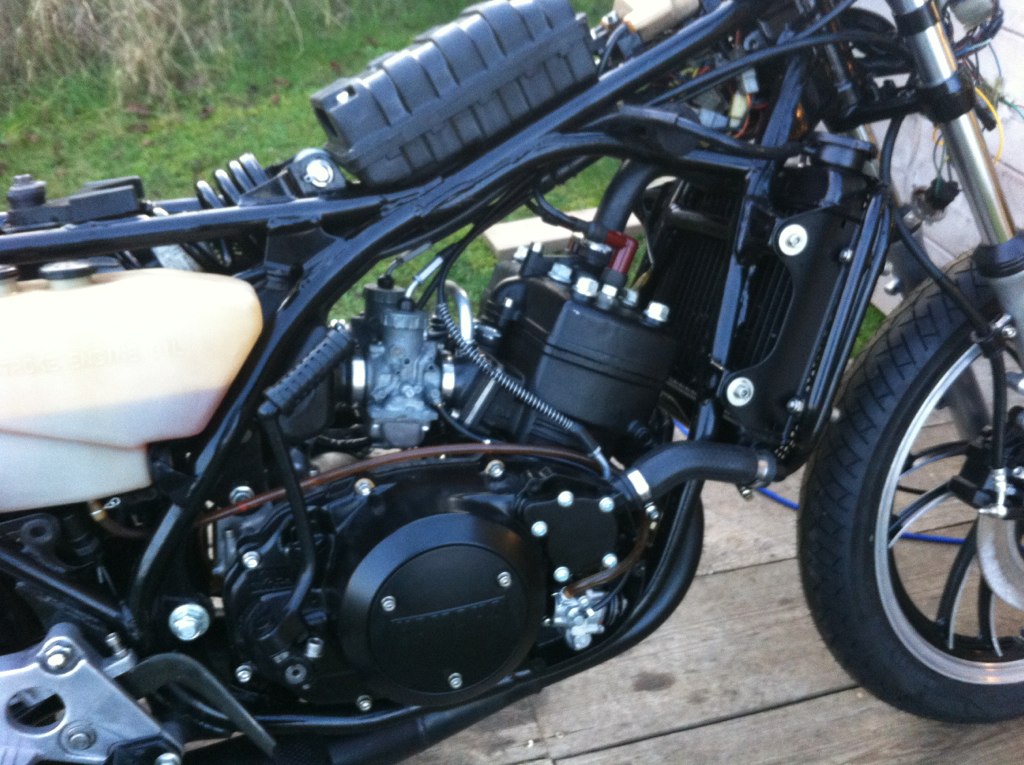
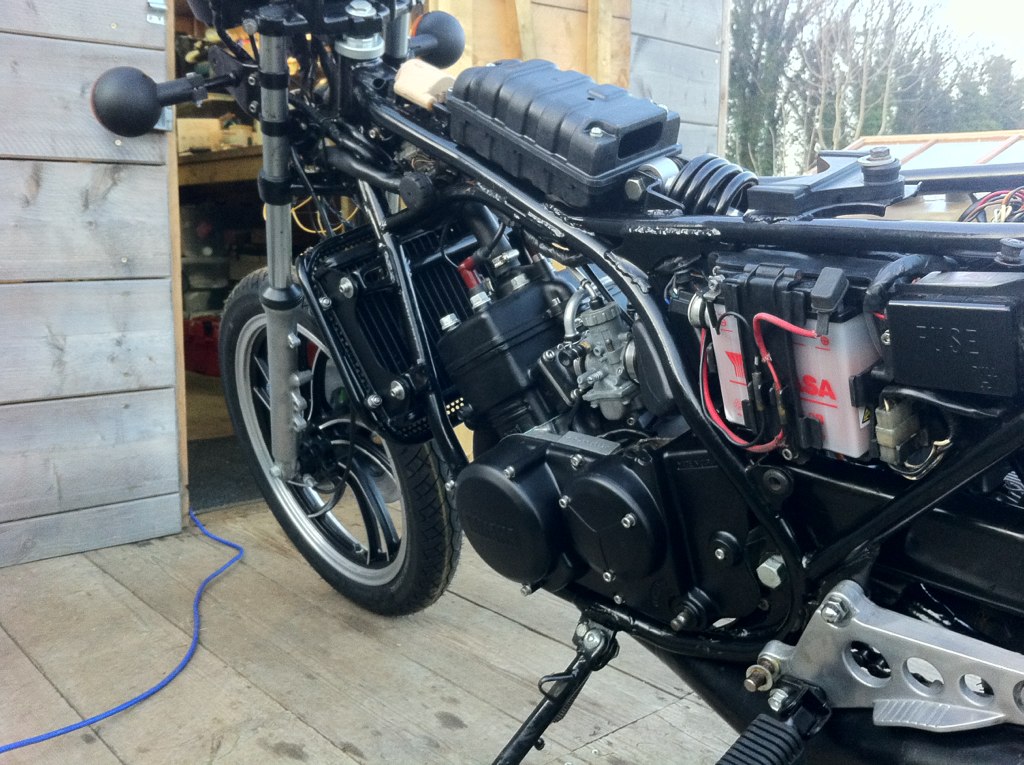
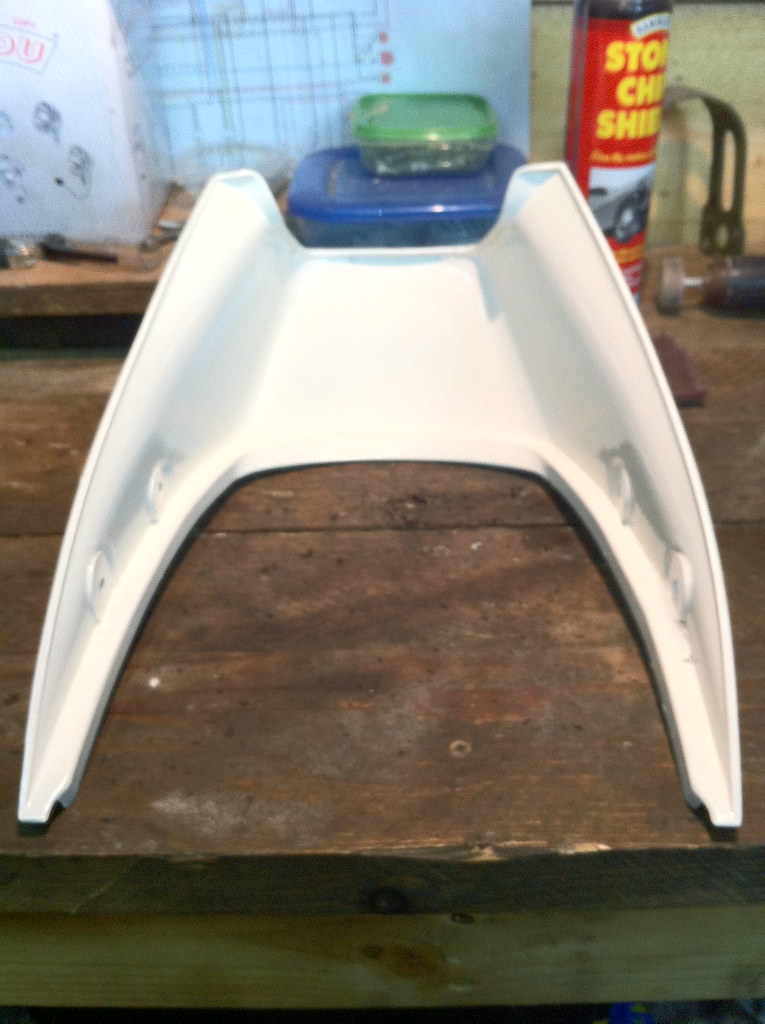
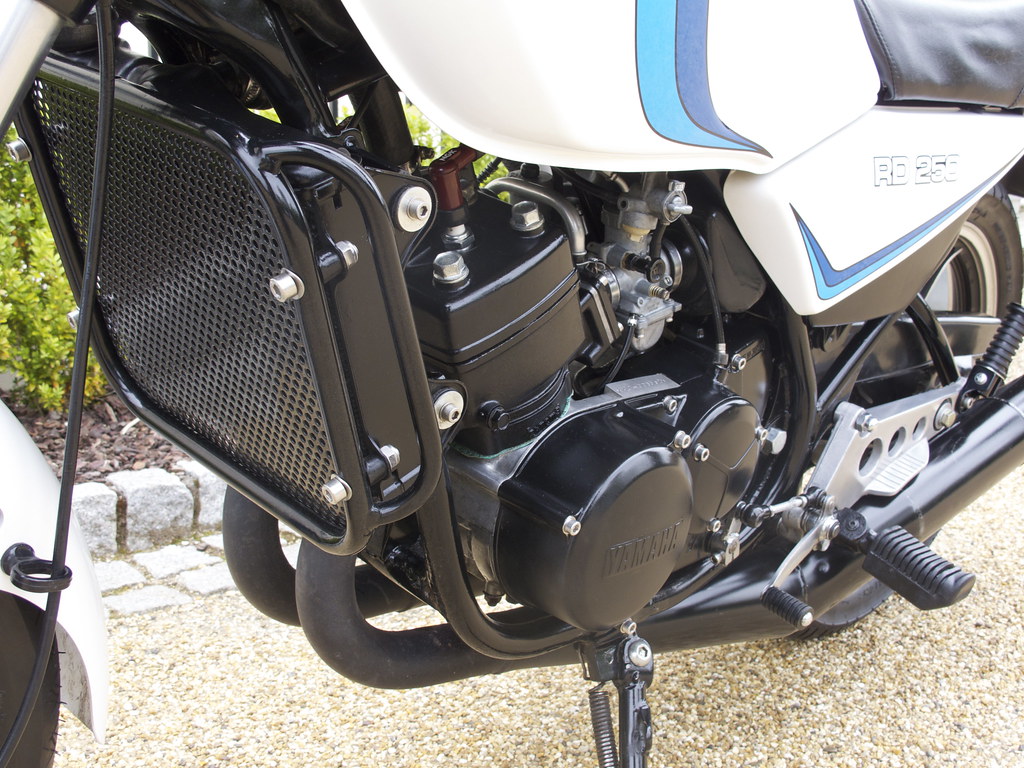
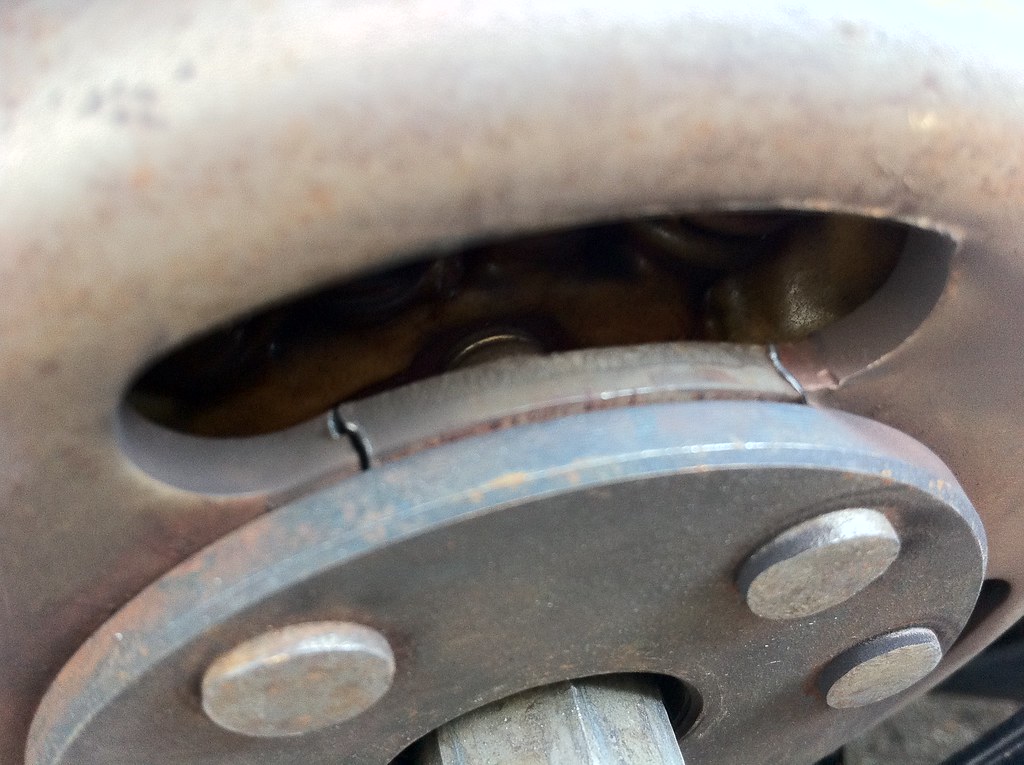
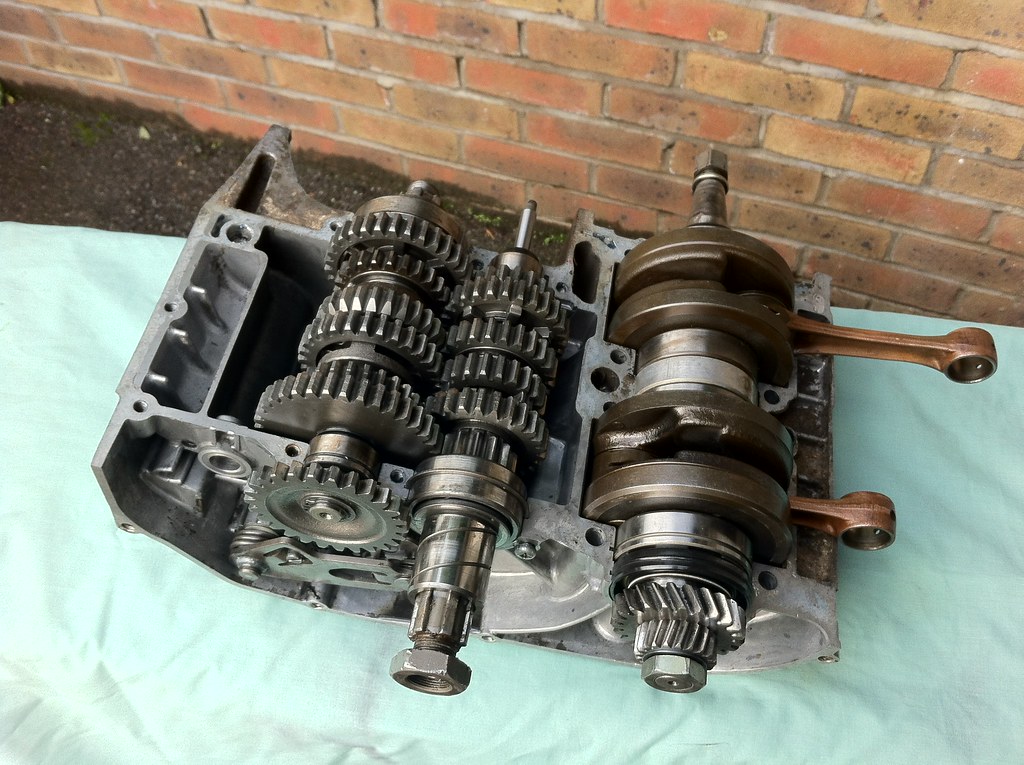
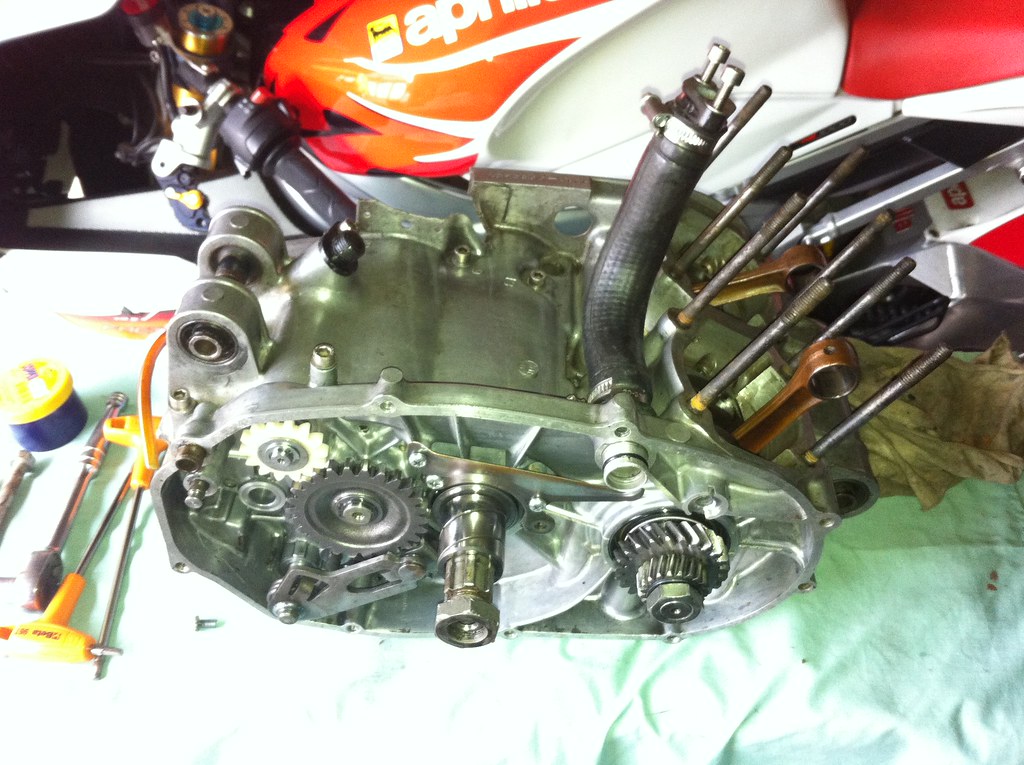
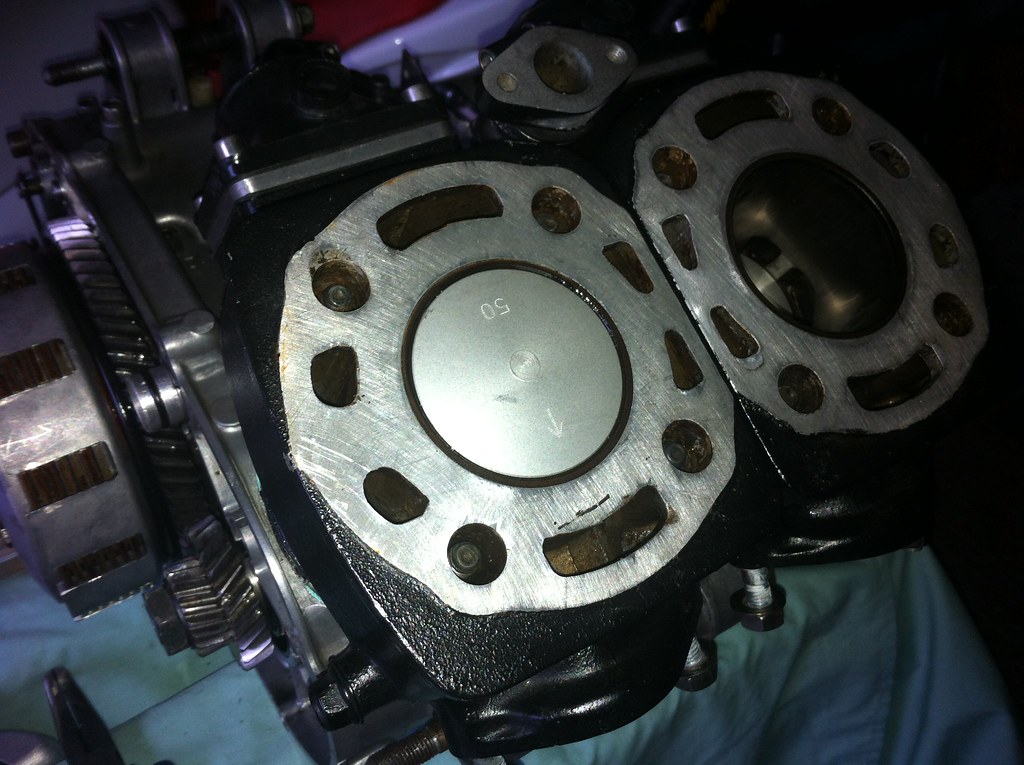
Two minutes later and unsurprisingly thehead gasket failed on the L/H Cylinder so I drained all the coolant out andwheeled her in for the strip down.