V2 Garage Whoops

Was just putting the last couple of screws into the new track fairing kit for the Panigale V2 and … it rolled off the side-stand. Couldn’t believe it. I was laying on the floor the other side at the time so couldn’t catch it. Bummed.

Damage - New clipon tube, clutch lever and gear shift are needed. It’s ridable as is, so props for Ducati for designing it to bend/break at the tips, but I can’t do a trackday as is, it needs repairing. Thankfully the fairings are totally unmarked :slight_smile: The other crash protection on the bike protected it.

Bit late now, but could really have done with a paddock stand :slight_smile:

Was quite hard lifting it back up with so little manoeuvring room.

1 Like

Luckilly so it didn’t land on you

2 Likes

Repairs would have been cheaper.

3 Likes

That’s a pretty decent lean going round a corner…

P.S. Love the garage floor :smiley:

Me wants for my garage!

1 Like

Love the anchor :+1:

That is so easy to do. I’ve nearly done it a couple of times walking with the bike. I dropped the CB500 that way. The slightest touch will move the side stand just enough and it’s all down hill from there.

1 Like

Why you don’t own a skylift by now I do not know.

My 748 had the notorious Ducati spring loaded flip up side-stand. I was always nervous of me, or some tyre-kicker onlooker, raising the bike the very few millimetres it needed to flick up. But it never happened.

My Supersport however has been over and that was very expensive on Brembo brake levers, both front and rear.

Space, mainly. There’s not a lot of room in the garage. Should of at least had a bloody paddock stand.

Doesn’t really take much space at all. You can either tuck the base under a bike. Or easily remove the two sticky-out legs if needs be & it’s then a pretty slim linear item that you can store against the wall.

1 Like

At least you didn’t play dominoes with the mo’cycles.

You need to get a round tuit with those ground anchors, clean 'em up and show 'em a rattle can of fluro red :wink:

Skylift, love one they just do work on FJR’s. I think it is the only bike they don’t work on.
The shoulders on the tire look like they have been working hard :+1:.

I hope that floor is heated :wink:

Got the replacement parts in. Of course, it didn’t go smoothly. What on EARTH the Ducati engineers were thinking when they decided the appropriate process for replacing a bent gear shift lever was to require you to take off fairings, completely remove all senors, gear shift linkage and then rearset is beyond me. The whole thing could have been massively simplified by using a nut so you could undo it without having to remove the whole linkage.

Anyhow, long story short, that bolt that couldn’t be undone from the side of the bike, was stuck. I ended up having to cut the whole ball joint off with a Dremel aftering failing to undo the bolt with hex keys/attachments, and then after trying to dremel a new groove into the head to try and phillips it out, meaning I now have to order some replacement parts. Hopefully they turn up quickly. We’ve got a trackday in a couple of weeks (apparently, you would be forgiven to wondering if we’re mad, considering the weather atm).

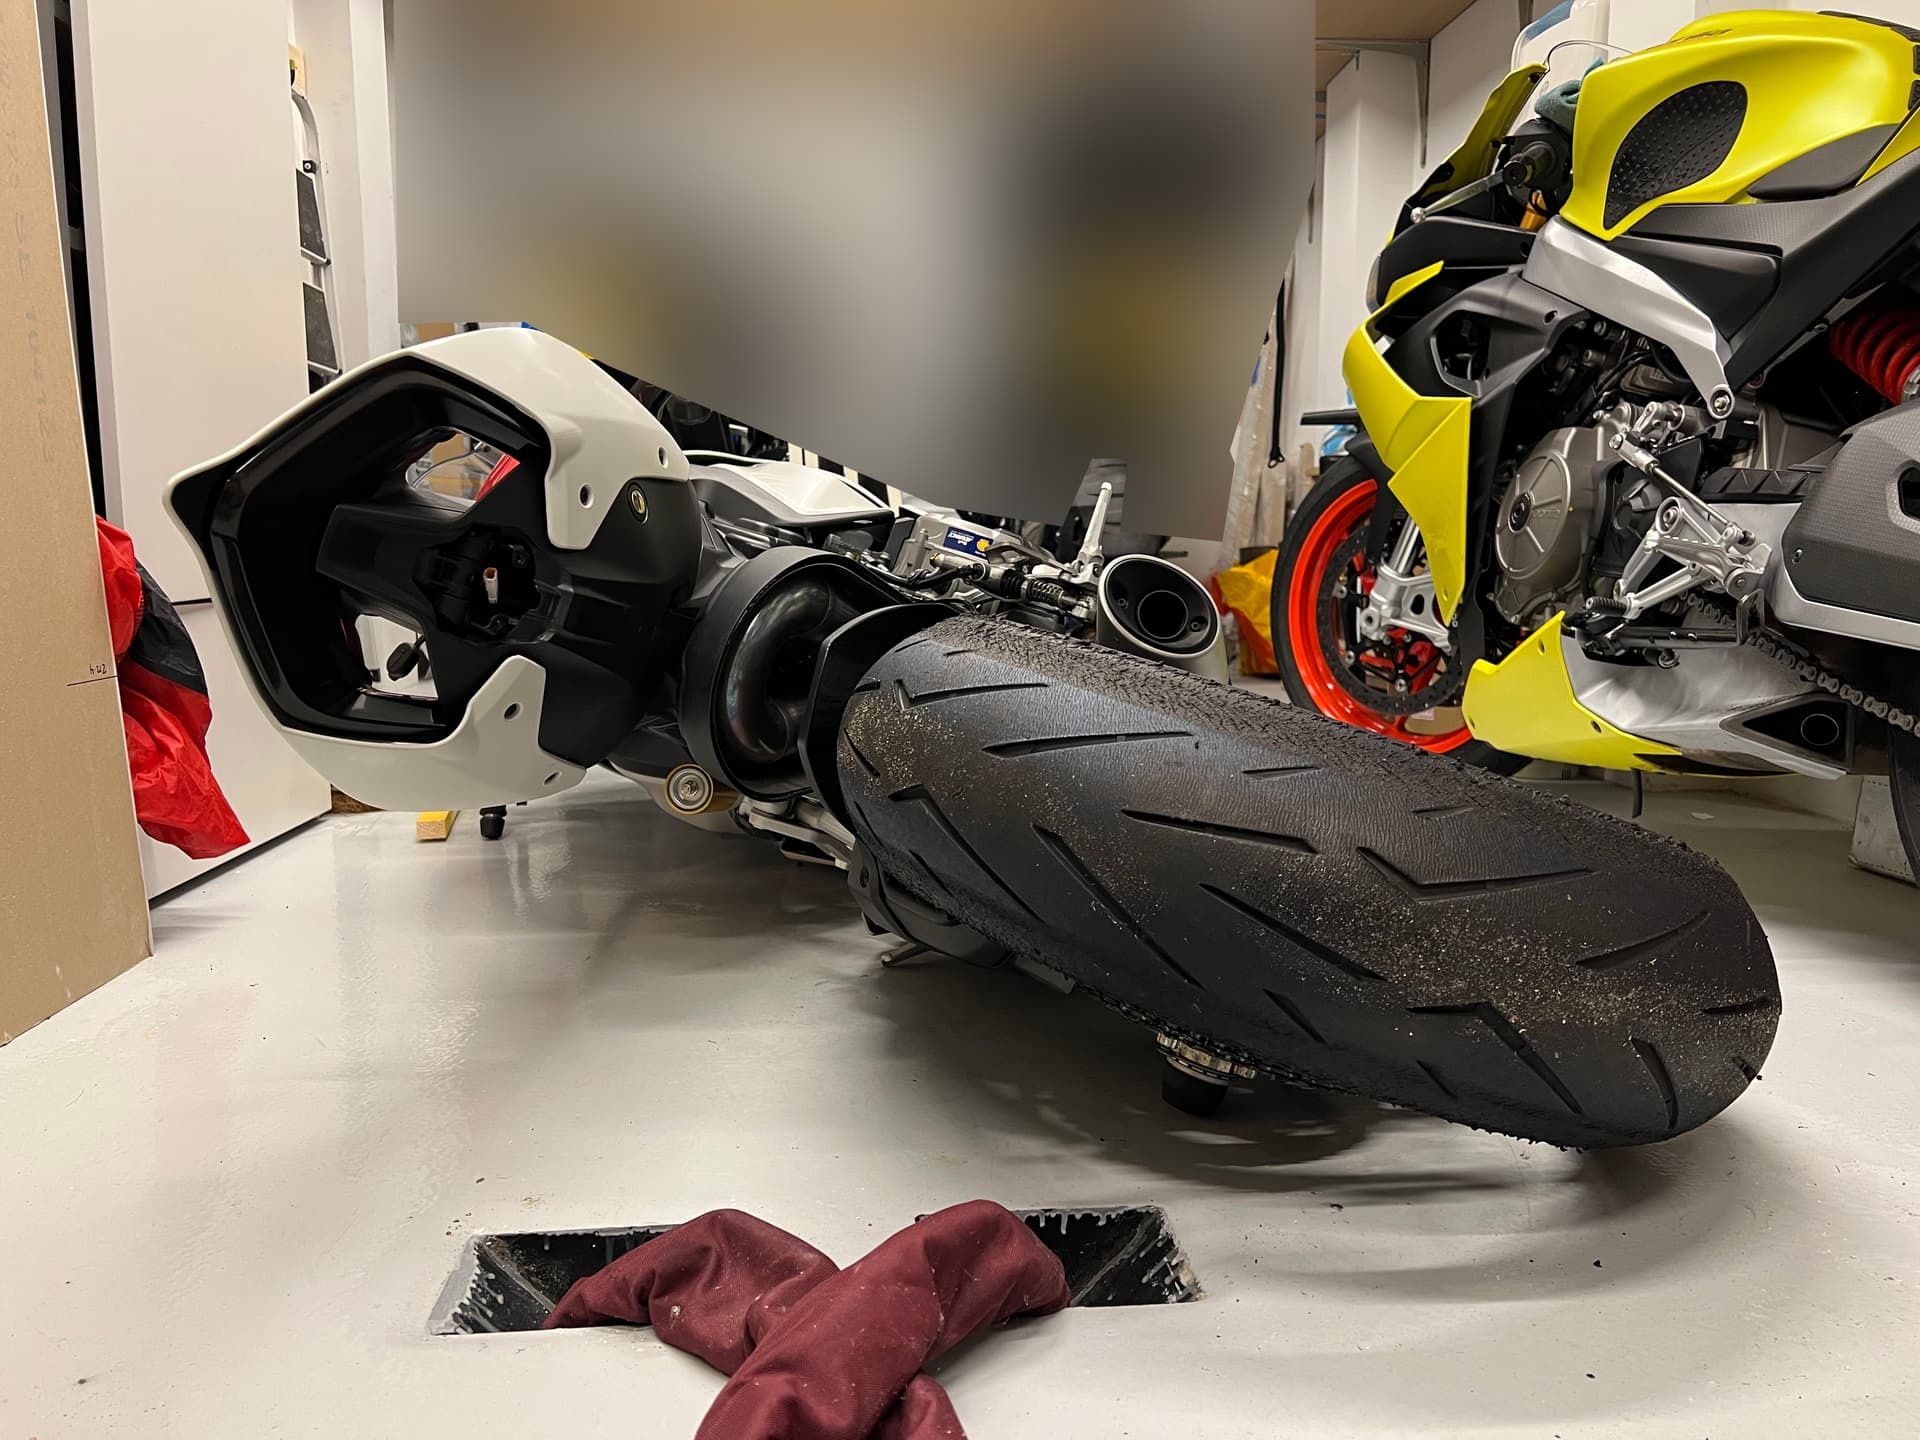
Anyhow, here’s some garage hackathons:


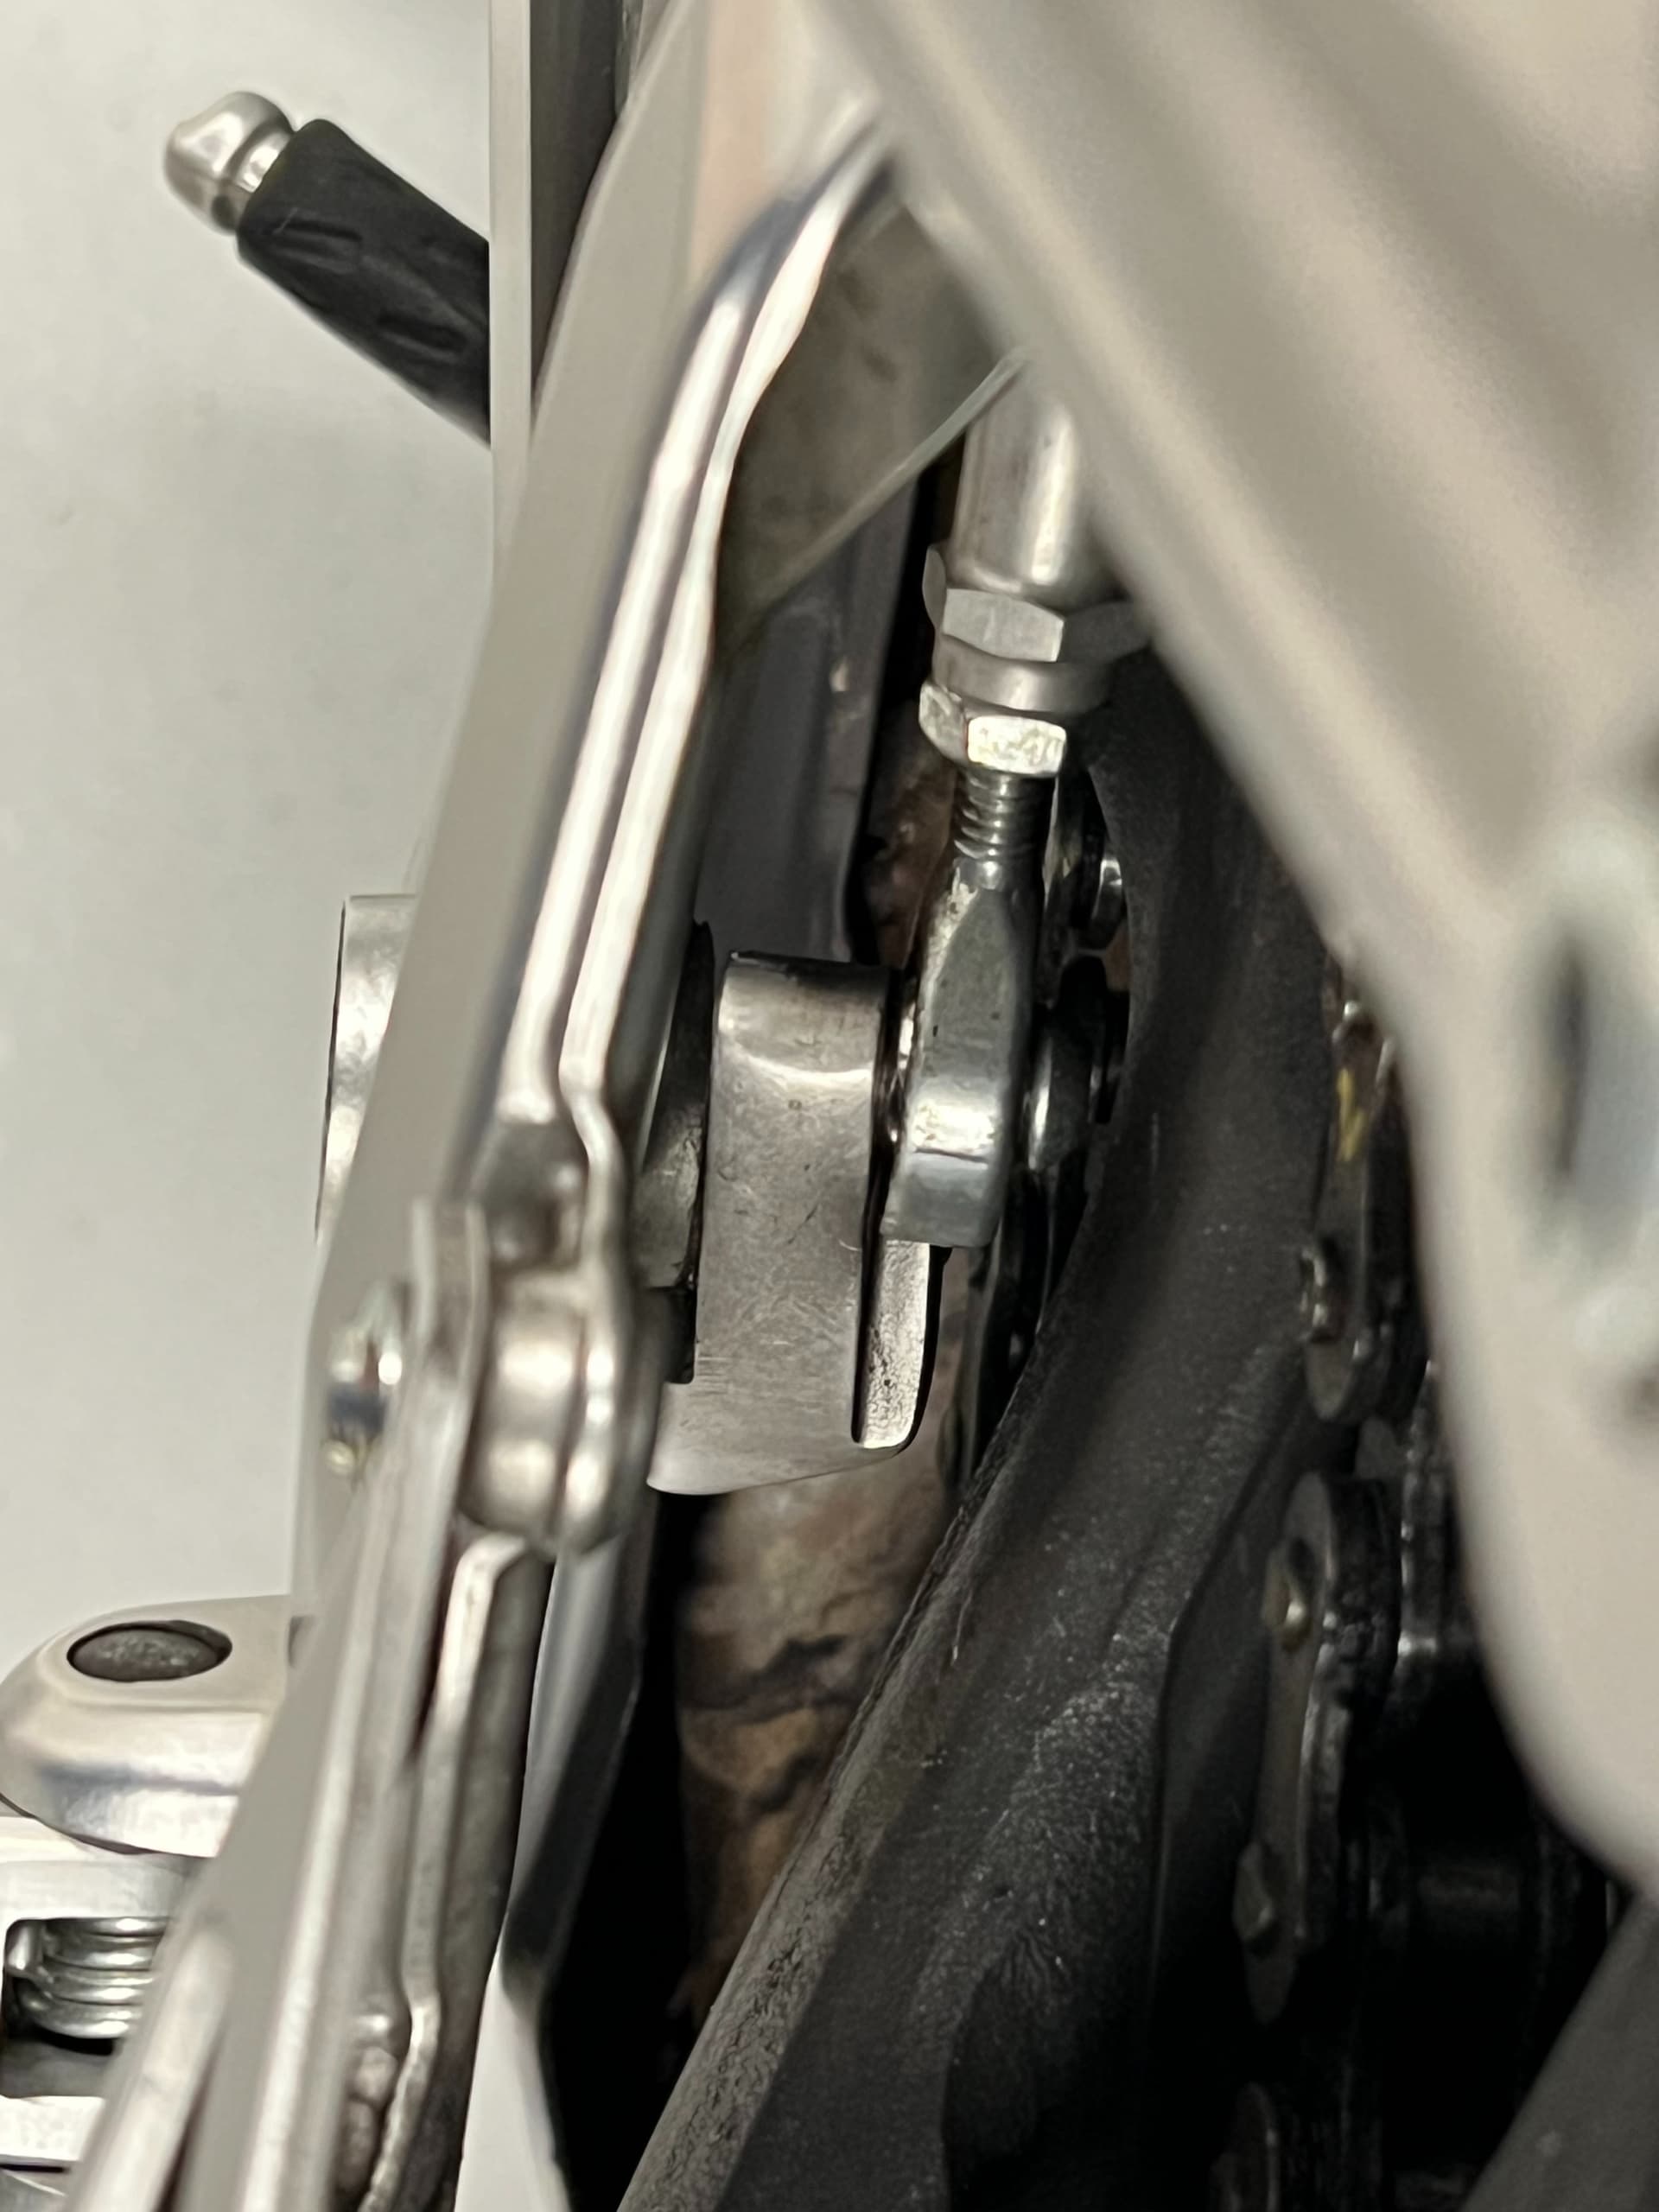
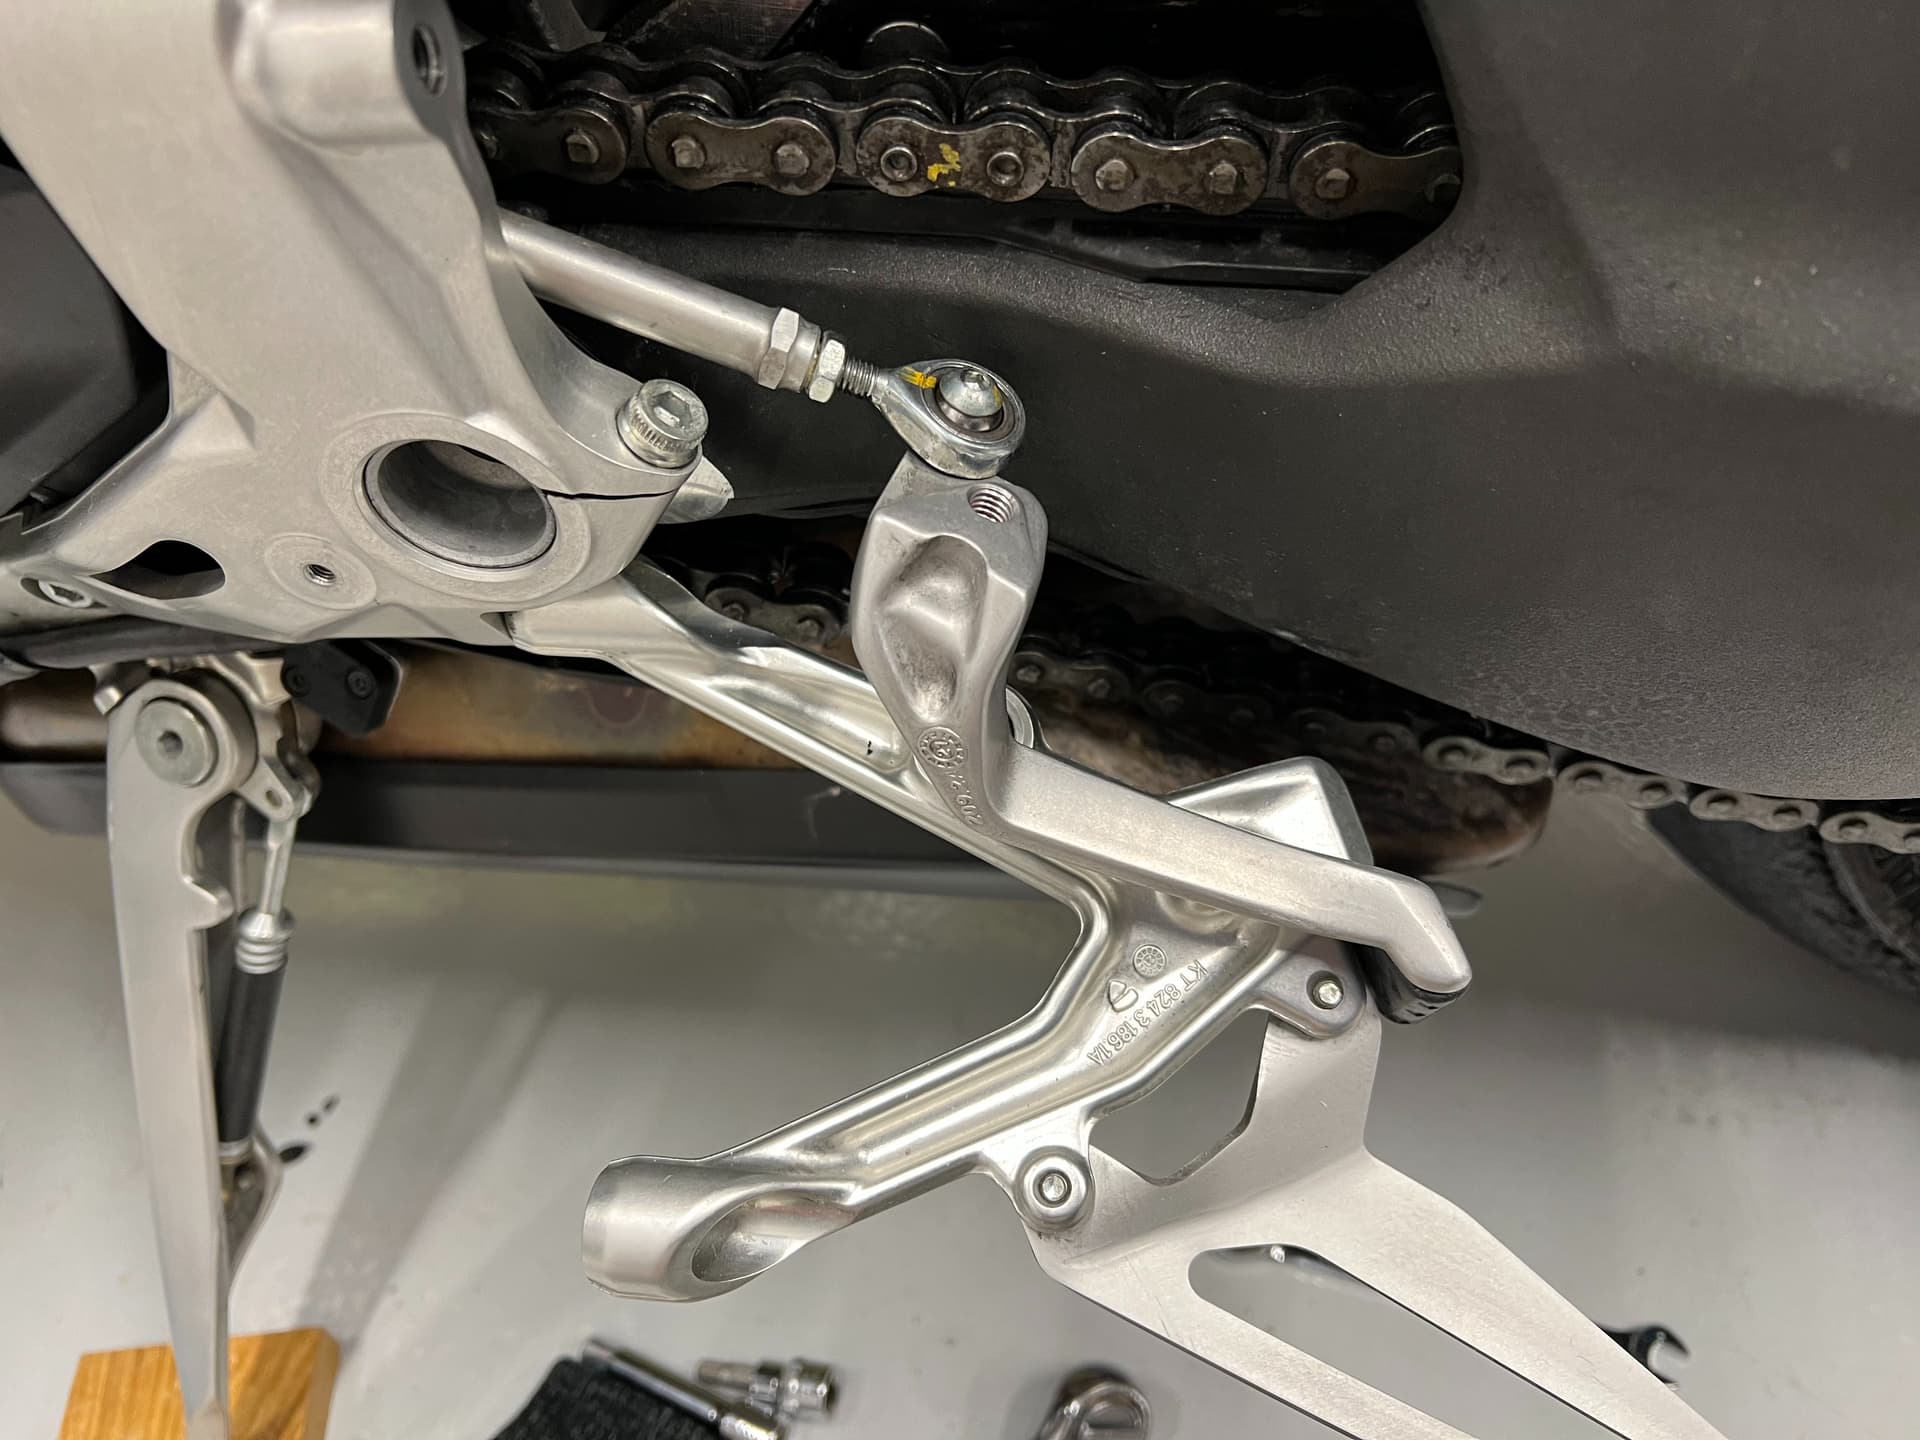
Ducati Engineer, why is that ball head hex bolt facing the swingarm, WHY???!


A nut would have been better, so it could be undone from slipping a spanner inbetween the swingarm and ball joint. Mark on the fairing is from the gearshift lever when the bike fell over.


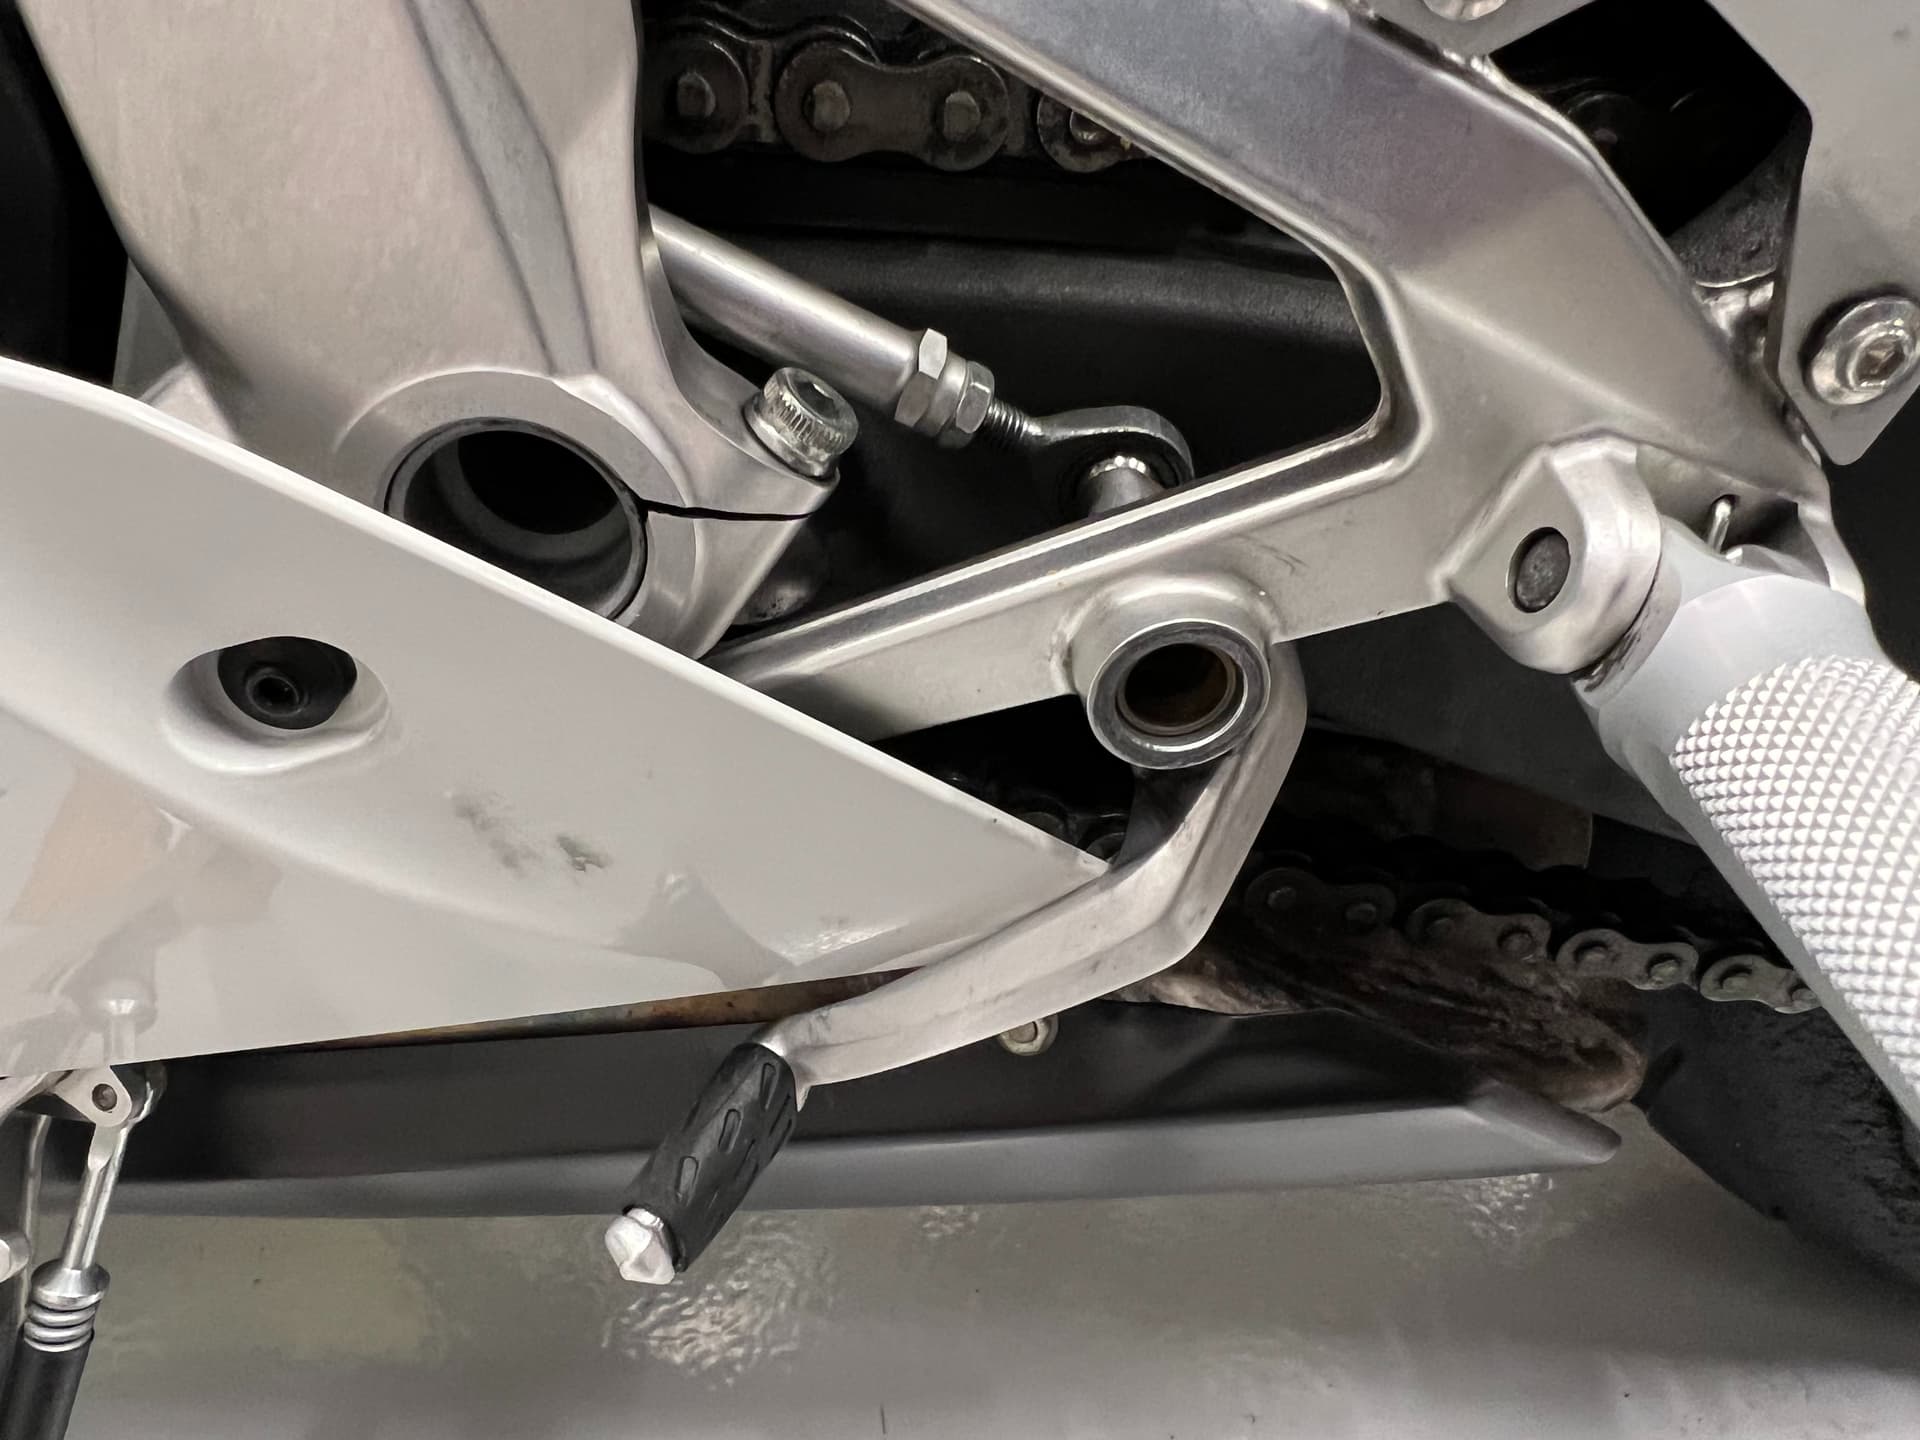
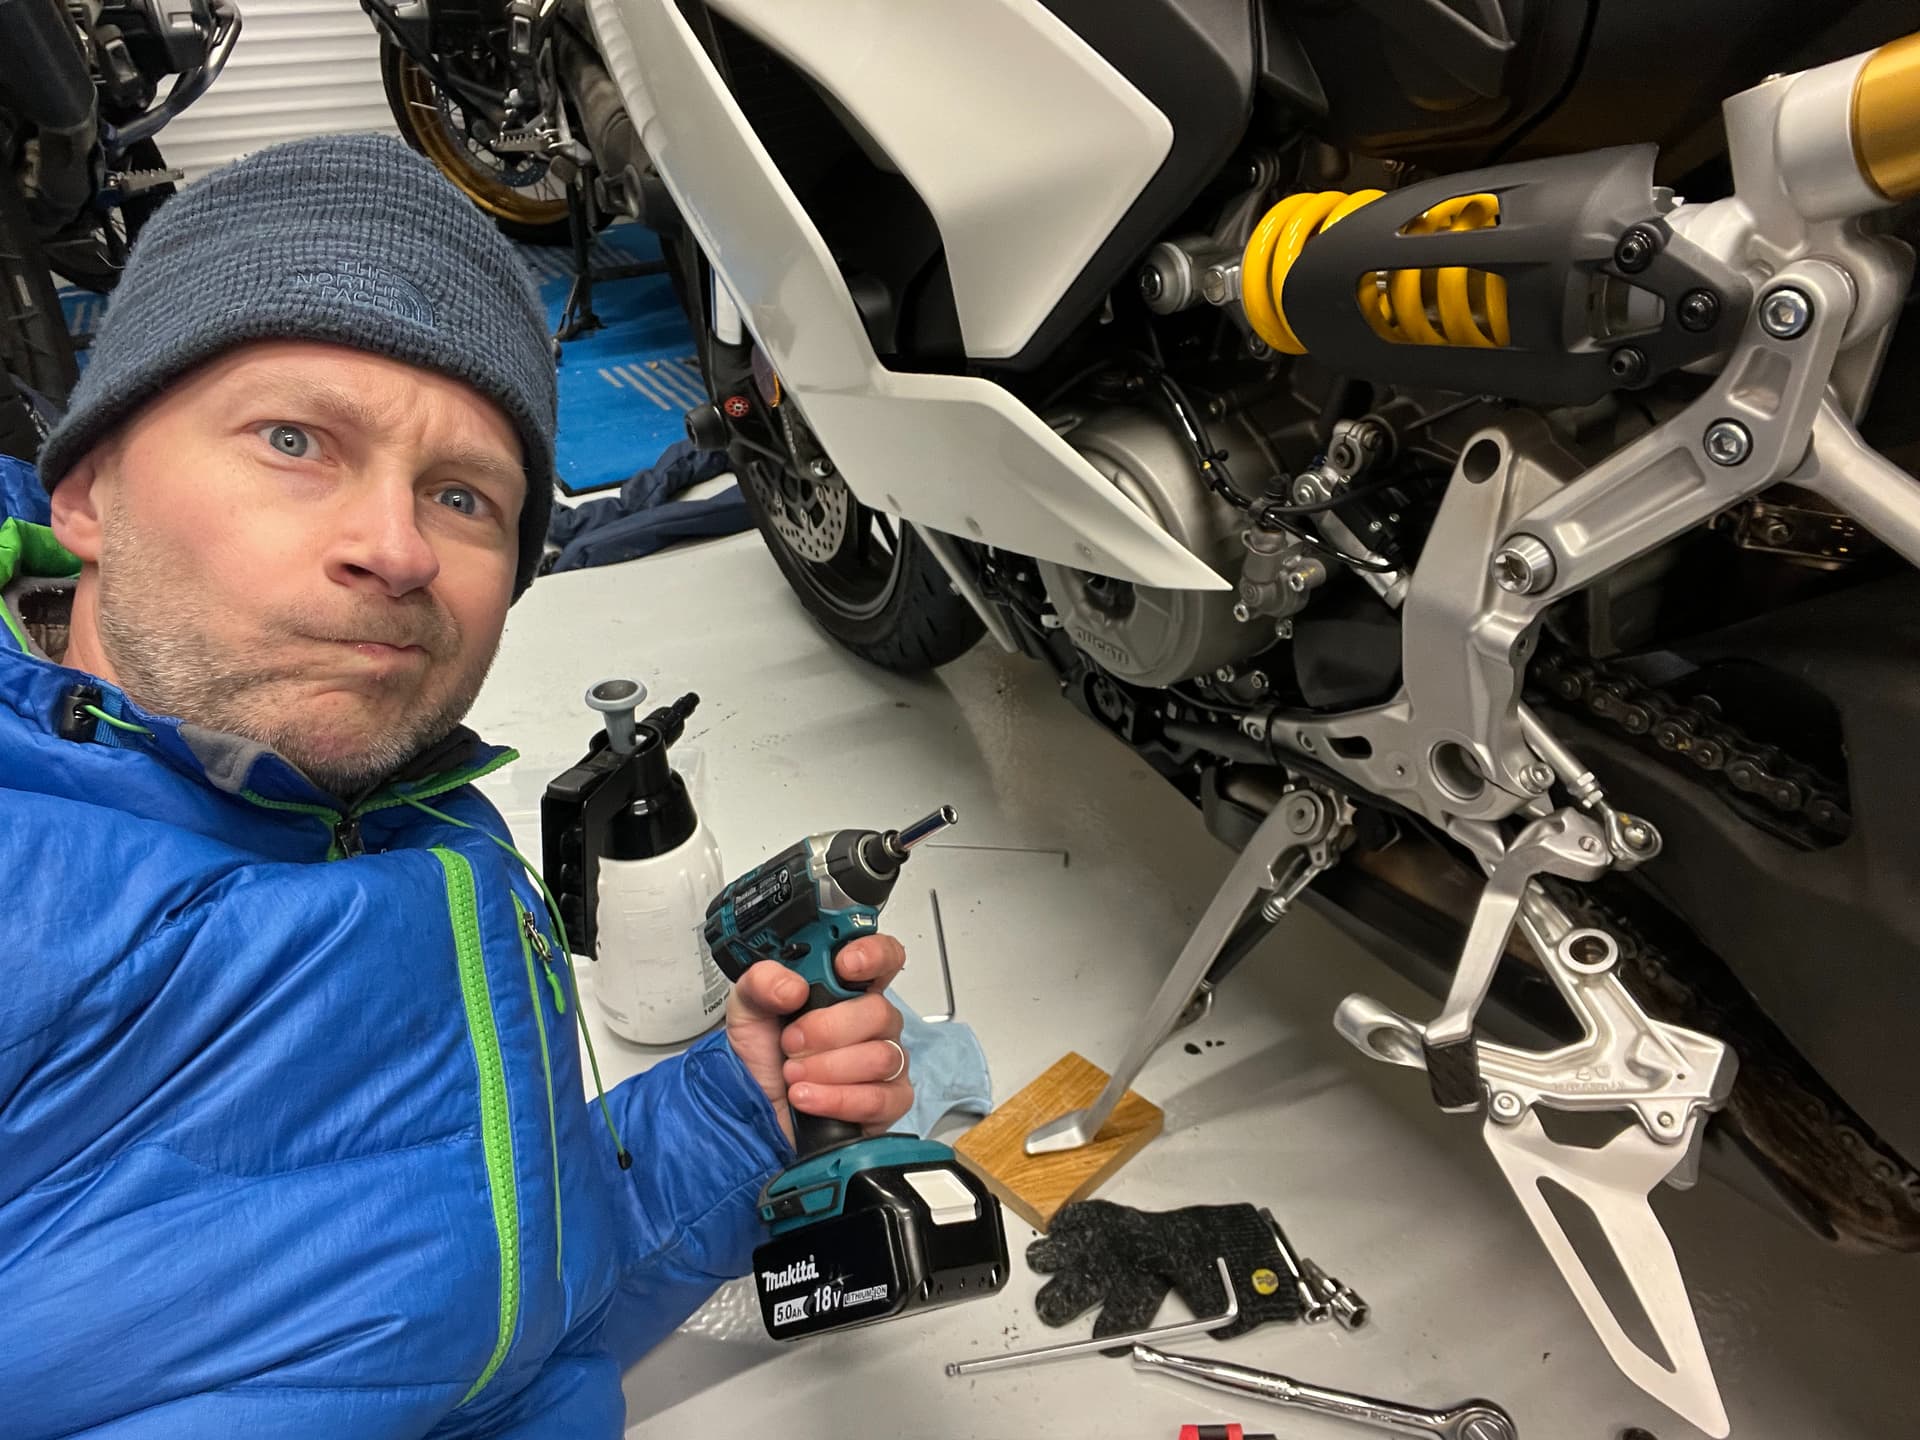
Removing the rearset to enable more access to the ball-joint.


Have to remove the lower fairing to remove the rearset. REALLY?


Cleaning the rearset up before touching it.


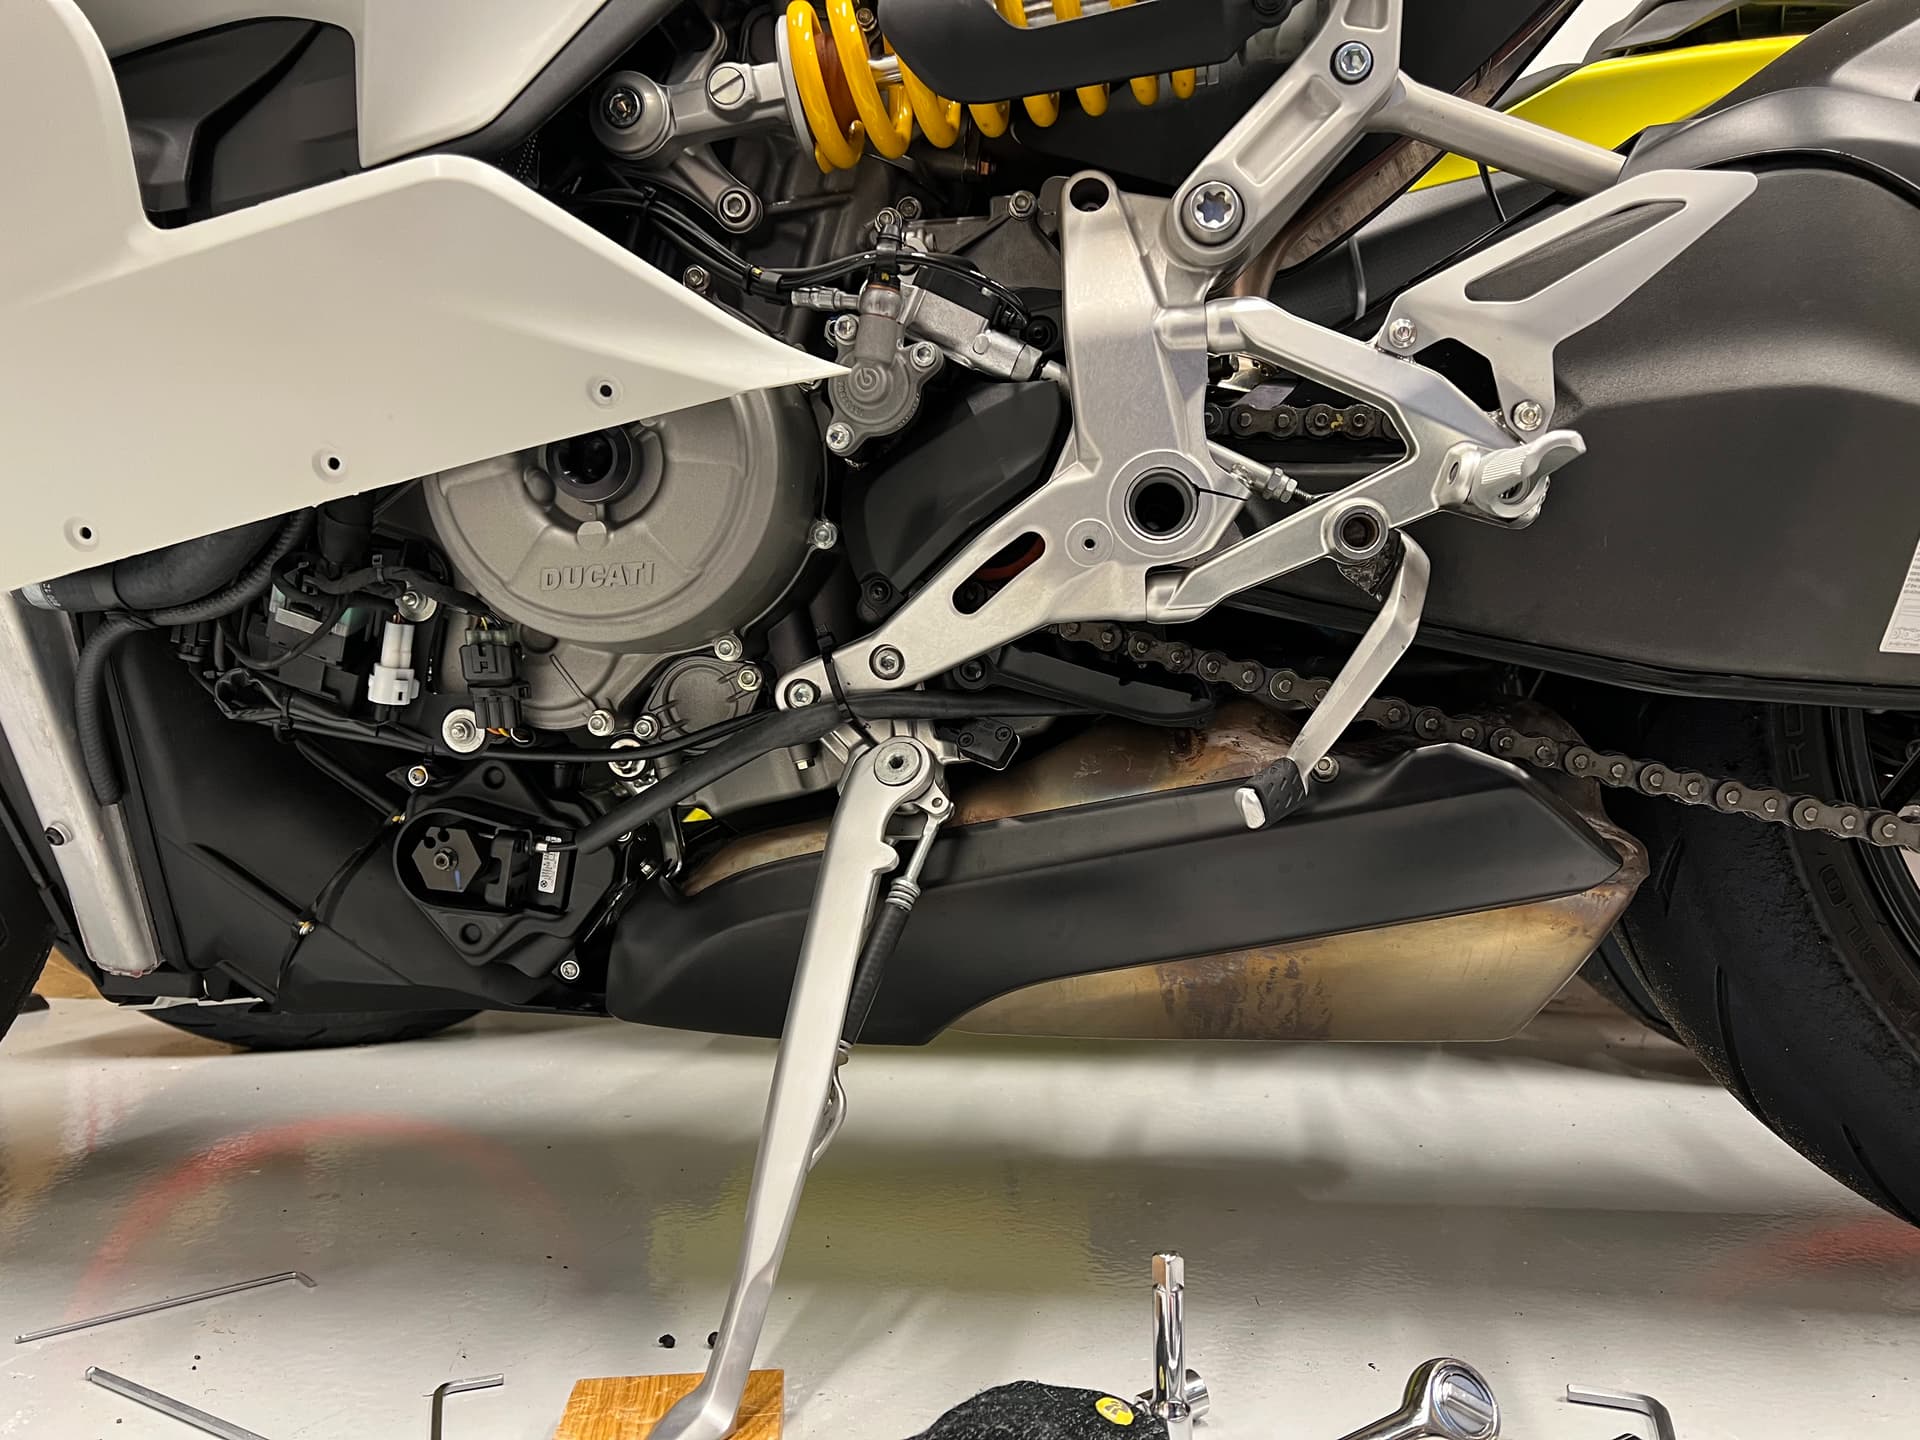
The offending ball-joint hex bolt is now accessible.


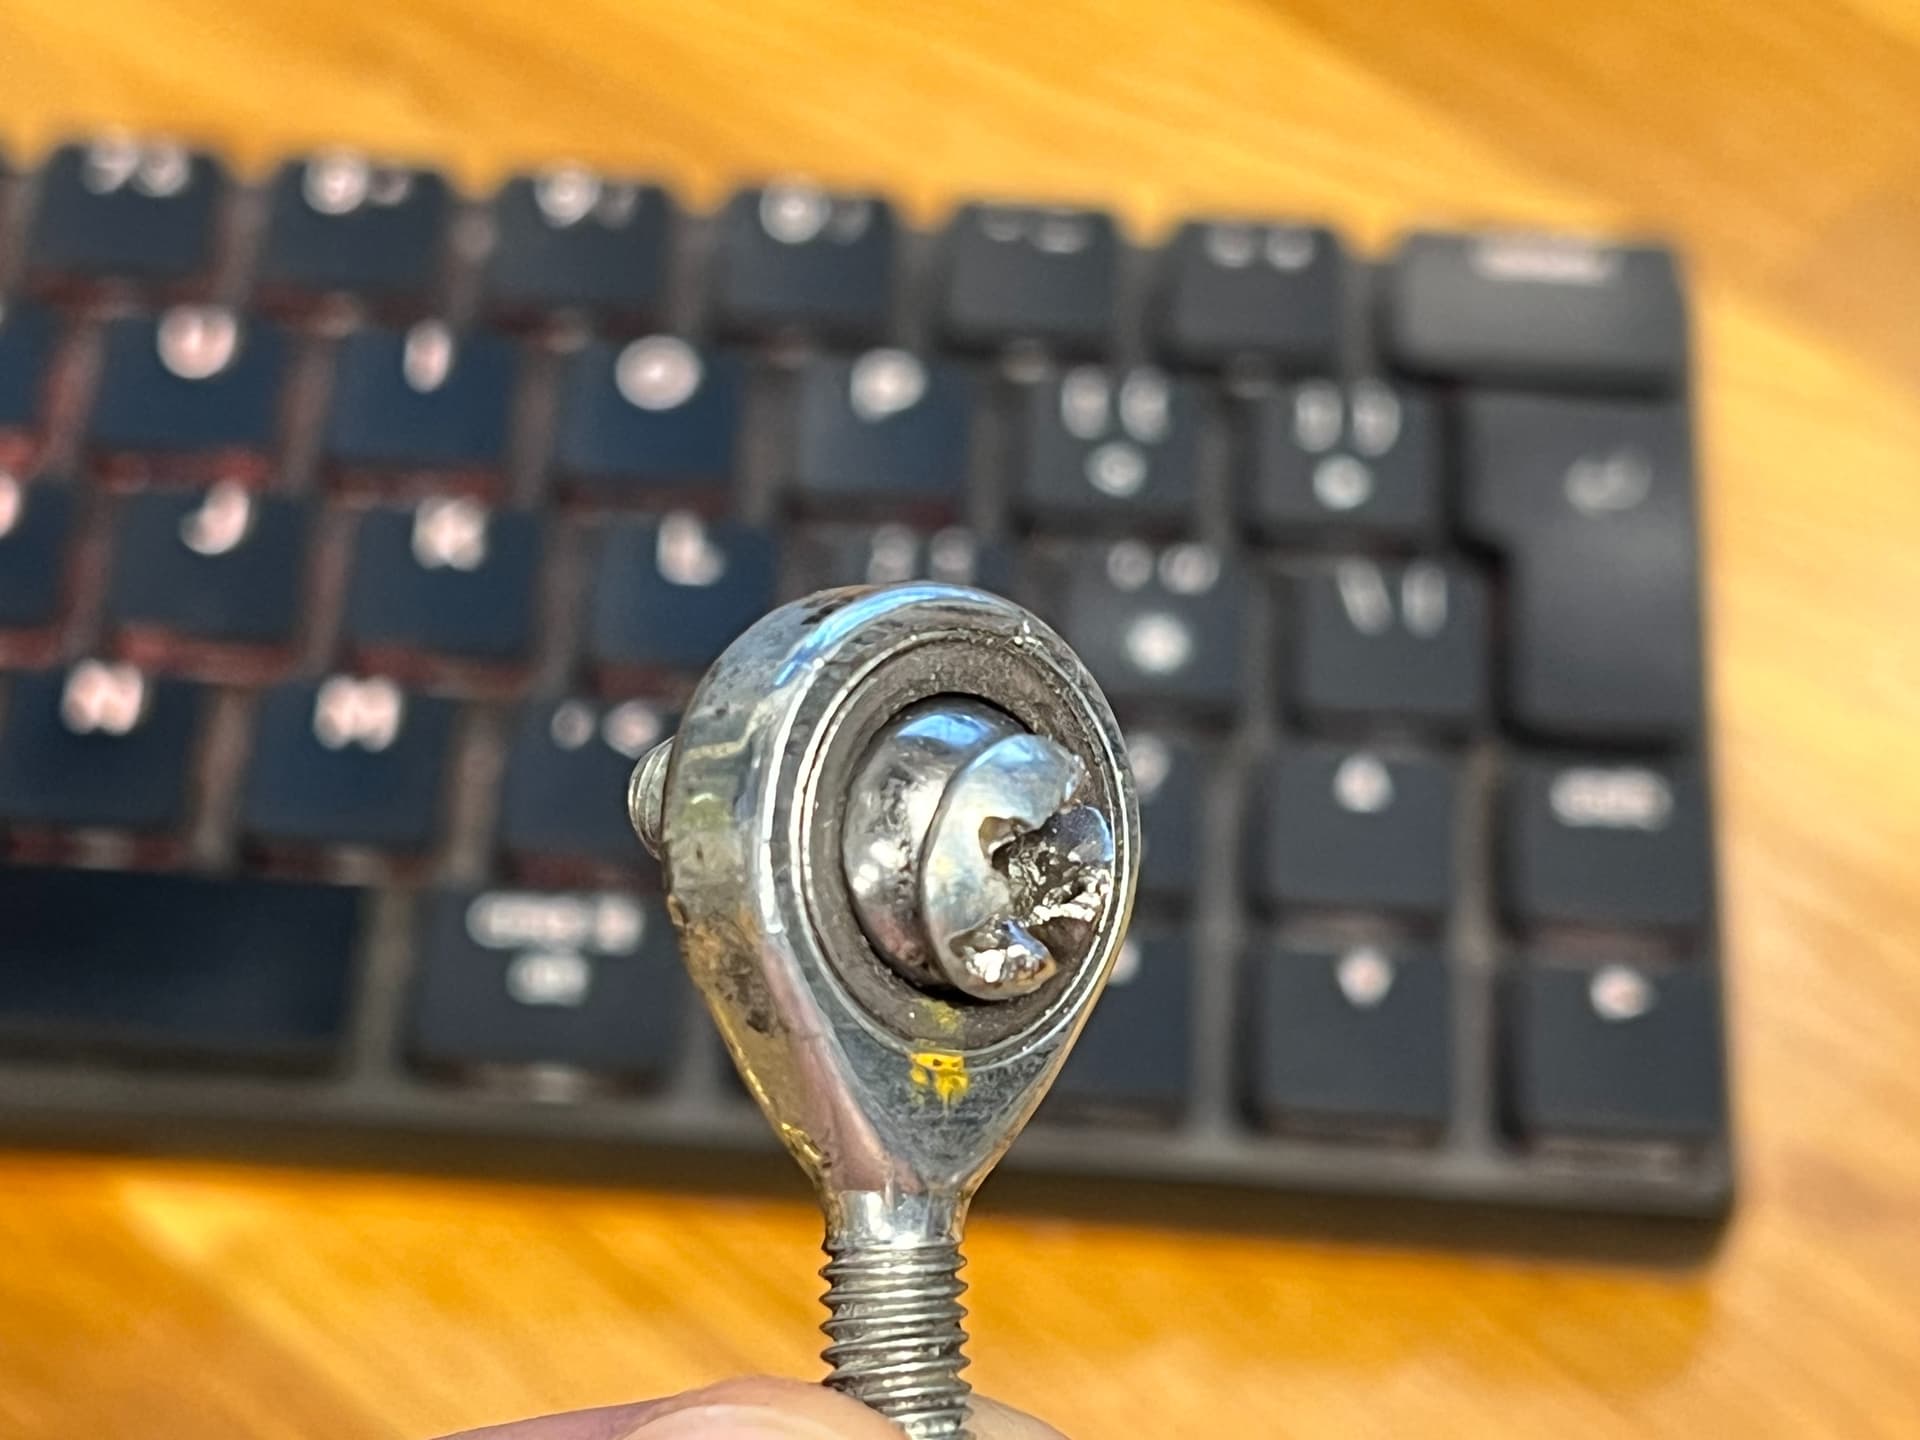
I’m frustrated. Various hex attachments and the impact driver do not release the bolt. It’s now somewhat rounded.


Somewhat rounded.


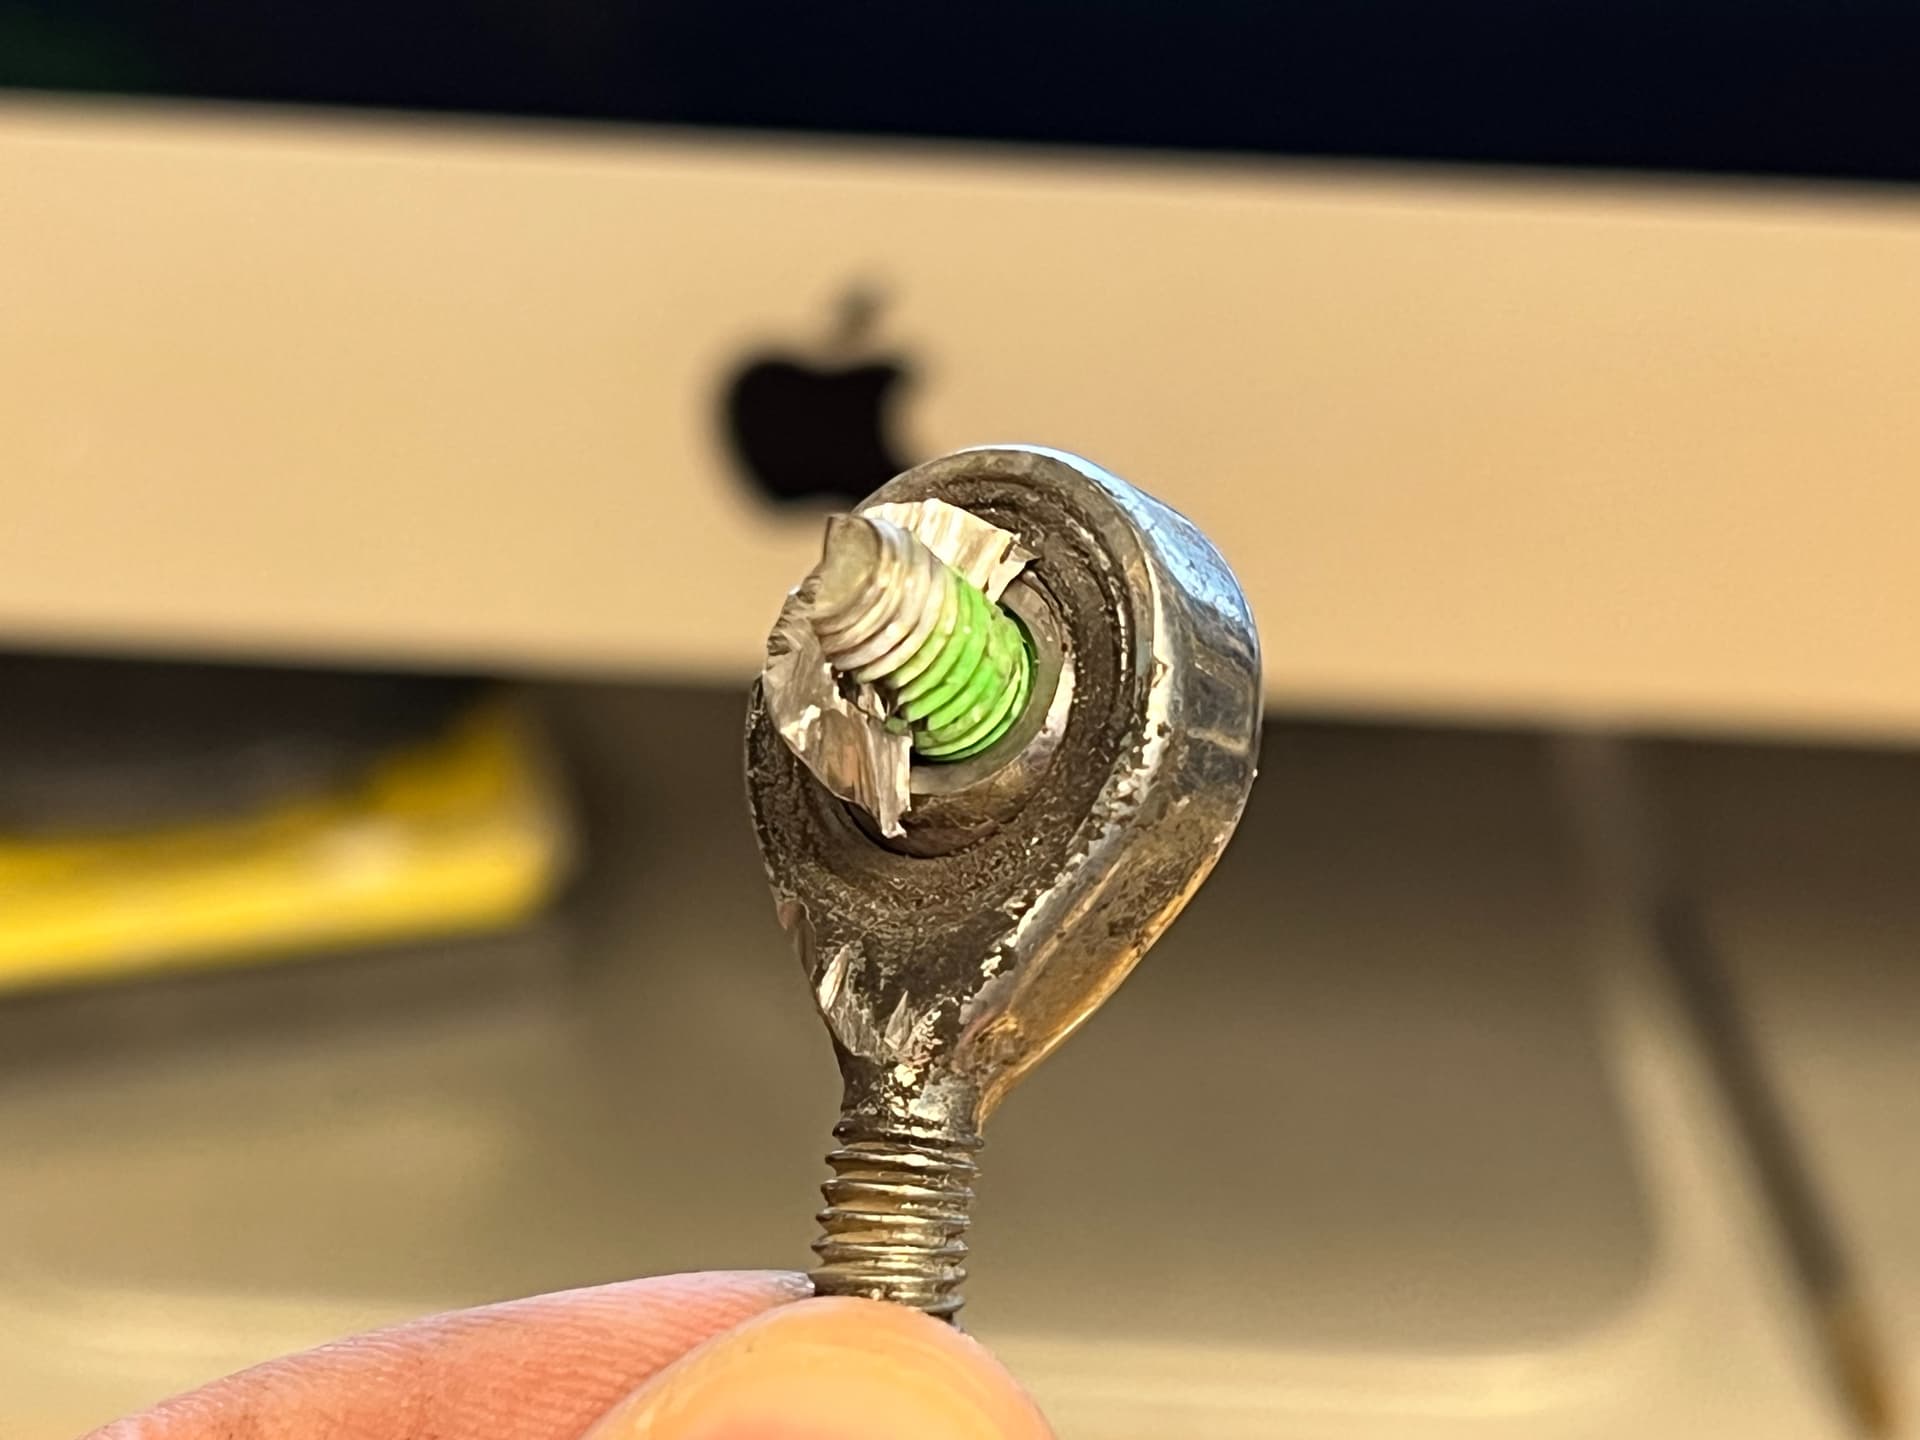
Post-mortem. Ball joint now removed. Evidence of extreme bodgery evident.


The remainder of the offending bolt and sacrificed ball-joint. Sorry ball-joint, blame your partner, the bolt.

2 Likes

Maybe applying a little heat would have been the ball joints best friend here. The green substance on the fasteners threads is a threadlocker, applying localised heat to around 250°C loosens the threadlocker, then while hot the fastener can then be eased out with a progressive loosening and tightening action.

1 Like

Great advice, thanks mate.

I’ve got an electric heat gun, but didn’t consider that. It might also not have been hot enough. Maybe a blow torch is needed for future troubles?

Replacement ball-joint and screw ordered. Sigh.

Could it be to do with putting people off doing their own work and then having to pay a dealer to do it.

Unless Ducati have a special tool imagine how long that work would take and what they world charge.

crème brûlée blow torch is useful for heating a bolt at a time, localized heat on the head will go down the shaft

1 Like

The cynic in me does harbour some suspicion on that front. That or aesthetics trumped engineering.

Mode d’emploi - place an old Allen key, screwdriver or similar on the bolt head, heat shaft of Allen key, screwdriver or whatever to red hot and that should give sufficient heat transfer to loosen the threadlocker, a pair of pliers will save you from burning your fingers. :wink:

The new bolt will most likely come with a pre loaded with a dry threadlocker, it’ll be evident by a green, red or blue band on the threads. If not the best threadlocker deal at the moment can be had at Euro Car Parts - TRIPLE QX Threadlock and Seal 24ml

1 Like