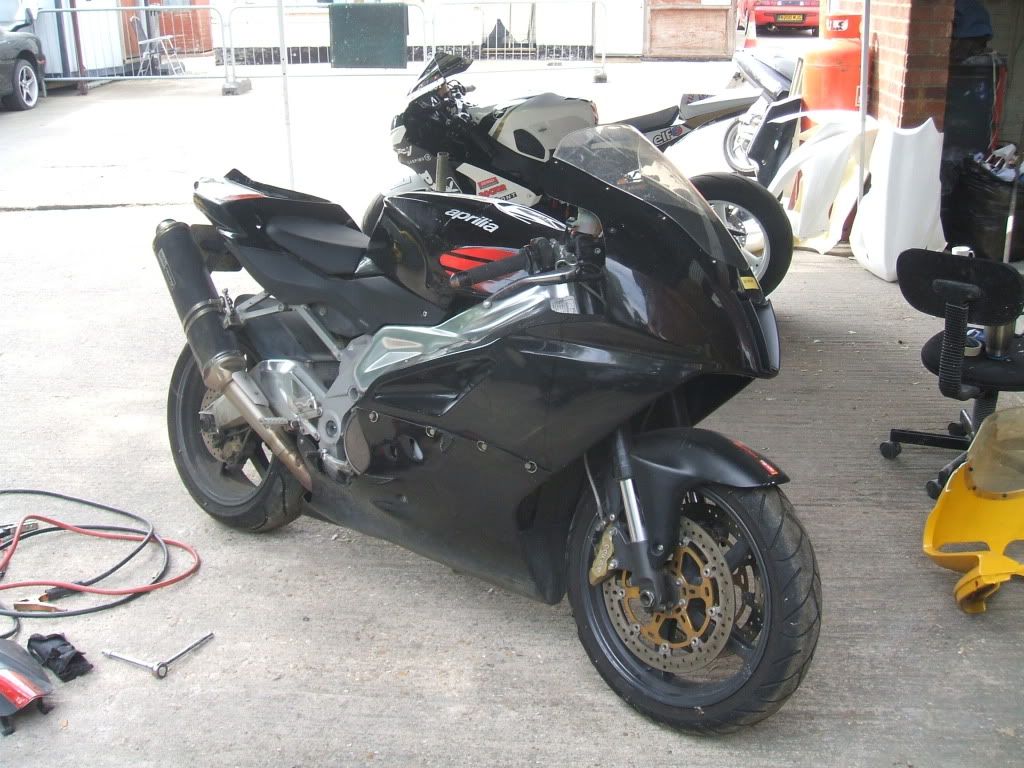
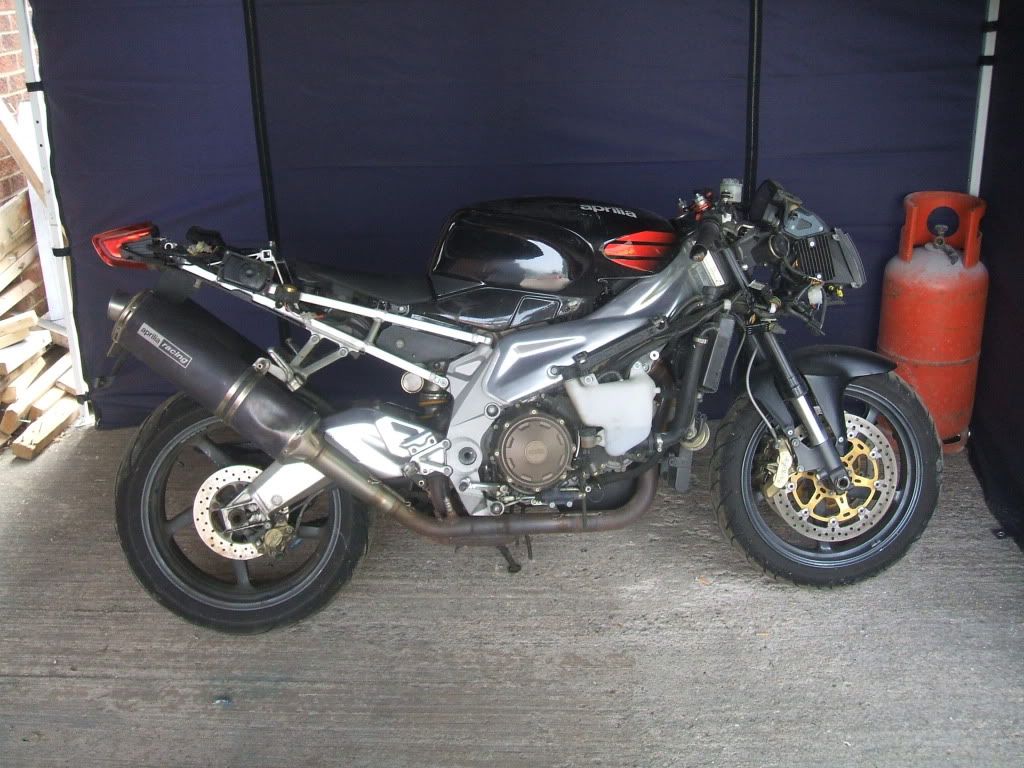
I haven’t posted on here for a while. I acquired a 2004 RSVR which was garaged for well over 18 months. It is to be my new track day bike, with a view to racing next season.
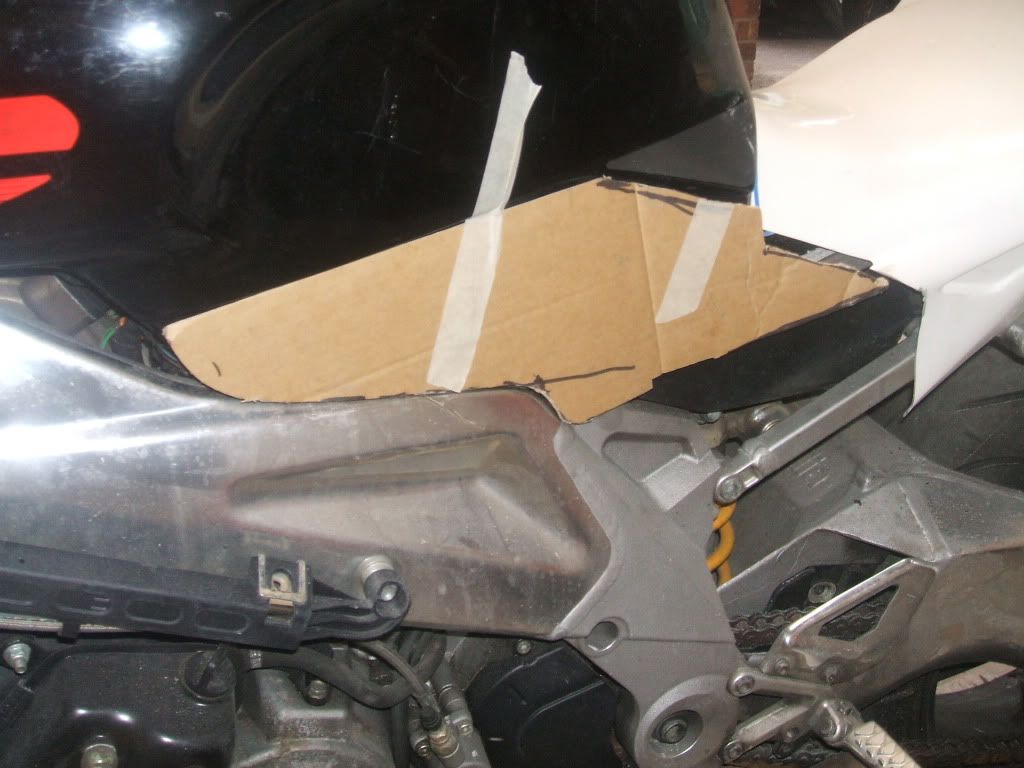
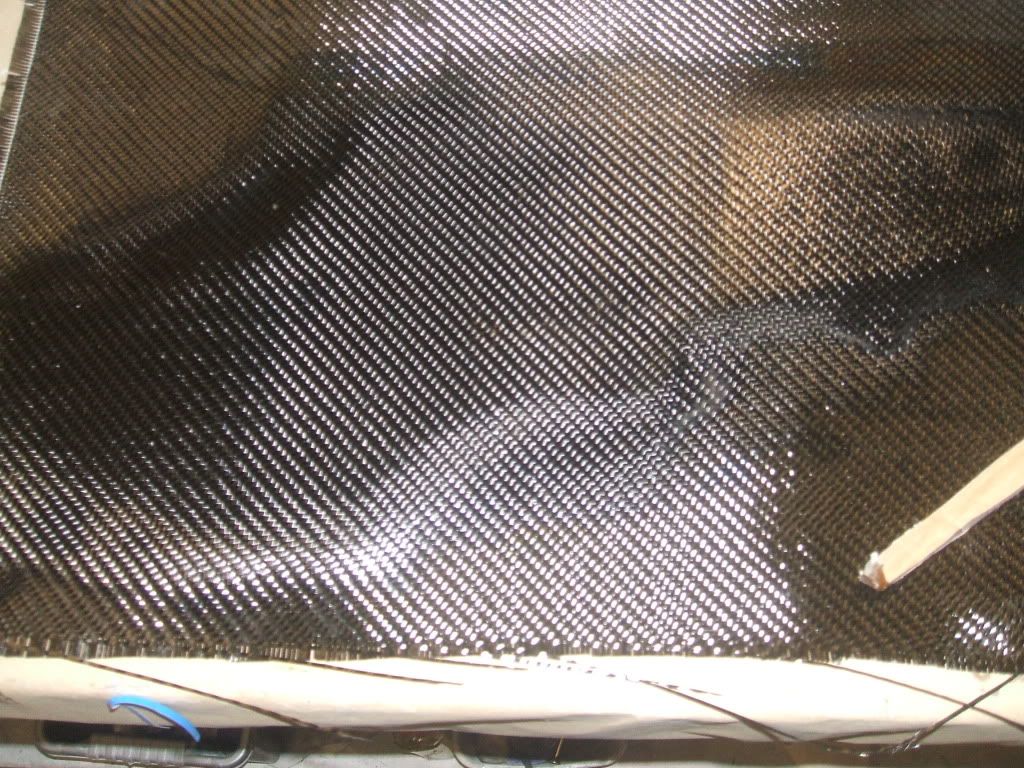
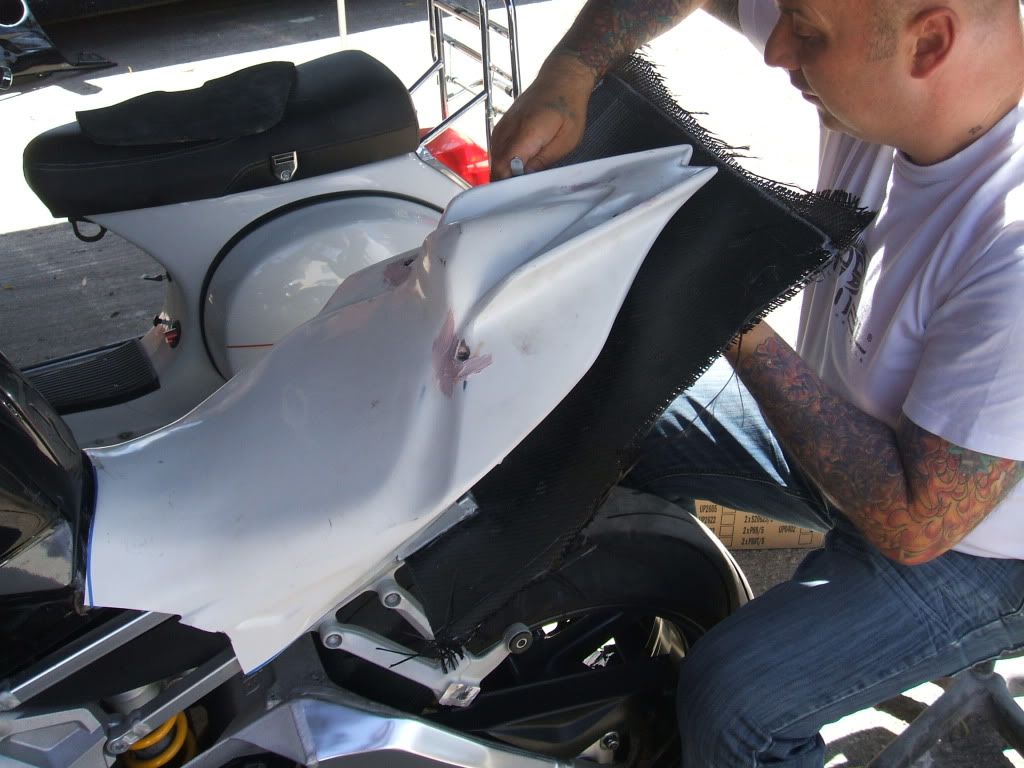
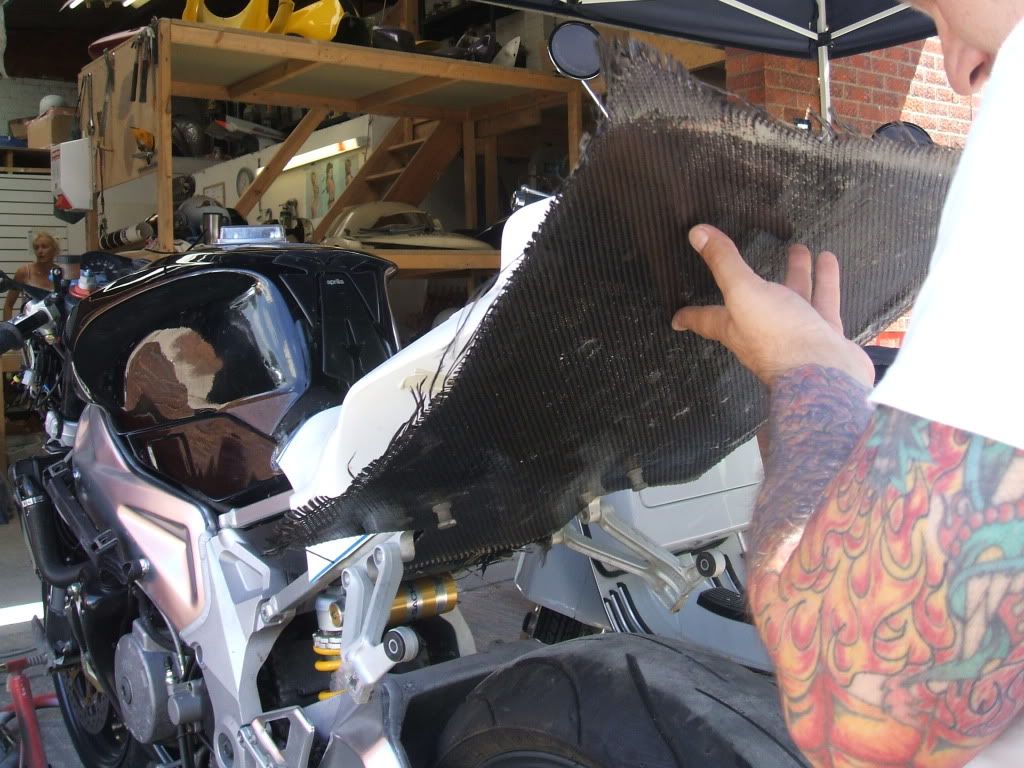
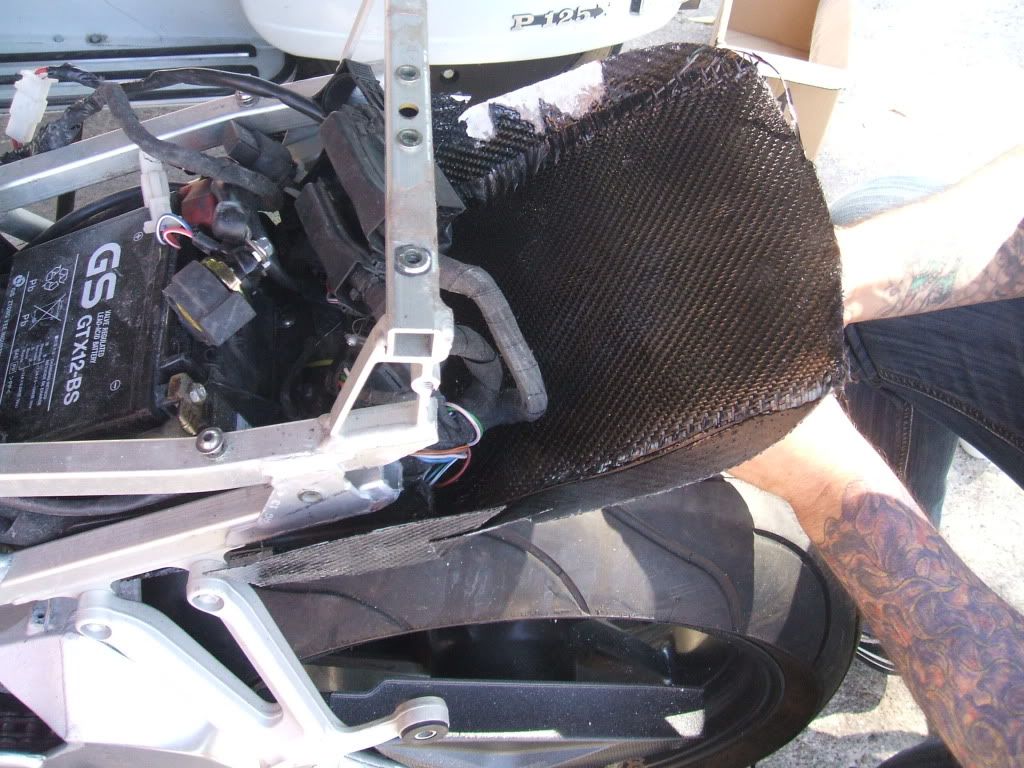
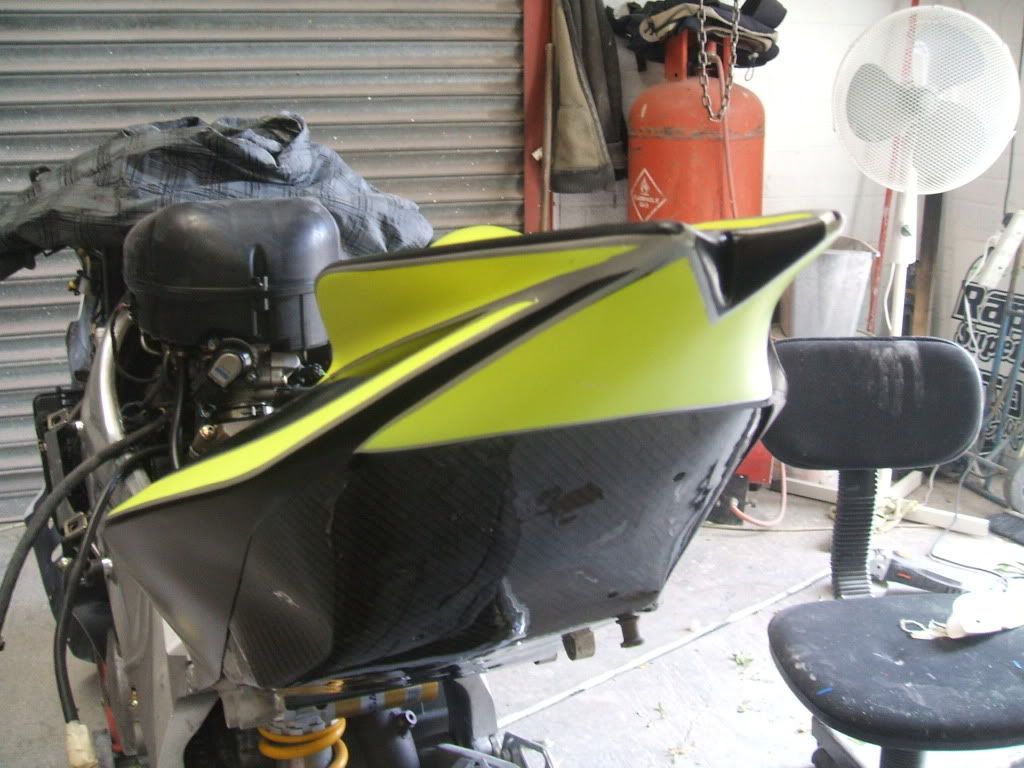
The next thing myself & Iain (the Baldy) done was to warm up the CF with the heat gun, gently & slowly, ensuring that the CF did get to hot. Start shaping the CF around the outside of the seat unit, this will give you a rough shape. We then used making tape to hold the CF in shape, using the heat gun to warm up where cooling has taken place. Allow the CF to cool, I use a panel beaters dolly and gently smooth over. This effectively cools down the CF quicker & becomes ridged.
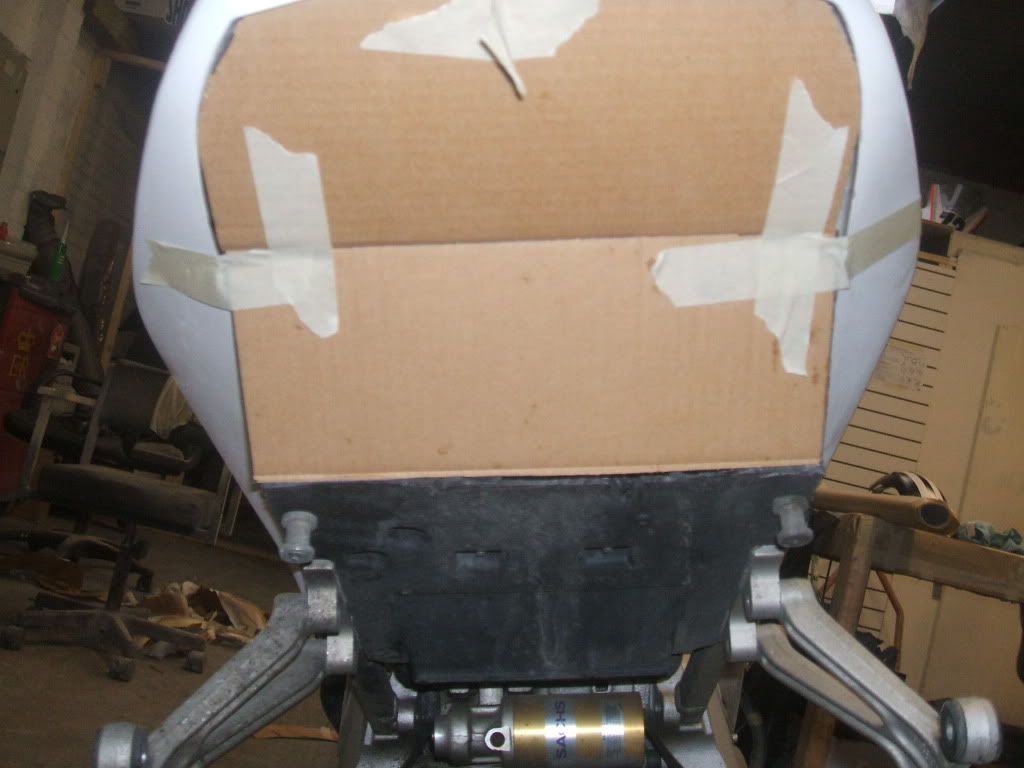
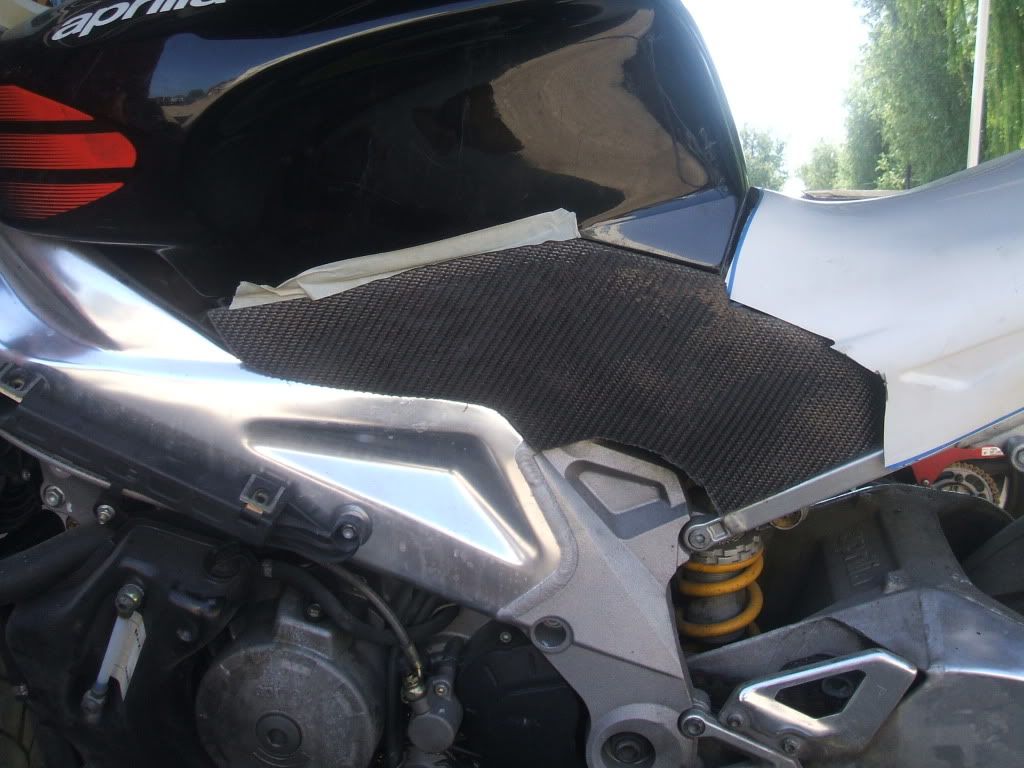
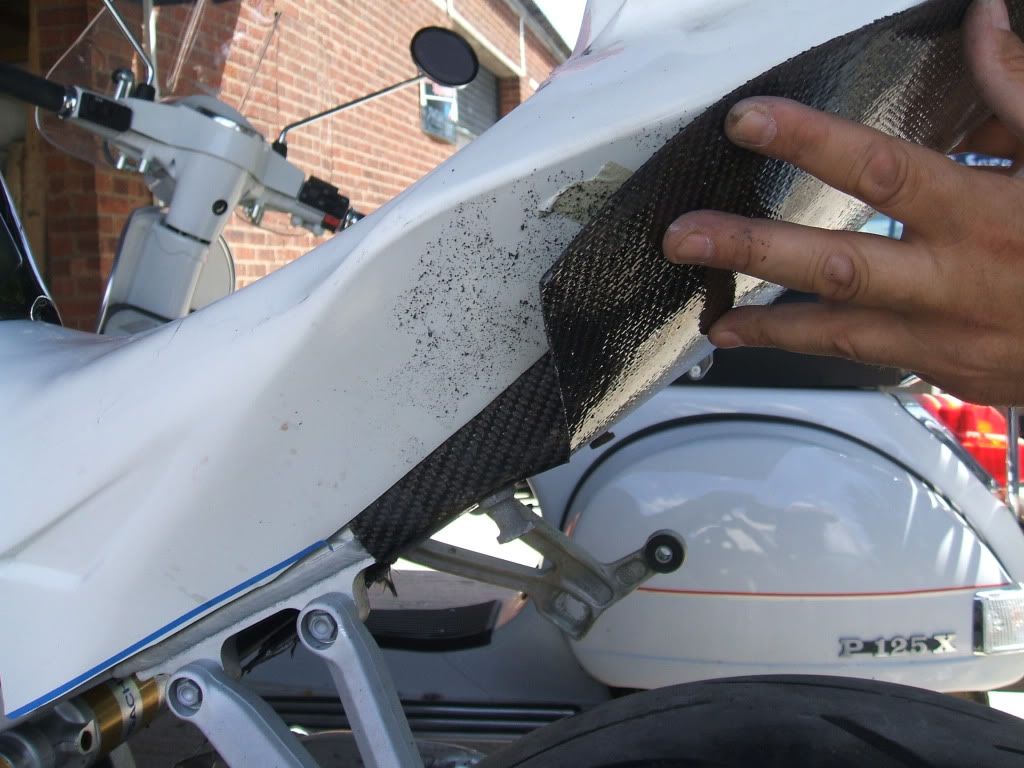
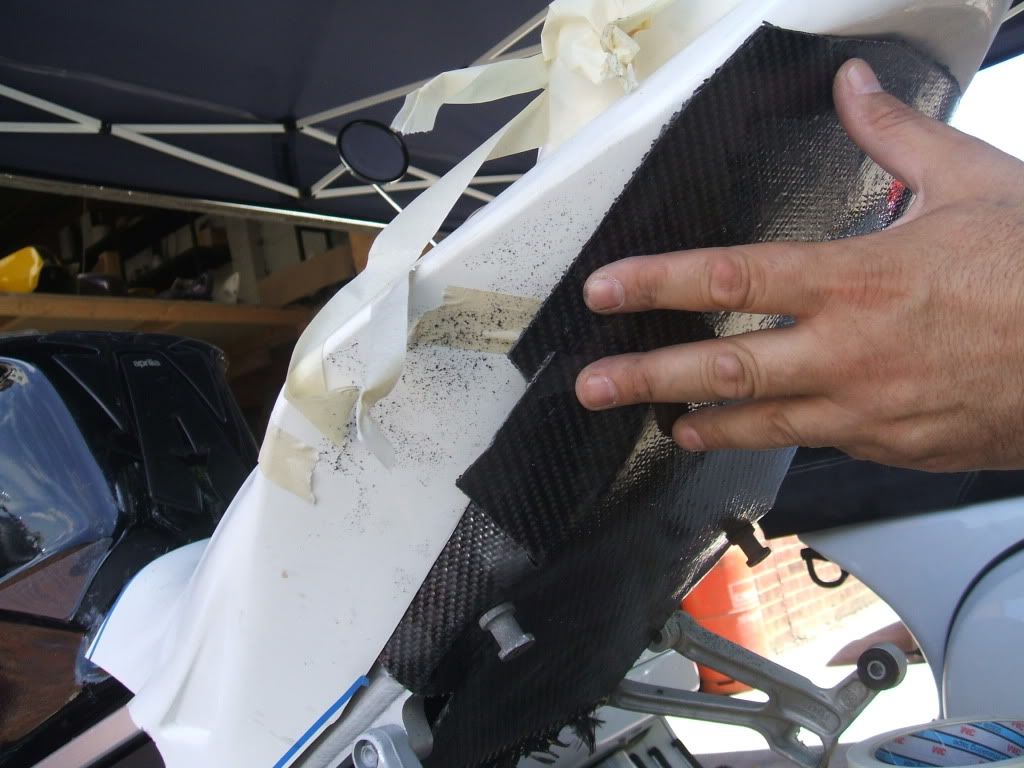
Now the CF has cooled, its is more ridged. I start trimming back the excess material but leaving enough to over-lap inside the seat unit. I have done the tray so that the seat unit will slide over the tray from the rear. The slight tension in the tray will pull the seat unit and I could get away with using no fixings between the tray & seat unit.
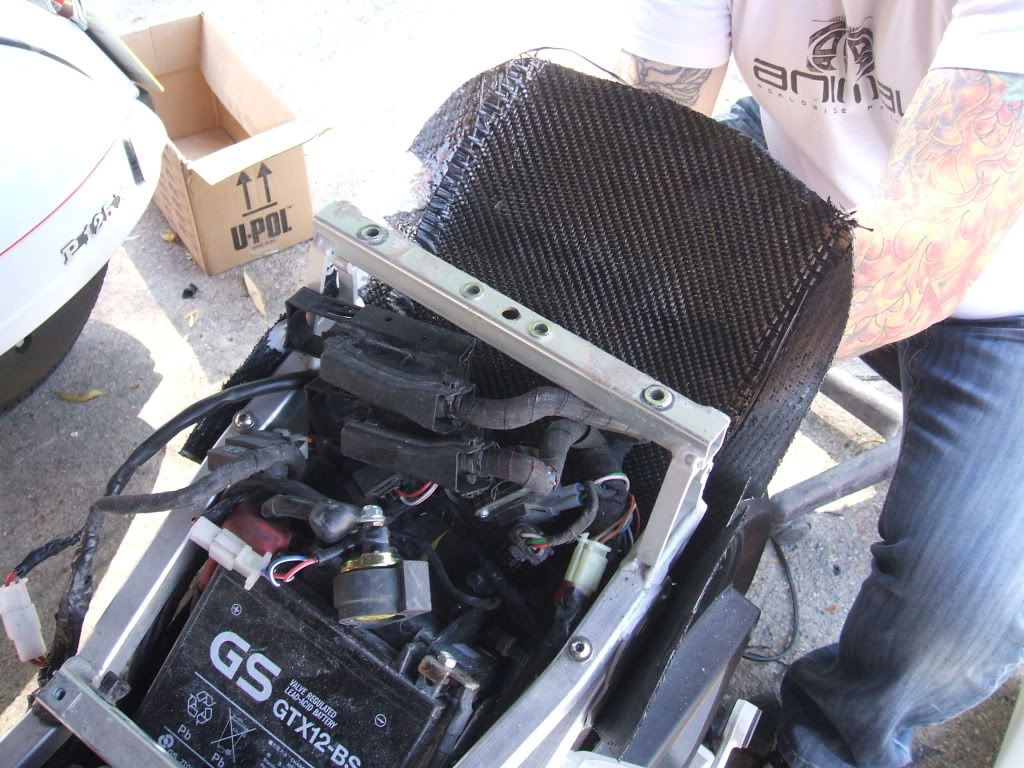
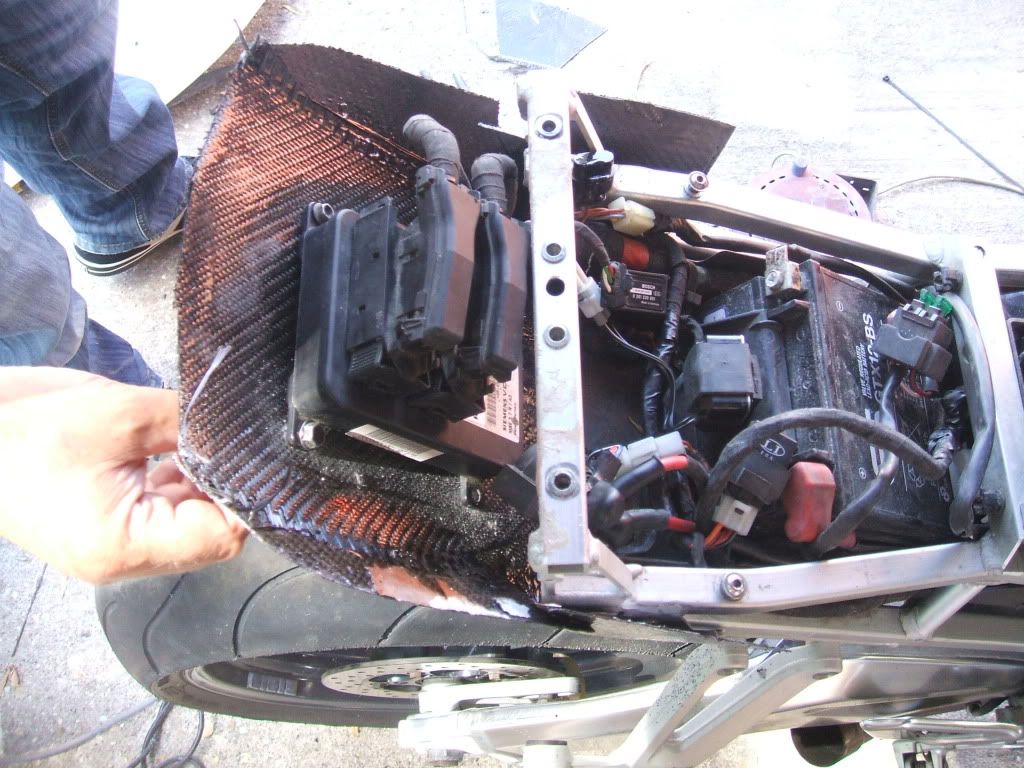
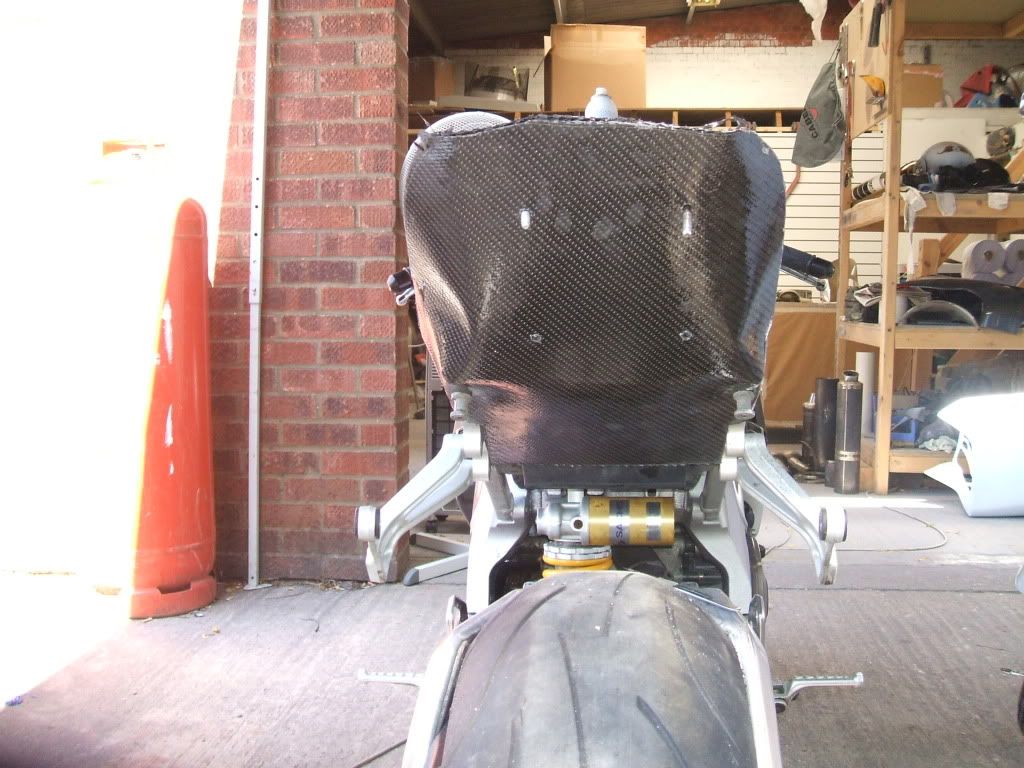
Once we had got the shape right & both seat unit & tray were a good fit. I removed the seat unit & place a square sheet of CF in the tray & applied the resin. This is to strengthen the tray & it it is now possible to mount the ECU.
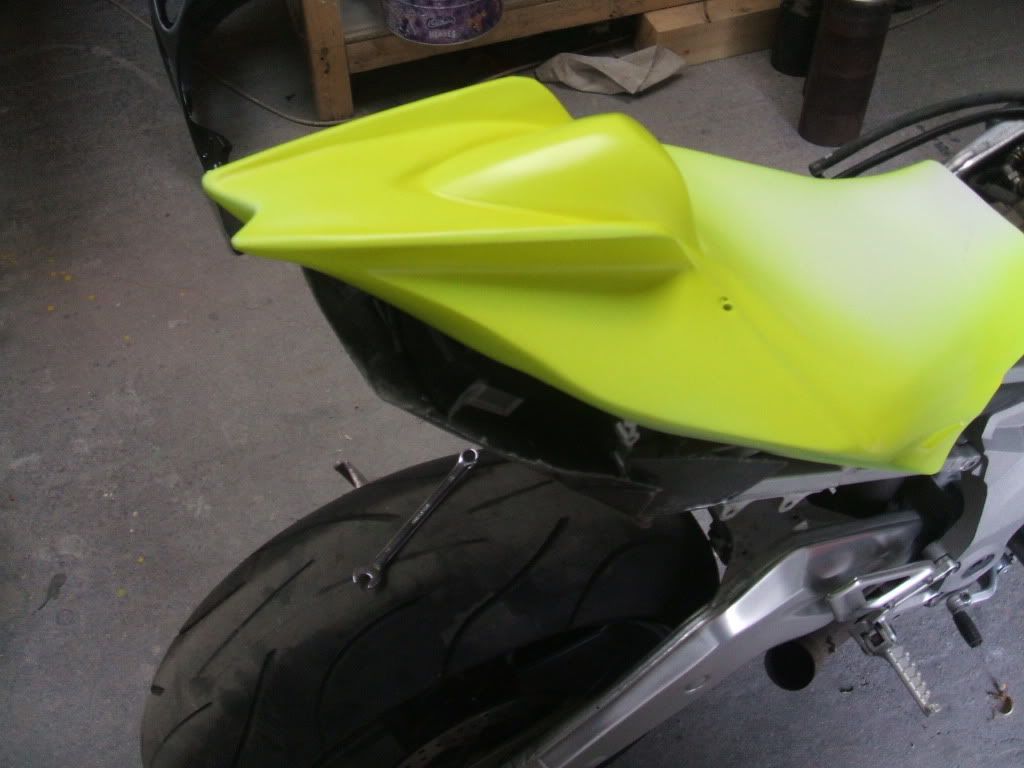
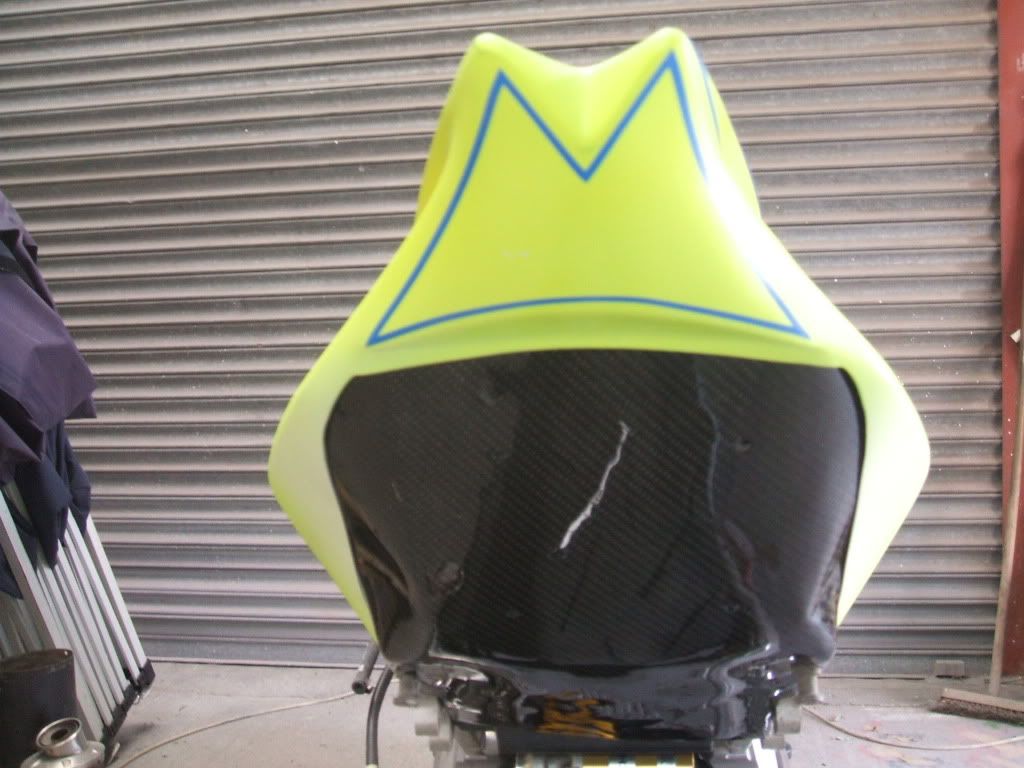
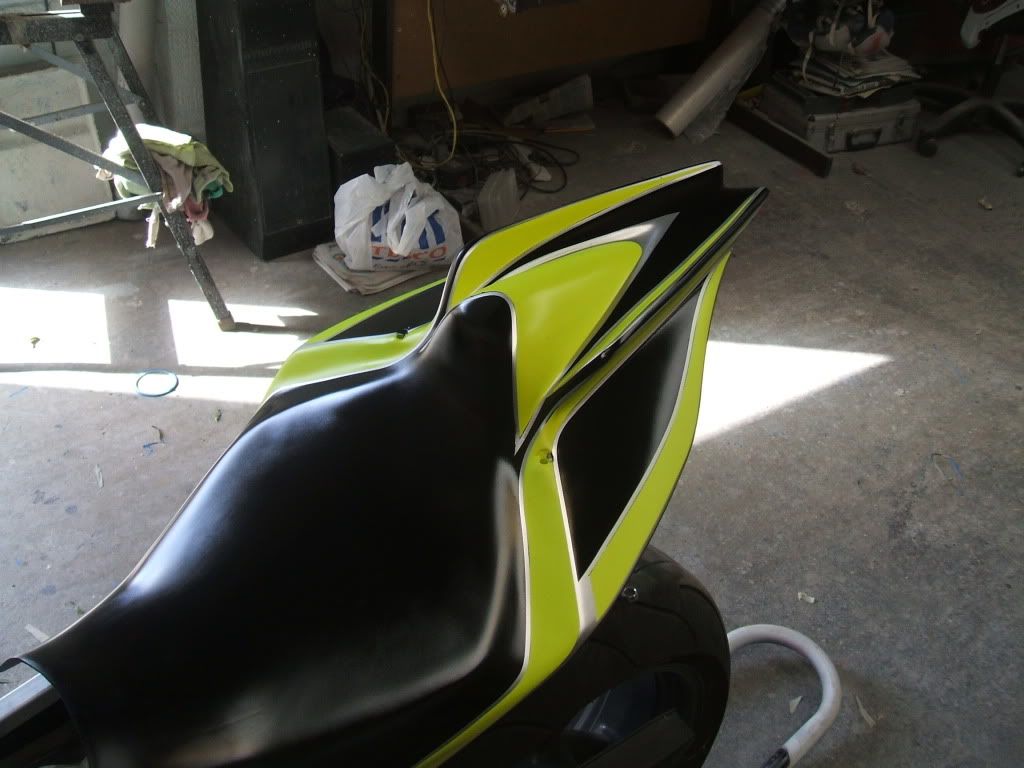
Finally… I have been able to make a start on the paint work. Got the paint done on the seat unit in the Team Phoenix Racing colours which I am still designing.
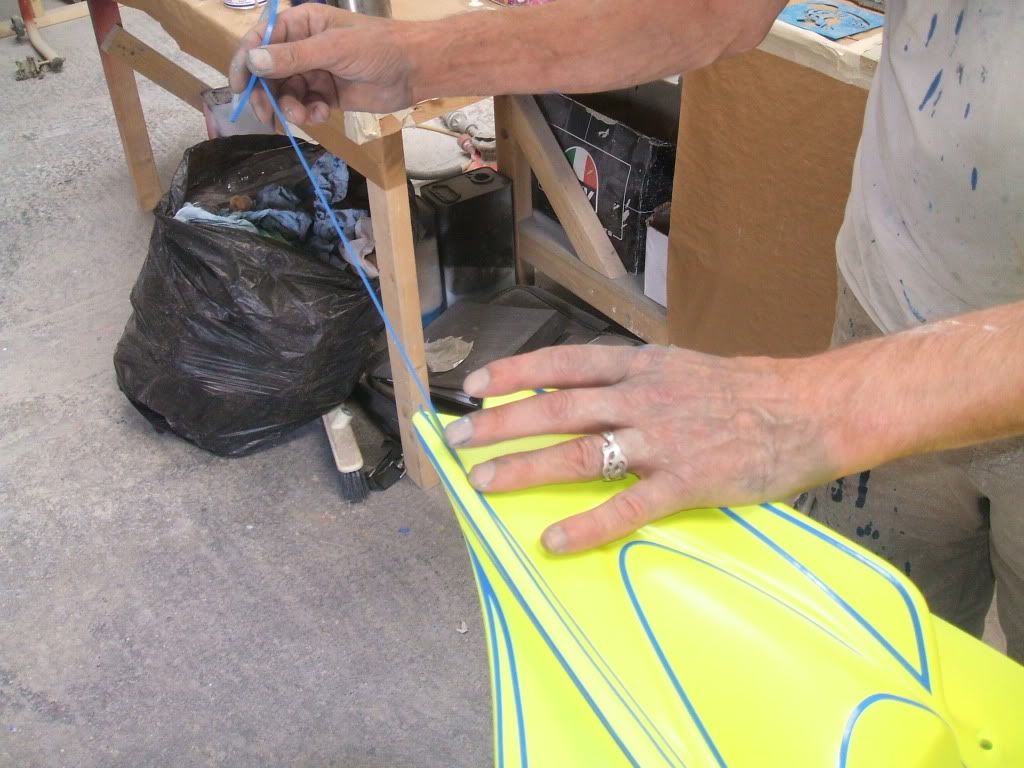
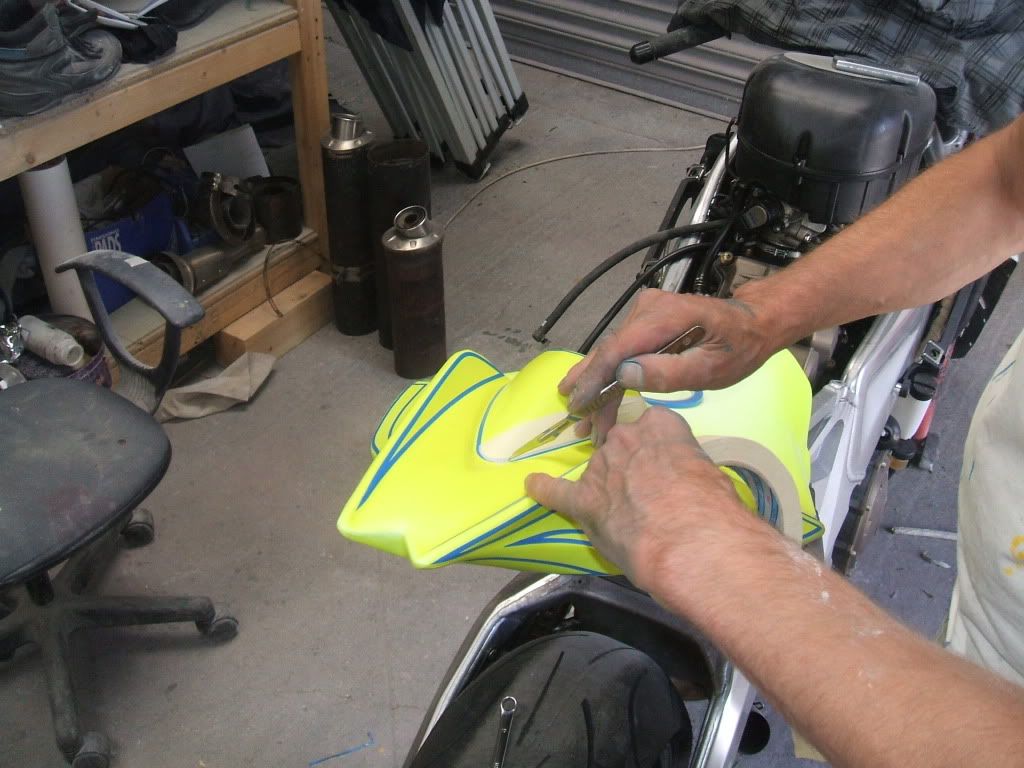
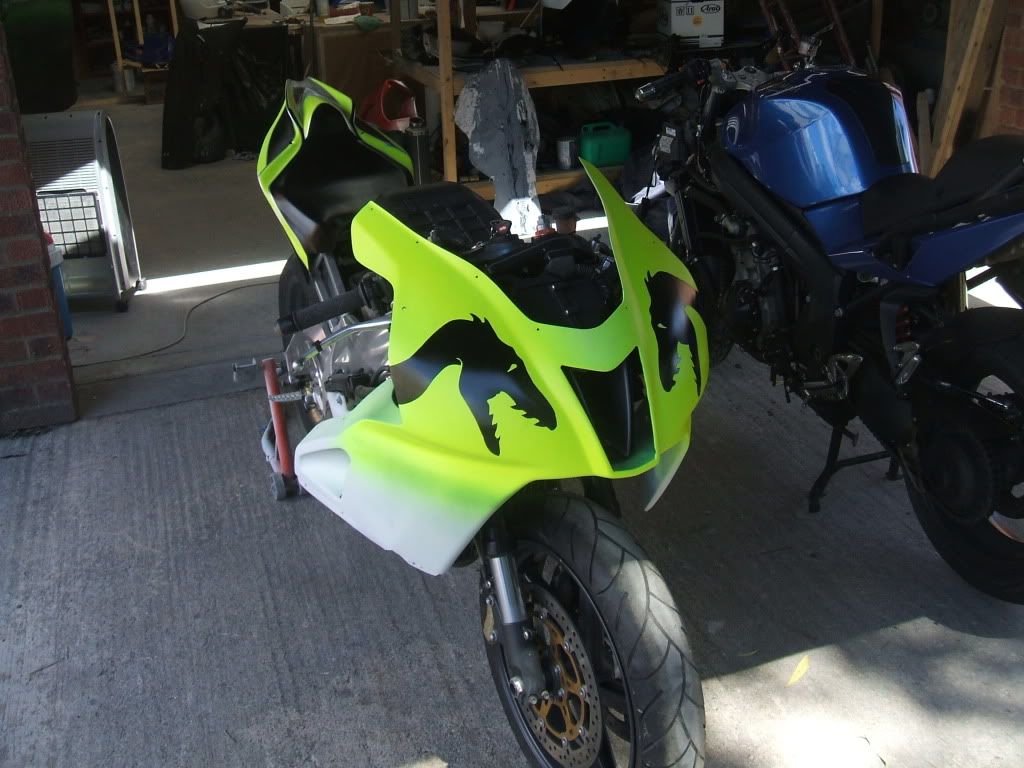
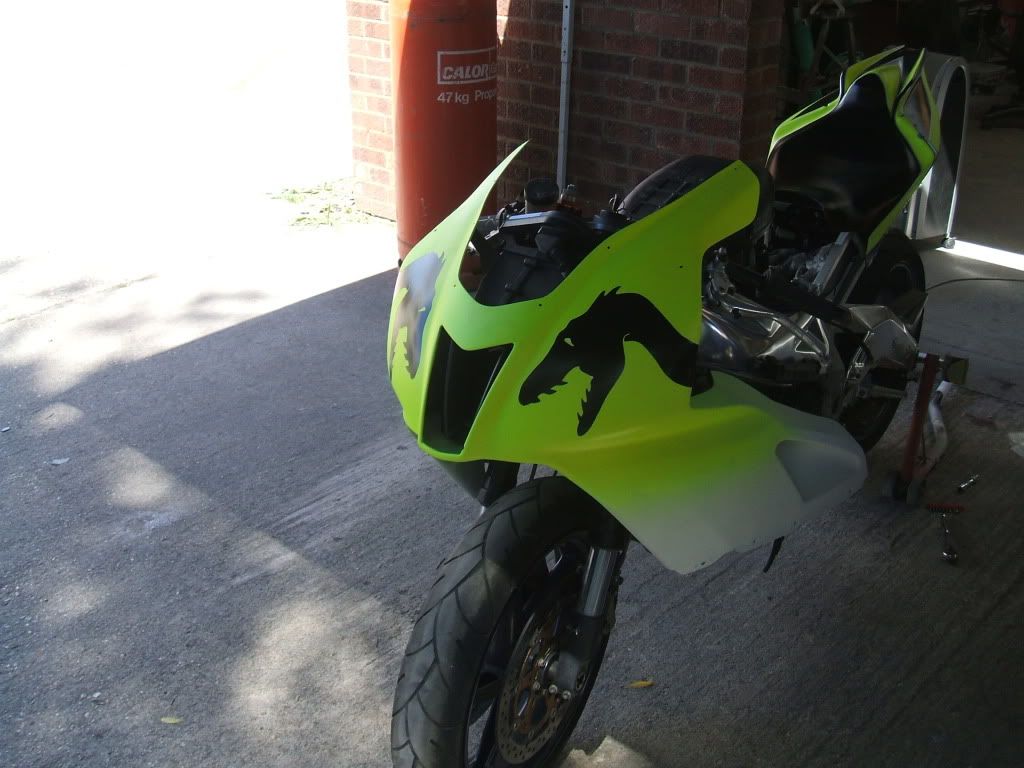
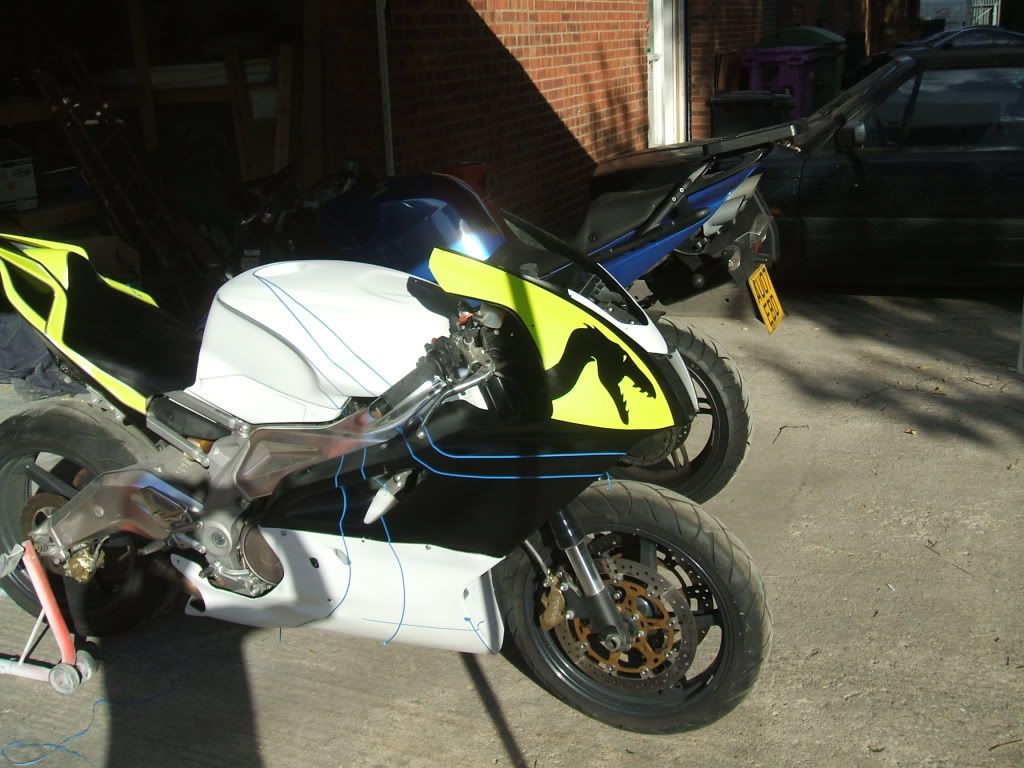
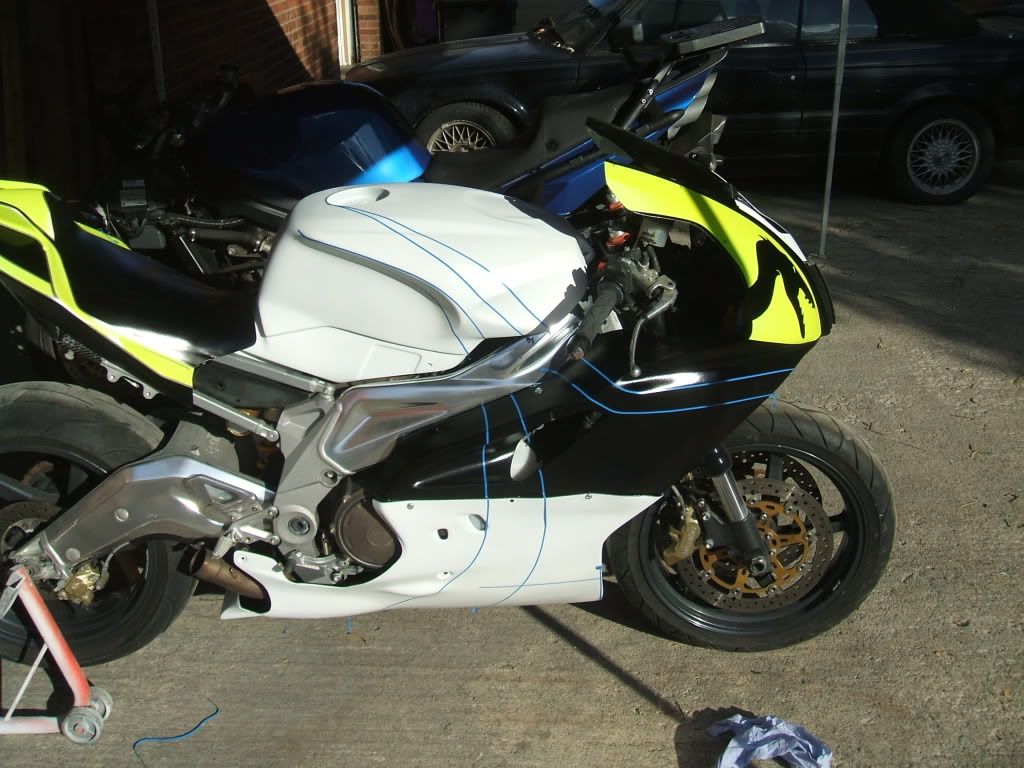
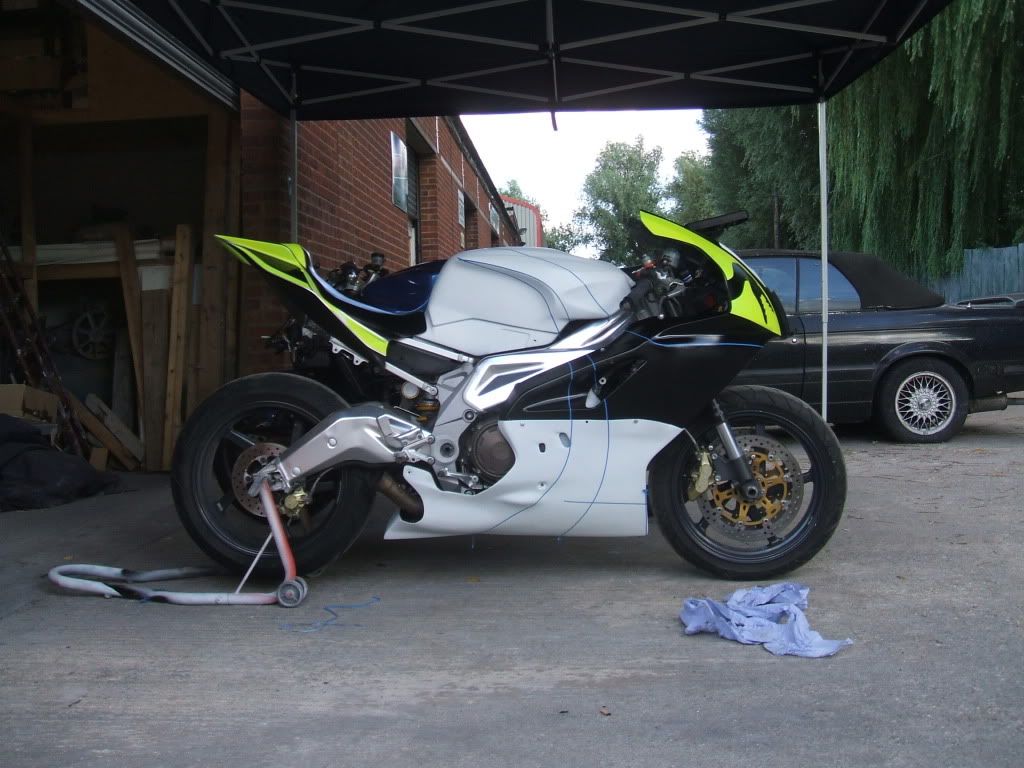
Kit is back on. Now I have started the temporary line-out & what a ball ache it has been so far. This now the 5th attempt and now I am relatively happy with it, so I now need to start the check-lines. The white is primer.
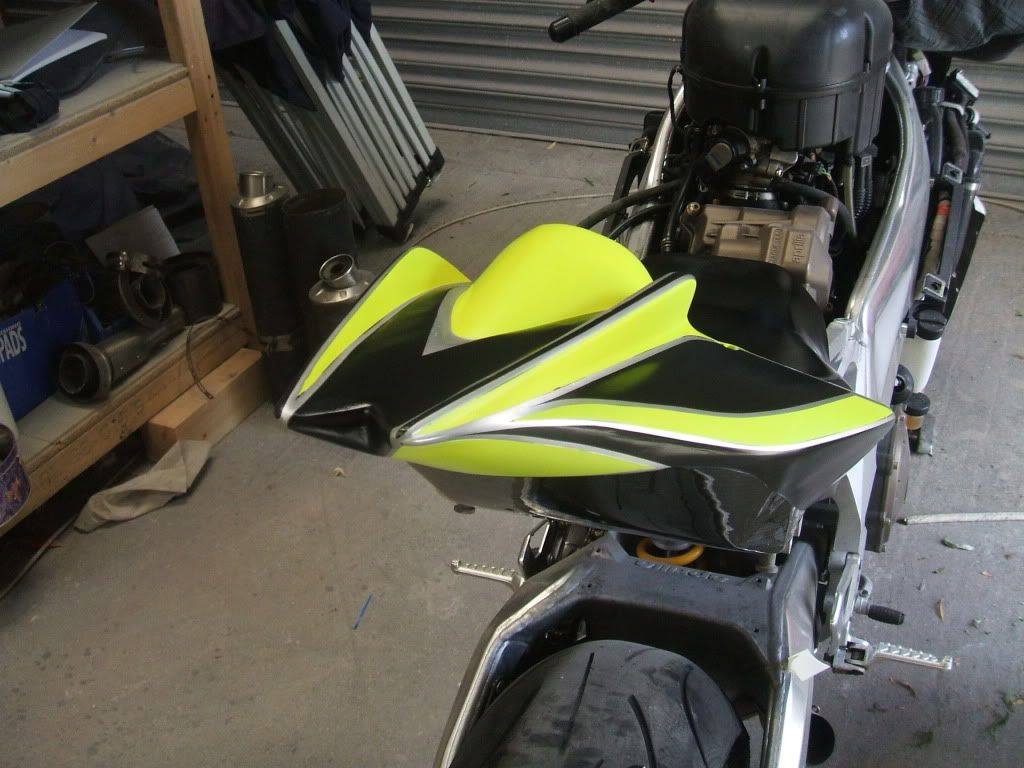
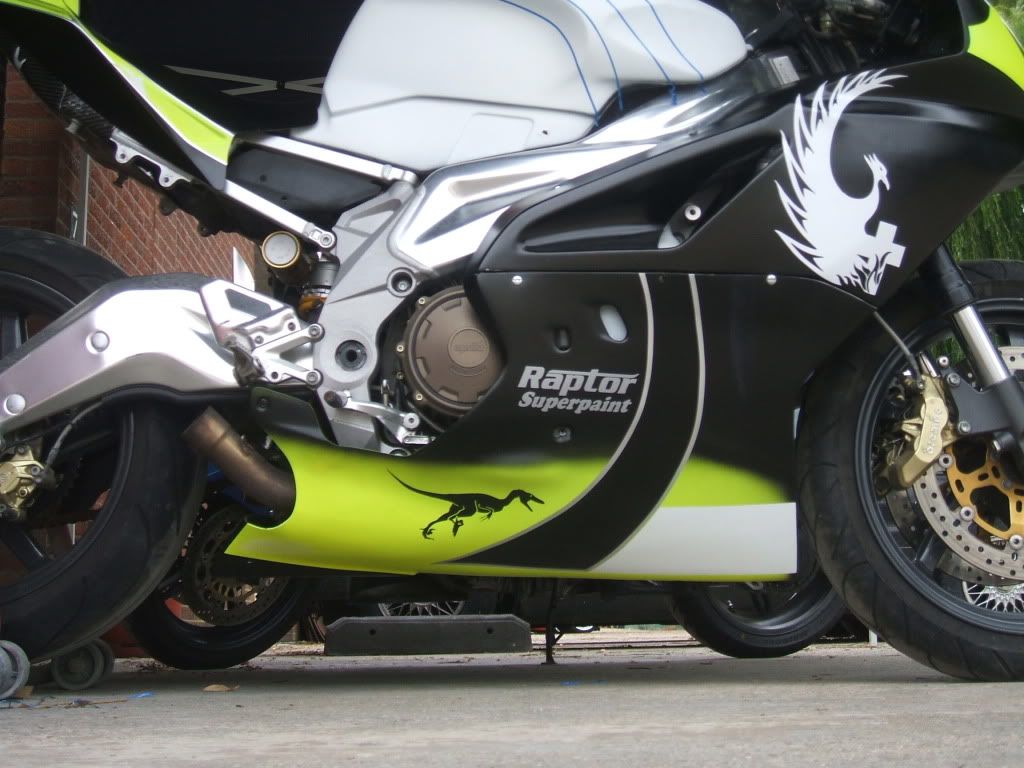
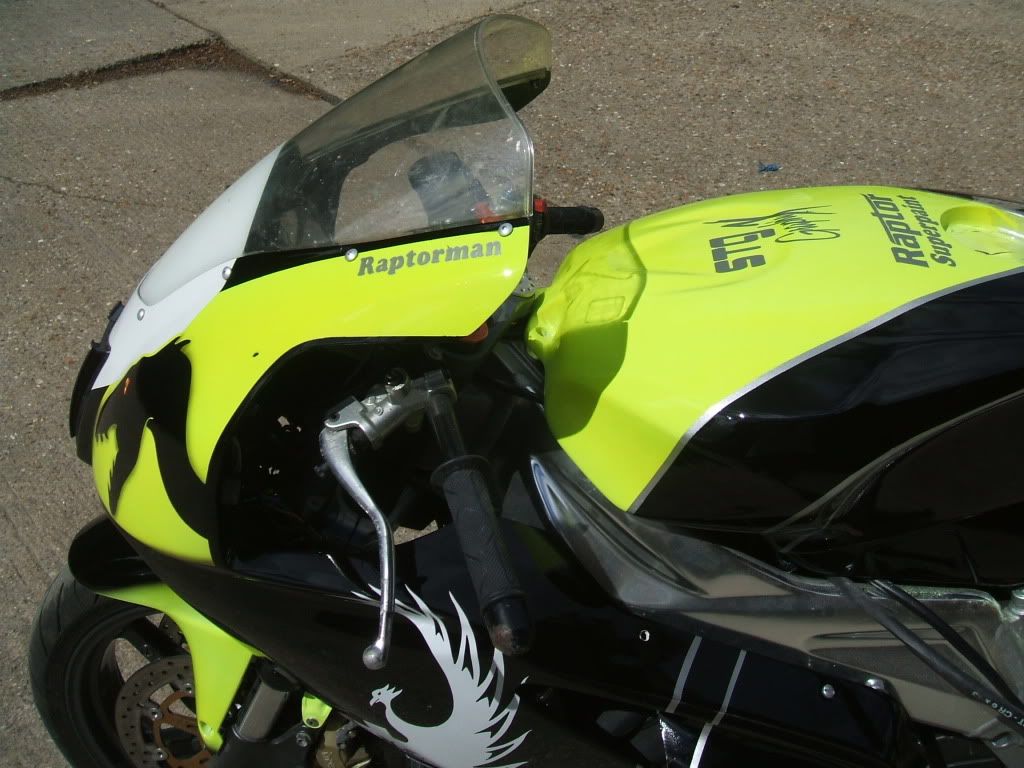
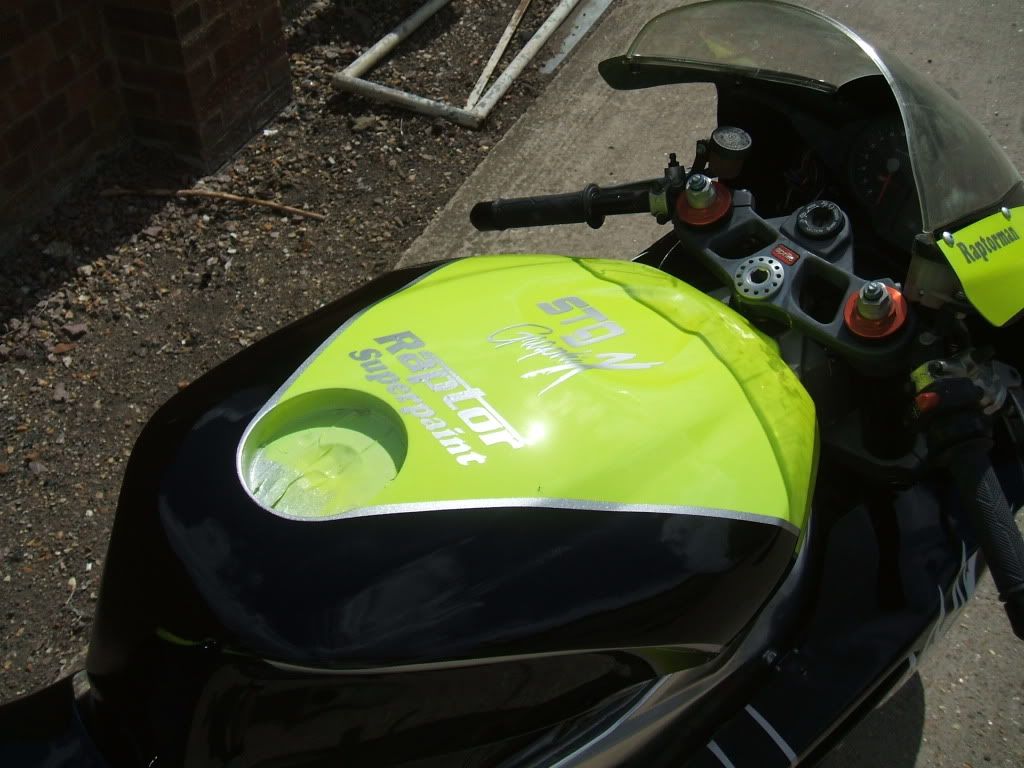
Tuesday 27th July 2010. Got a bit more done today. Got the decals from STG Graphix, so stuck them on. Lined out & sprayed the tank and just have to paint the silver pin stripes.
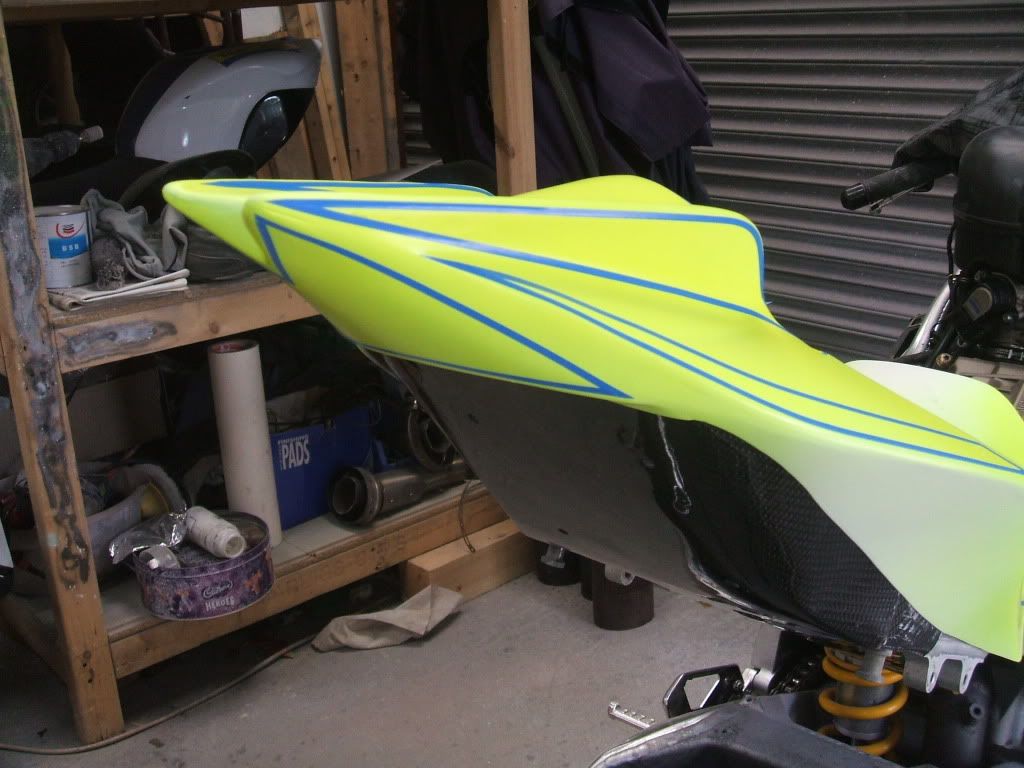
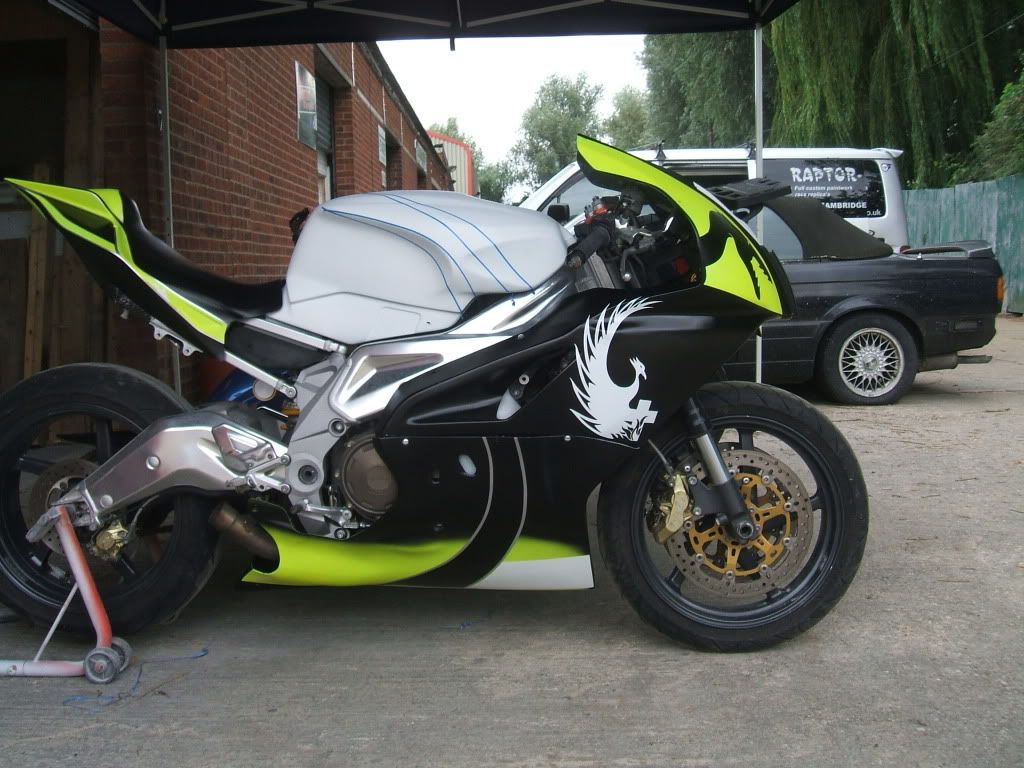
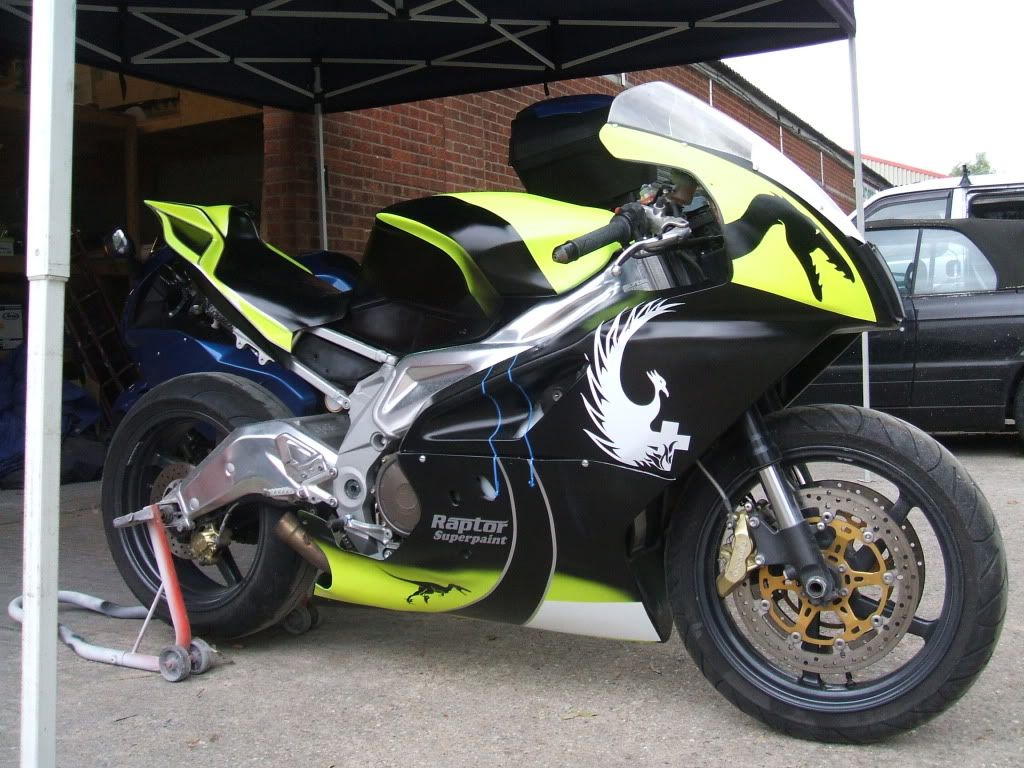
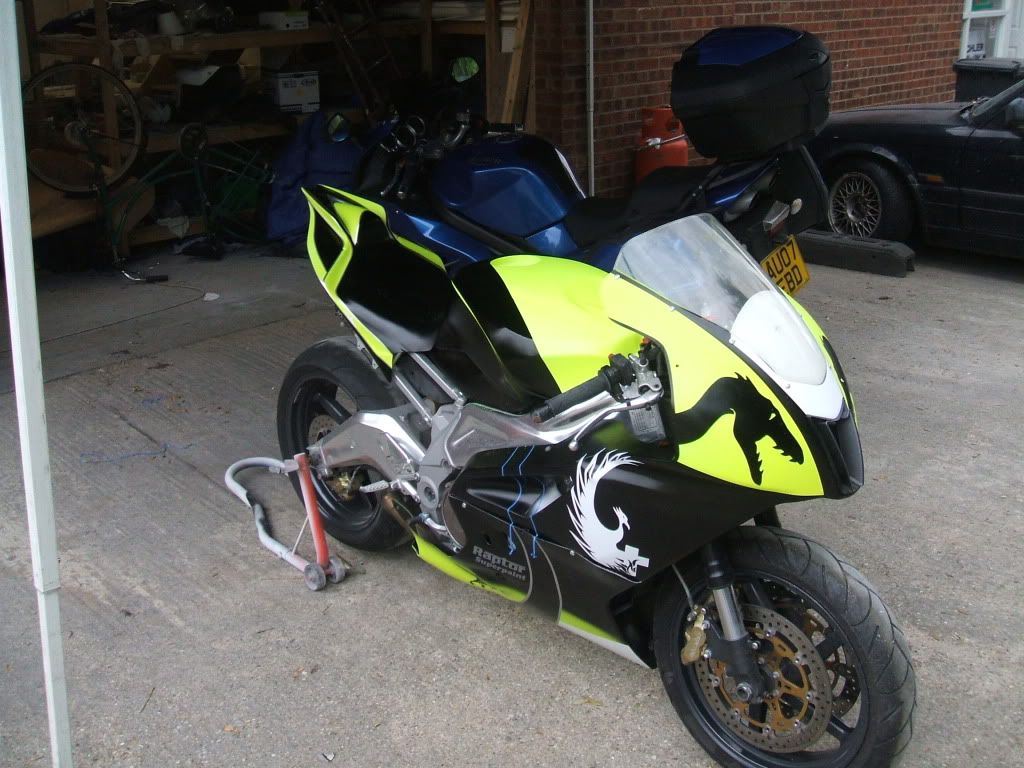
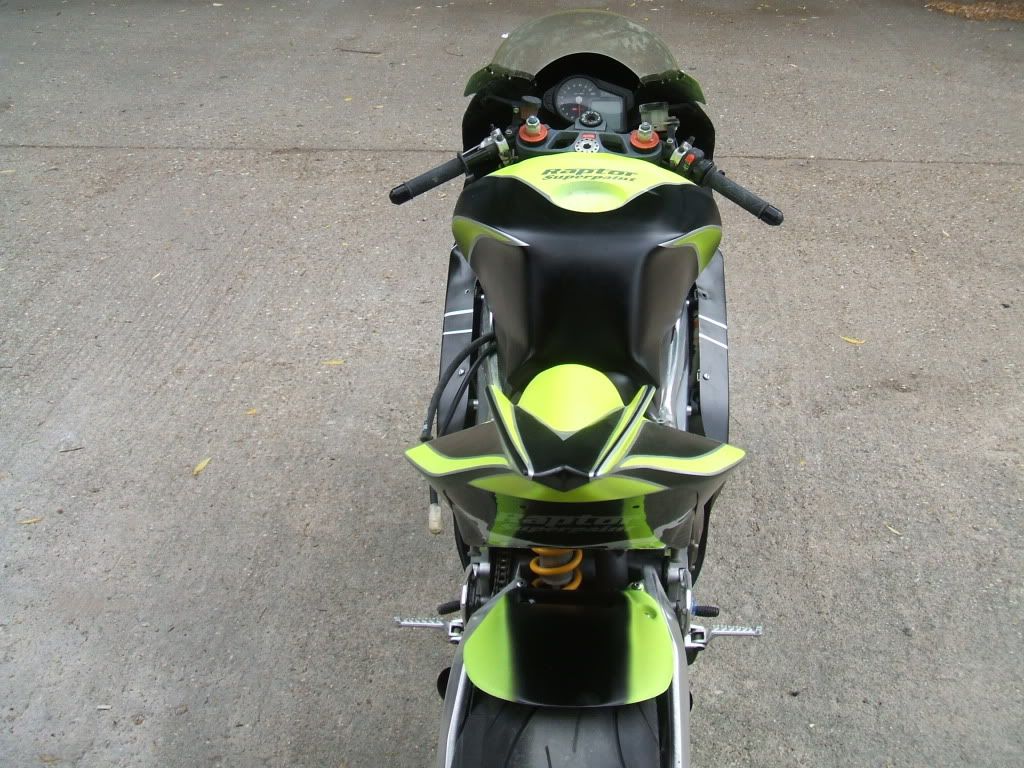
Wednesday morning. This is the completed colour scheme, apart from the wheels & a couple more decals, which are in the process of being completed. Then is strip down yet again & Lacquer.
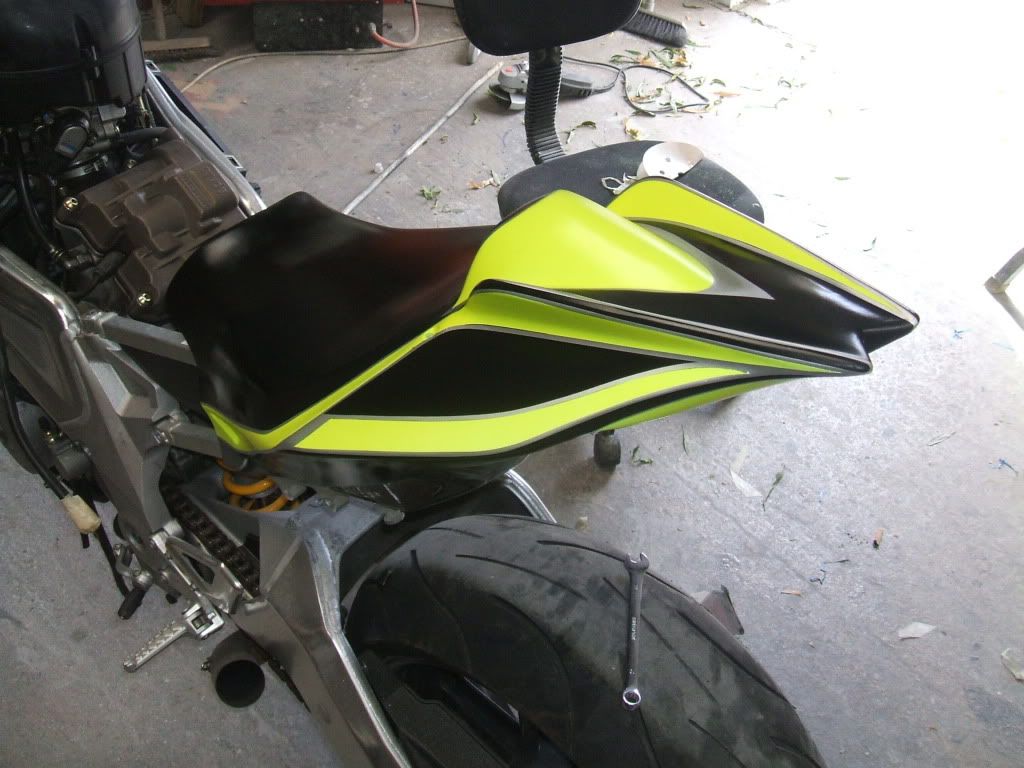
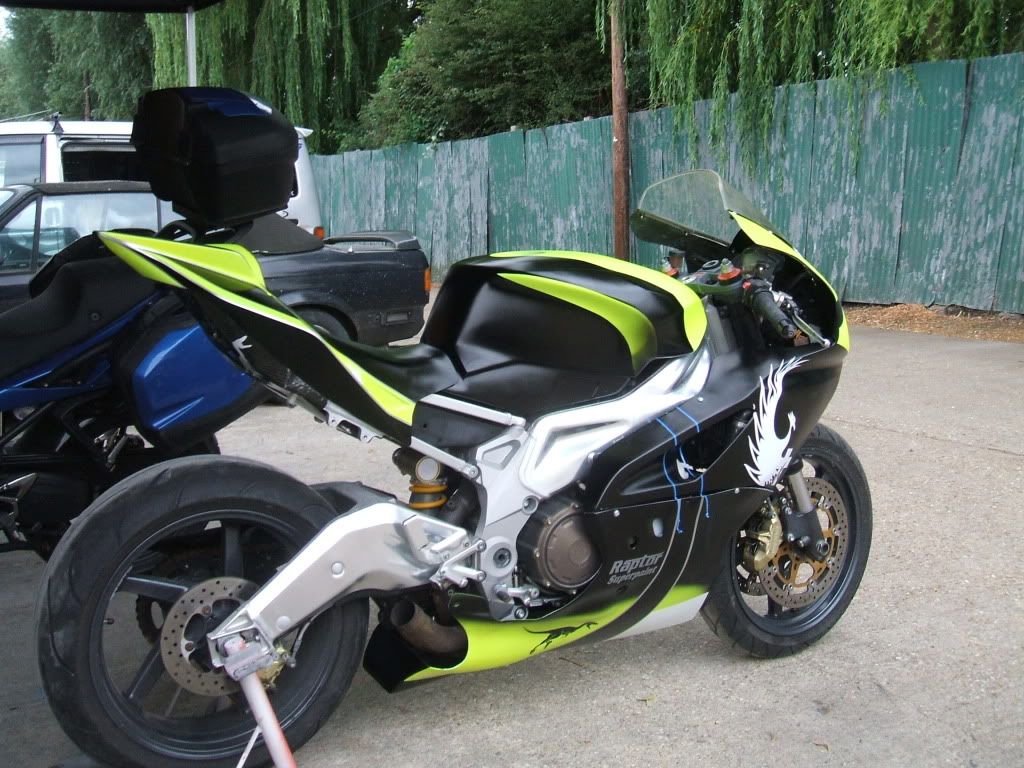
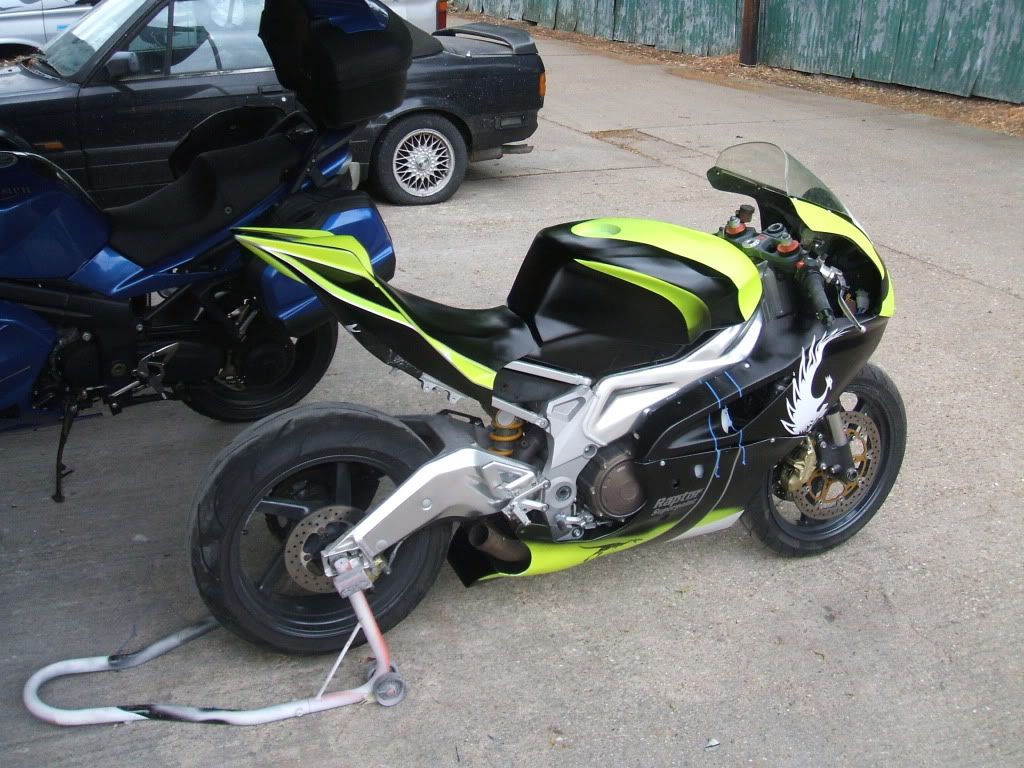
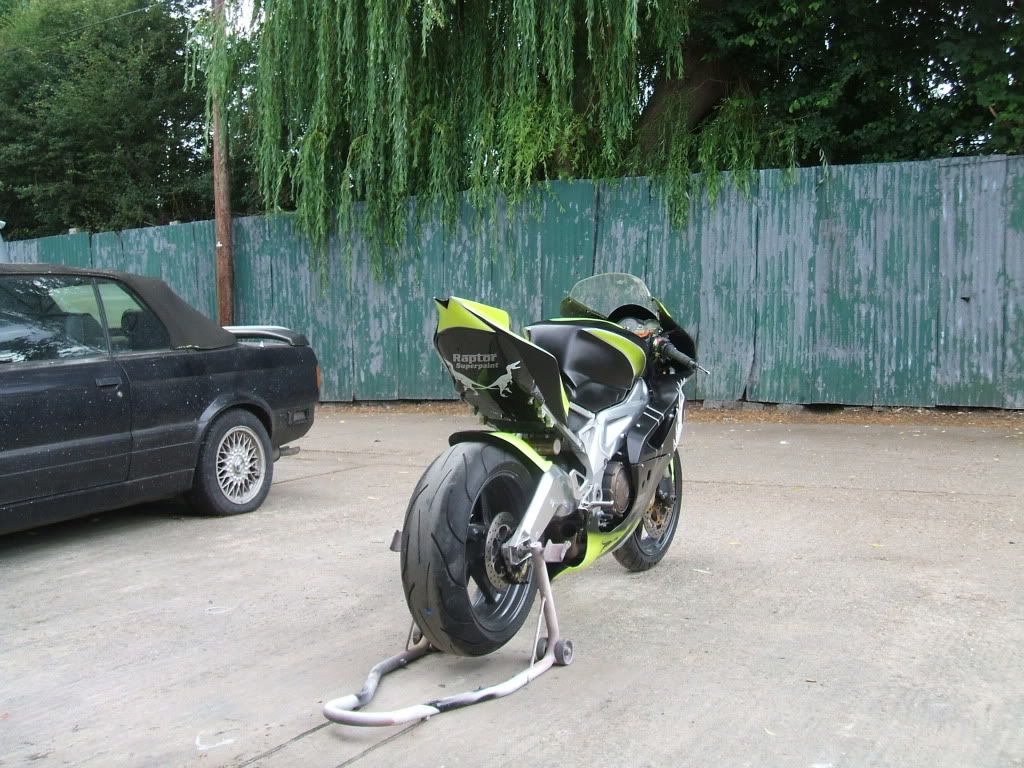
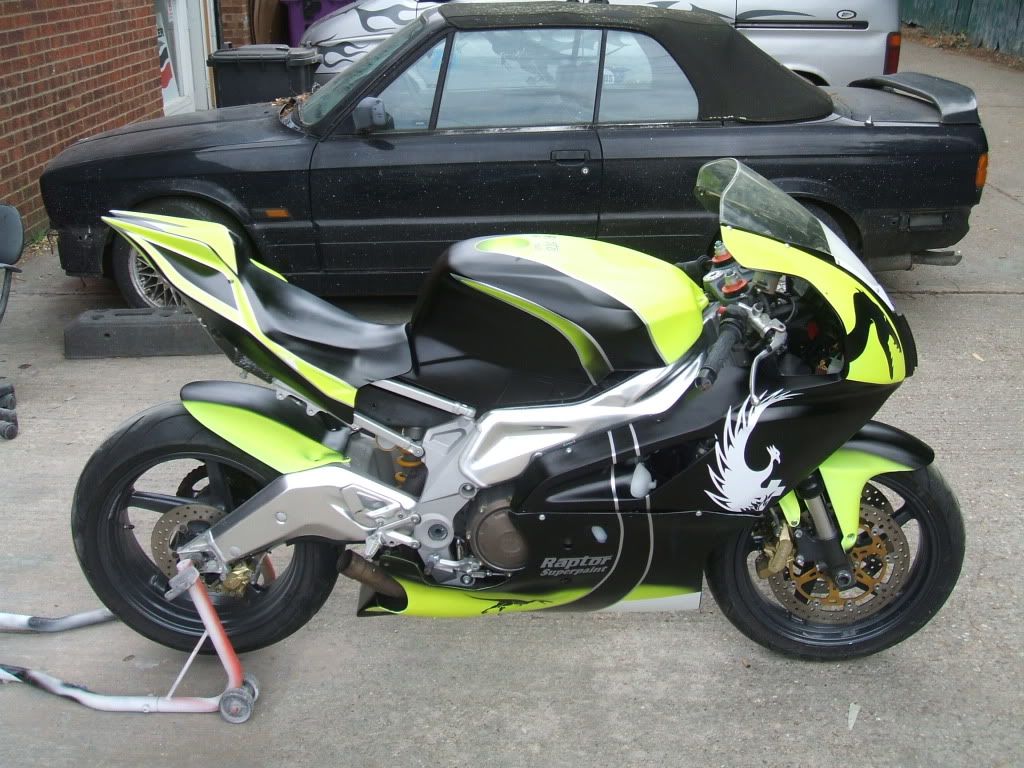
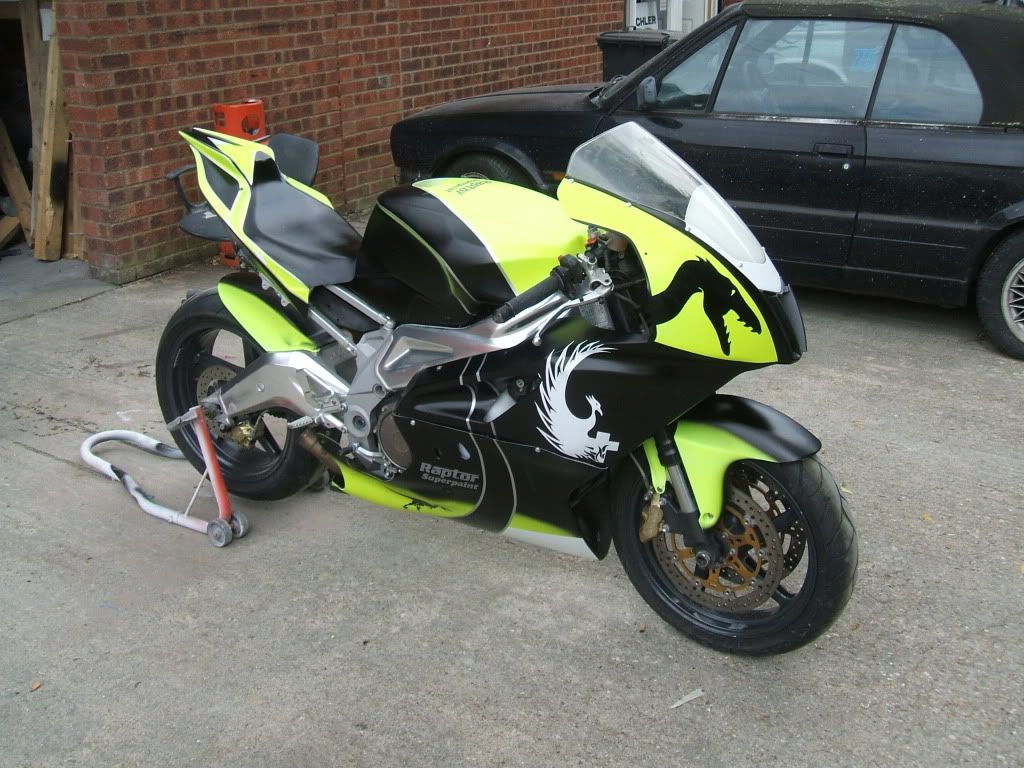
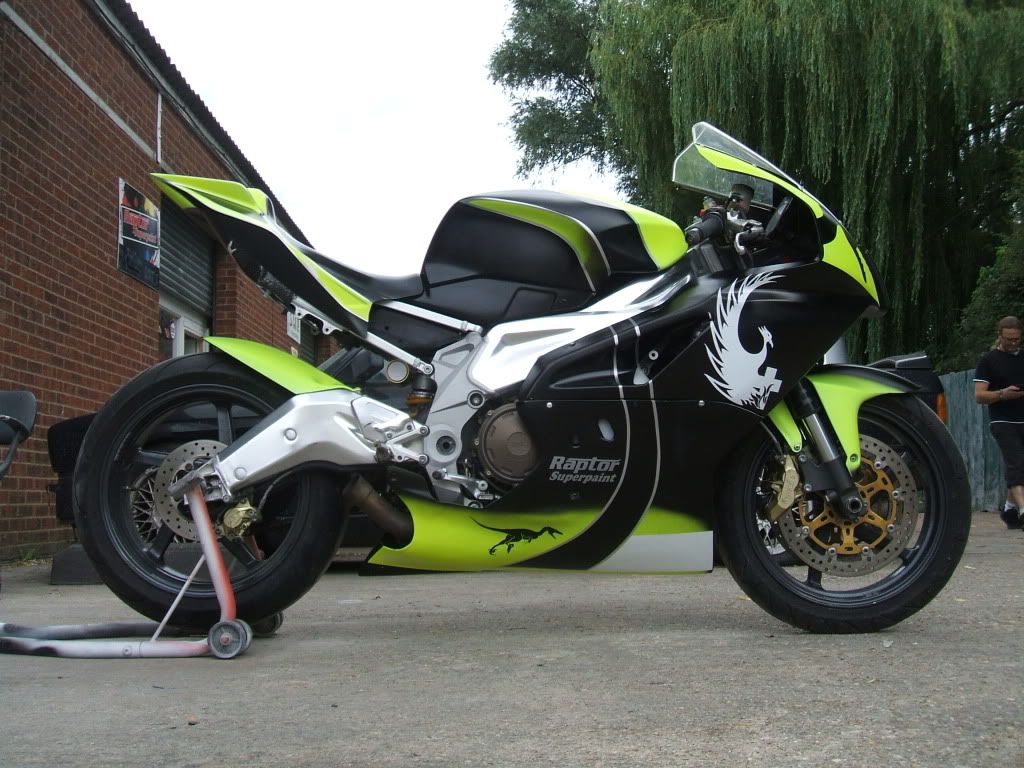
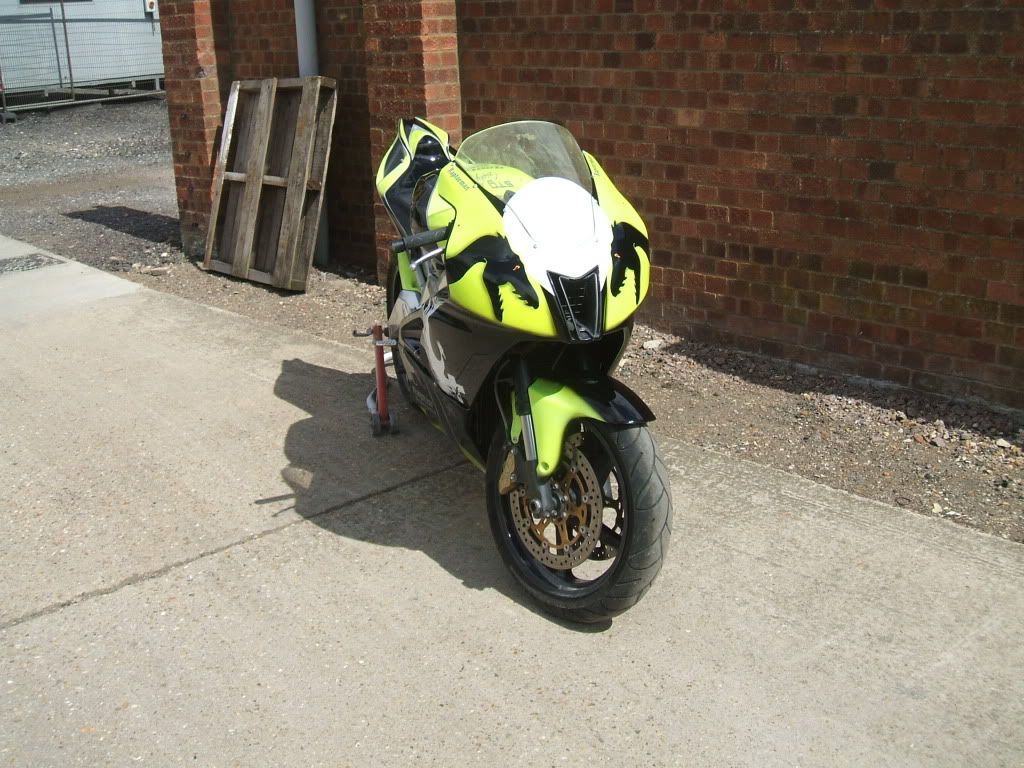
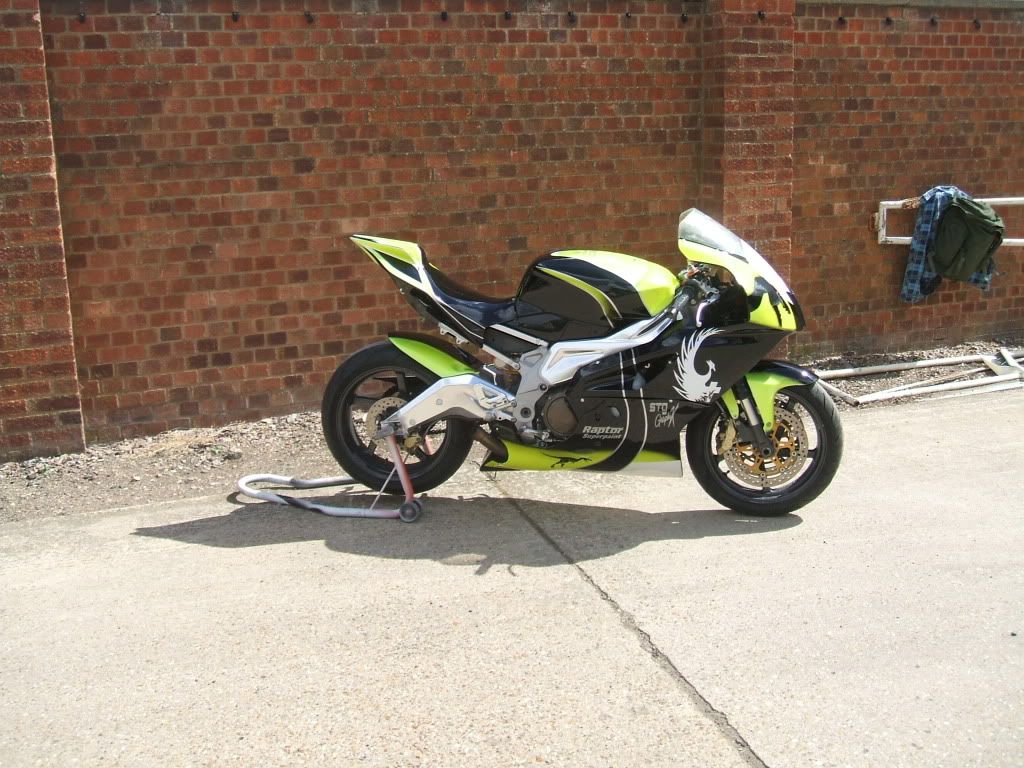
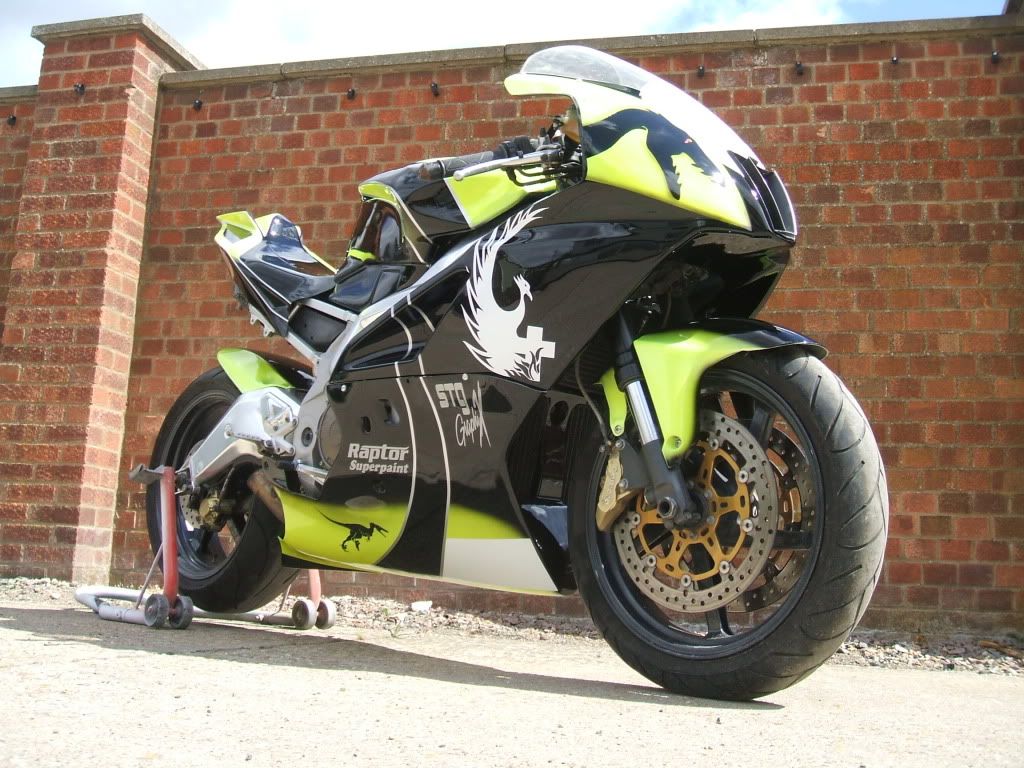
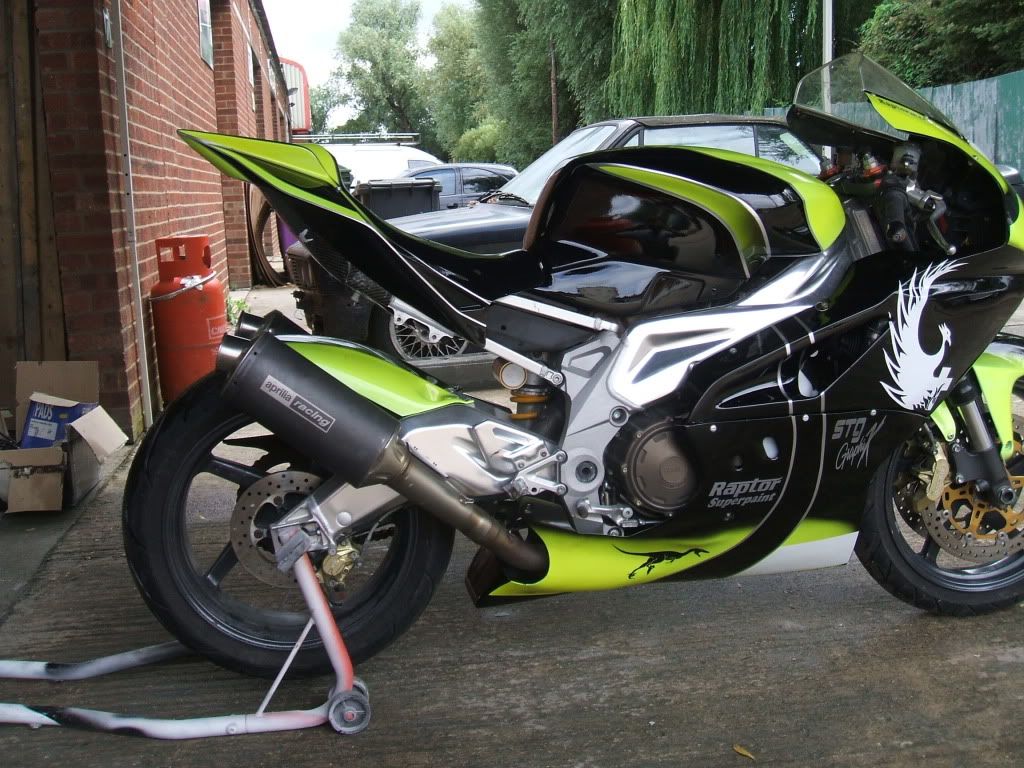
The paint work is complete inc. the lacquer. I have refitted the kit this morning and took it outdoors to get a few pic’s. I am very critical of all my work & not really one for blowing my own trumpet but on this occasion I am going to. I have been doing this stuff for many years but this one just blew me away when the clouds cleared & the sun lit up the paint work. The gold pearl in the black just jumped out, the silver just sparkled. As for the fluro yellow/green… I feel snow blind.
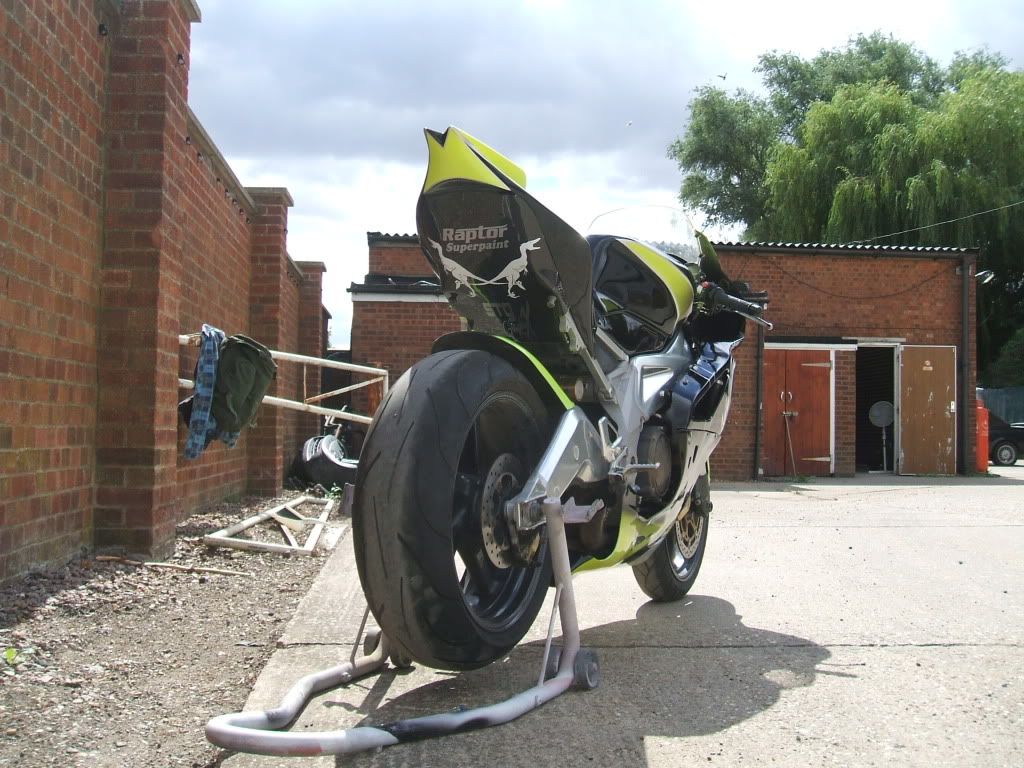
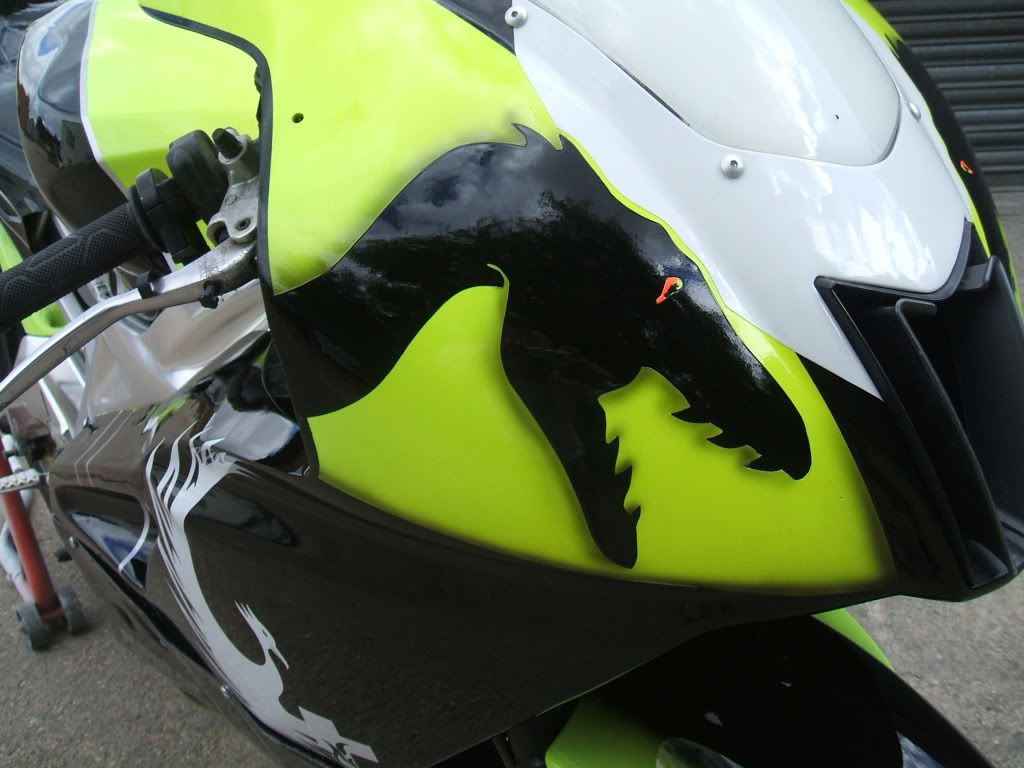
I made a few minor adjustments to the paint work before lacquer. I faded black into the fluro on the seat unit, I extended the front number board as it was to small for the numbers I want. I also added a little colour to the Raptor’s eyes, then went in with the airbrush to shadow the head.
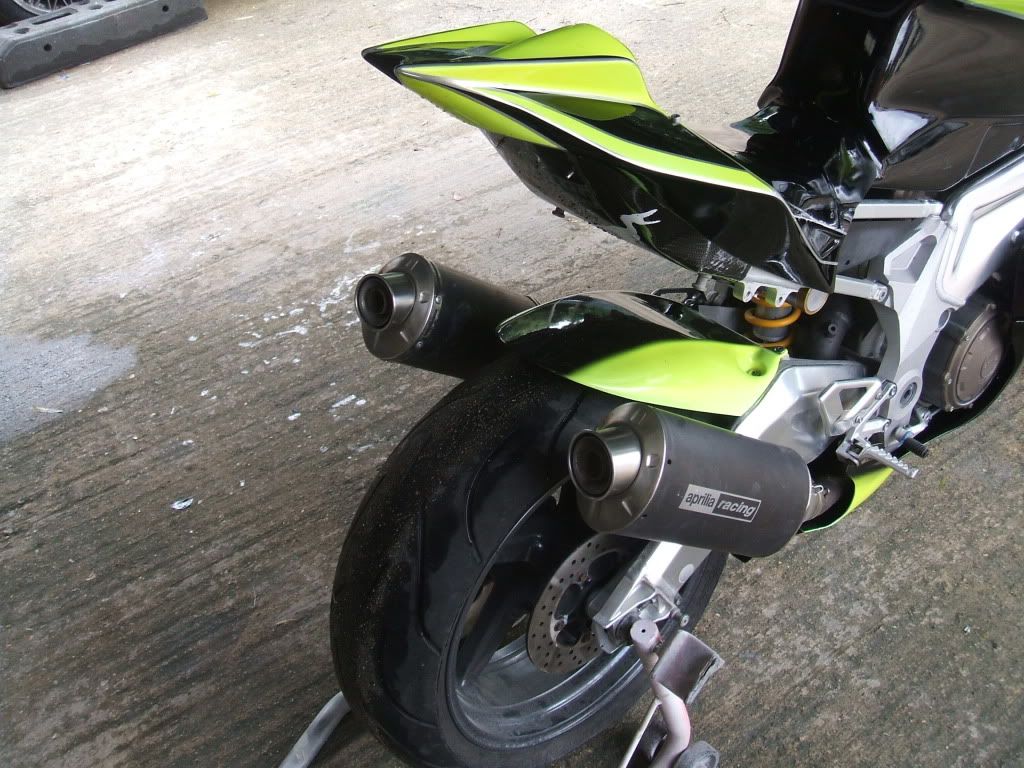
Sat 31st July 2010. Myself & Iain, got on with the pipes today. Took the originals & done some chopping & changing & made them stubby. There was a great deal of messing around inside the can to get the dB killer to sit correctly & the wadding was causing all sorts of feckin’ problems but we got there in the end.
Update: Done a noise test today. The cans are a little over regulations but thankfully Matt Layt is popping in to pick up his kits, for this weekends BSB. He has offered to knock up some dB killers… Removable