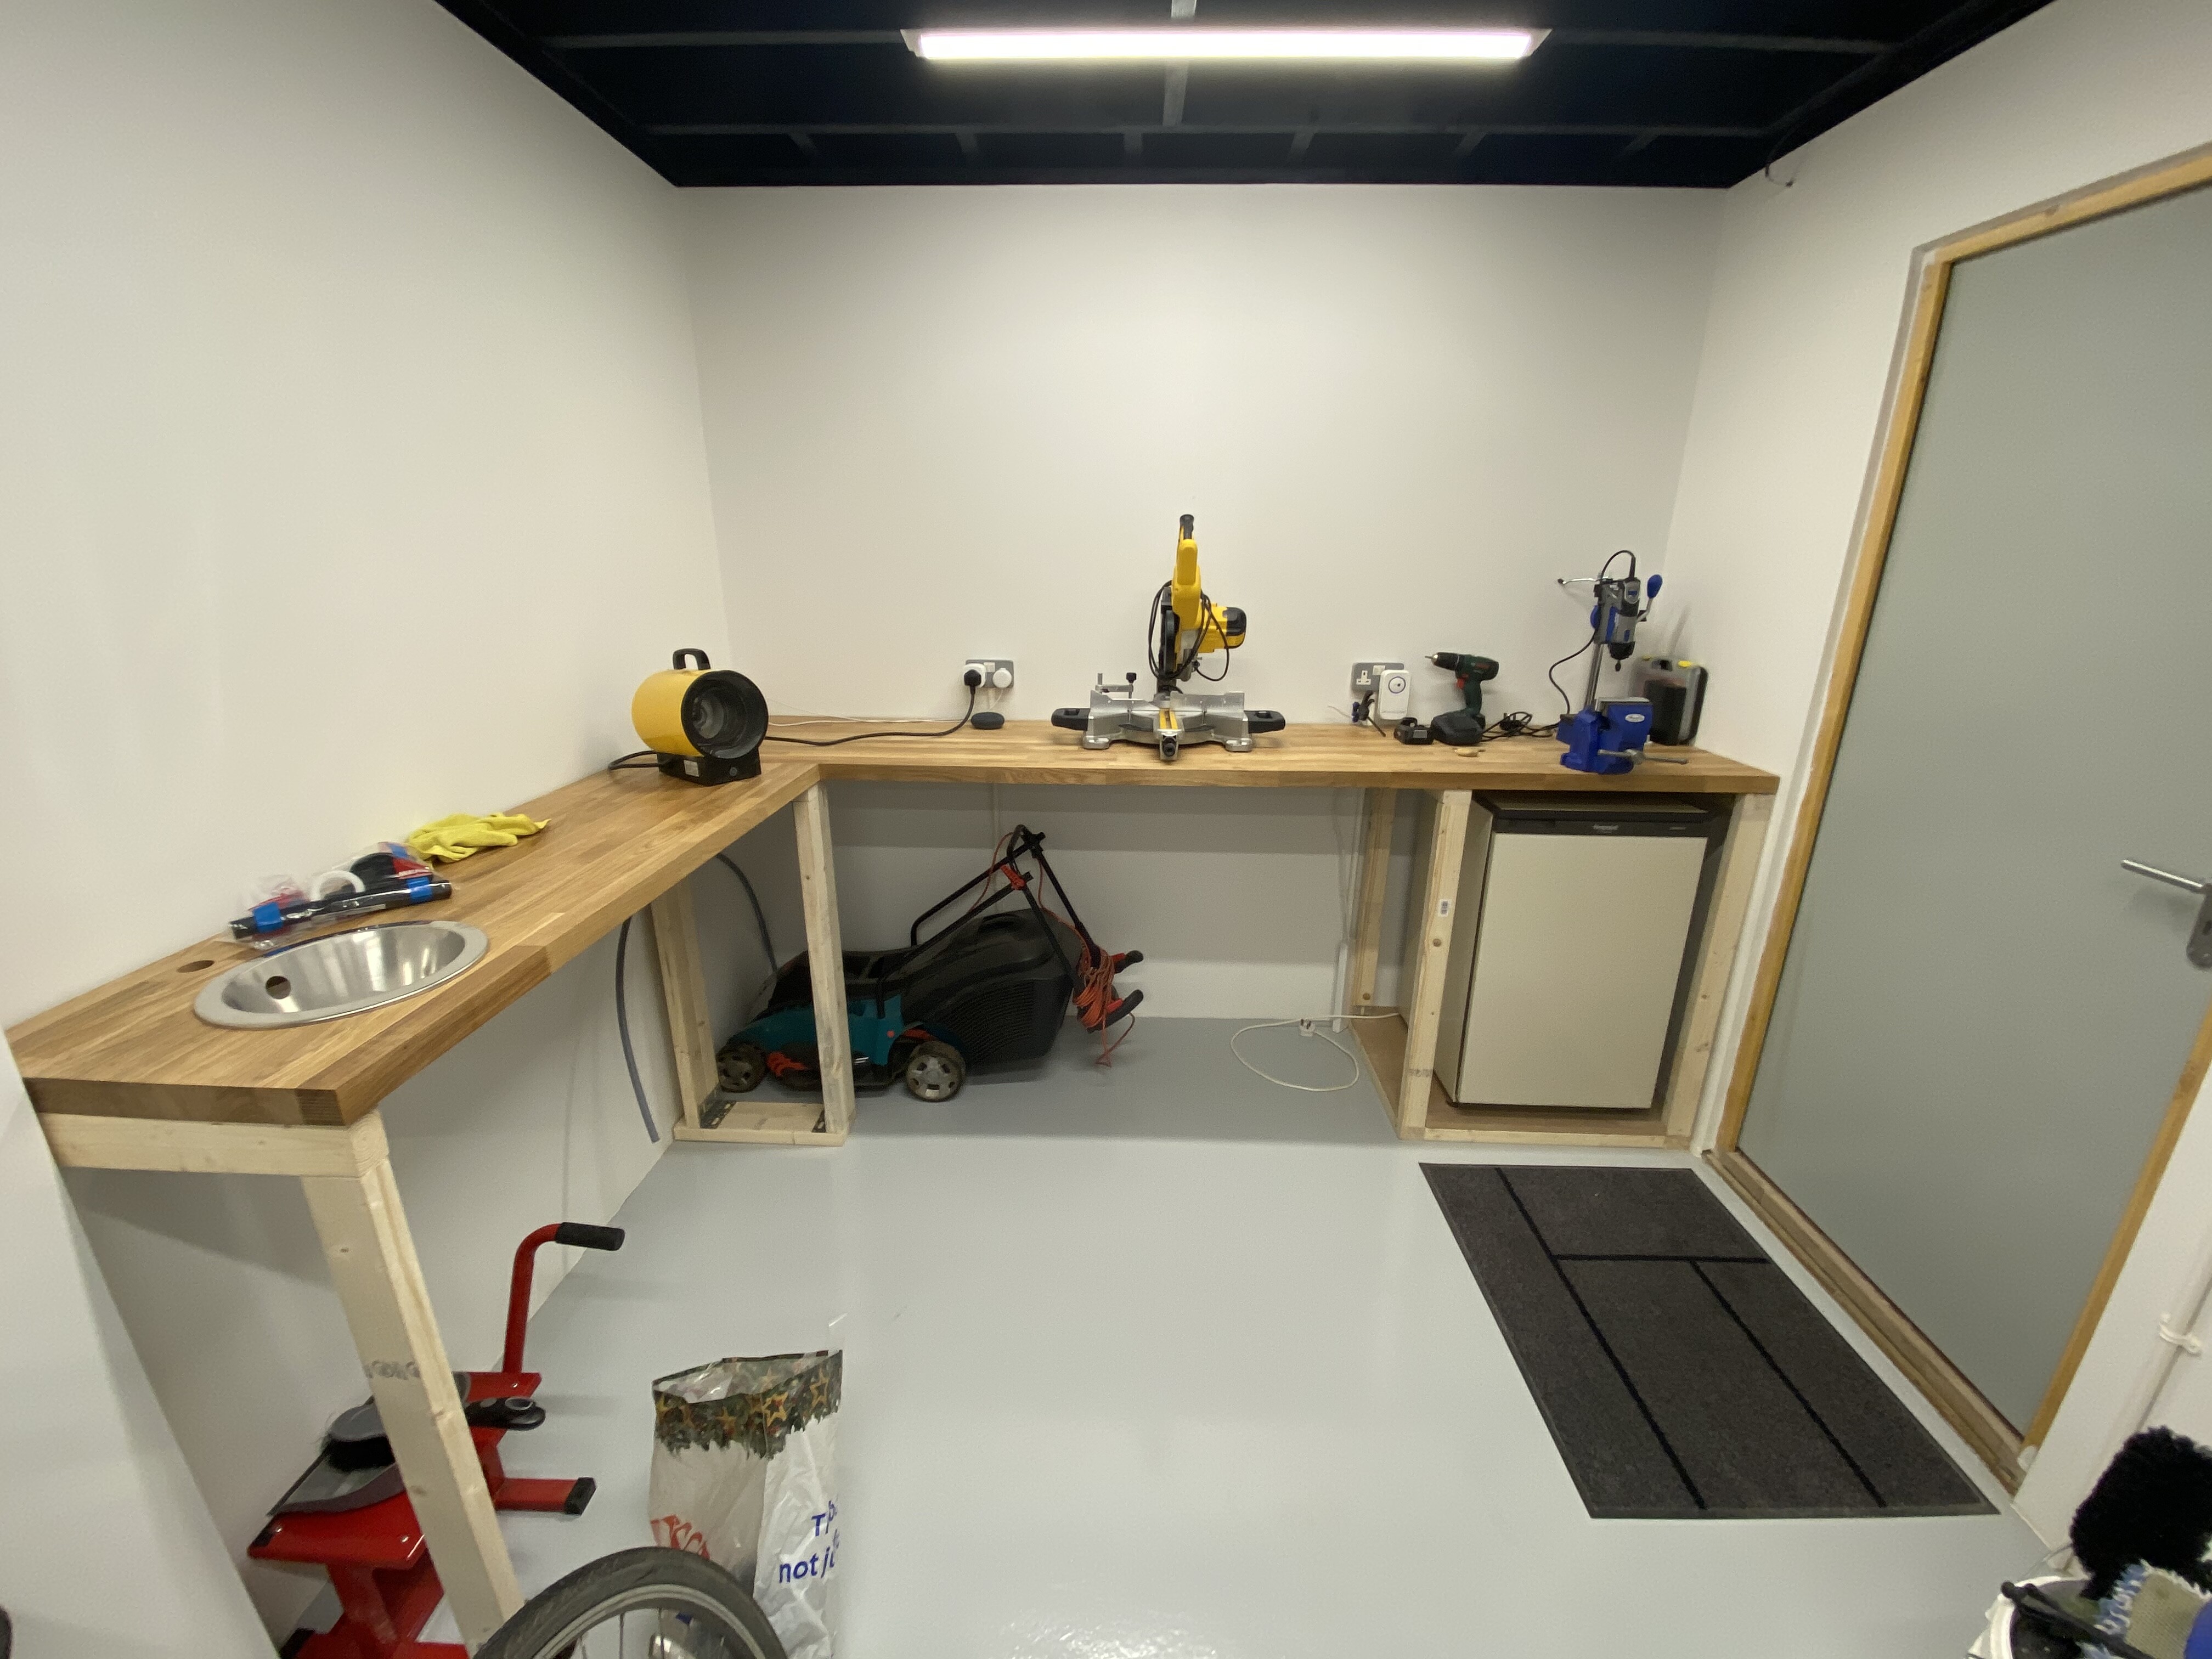
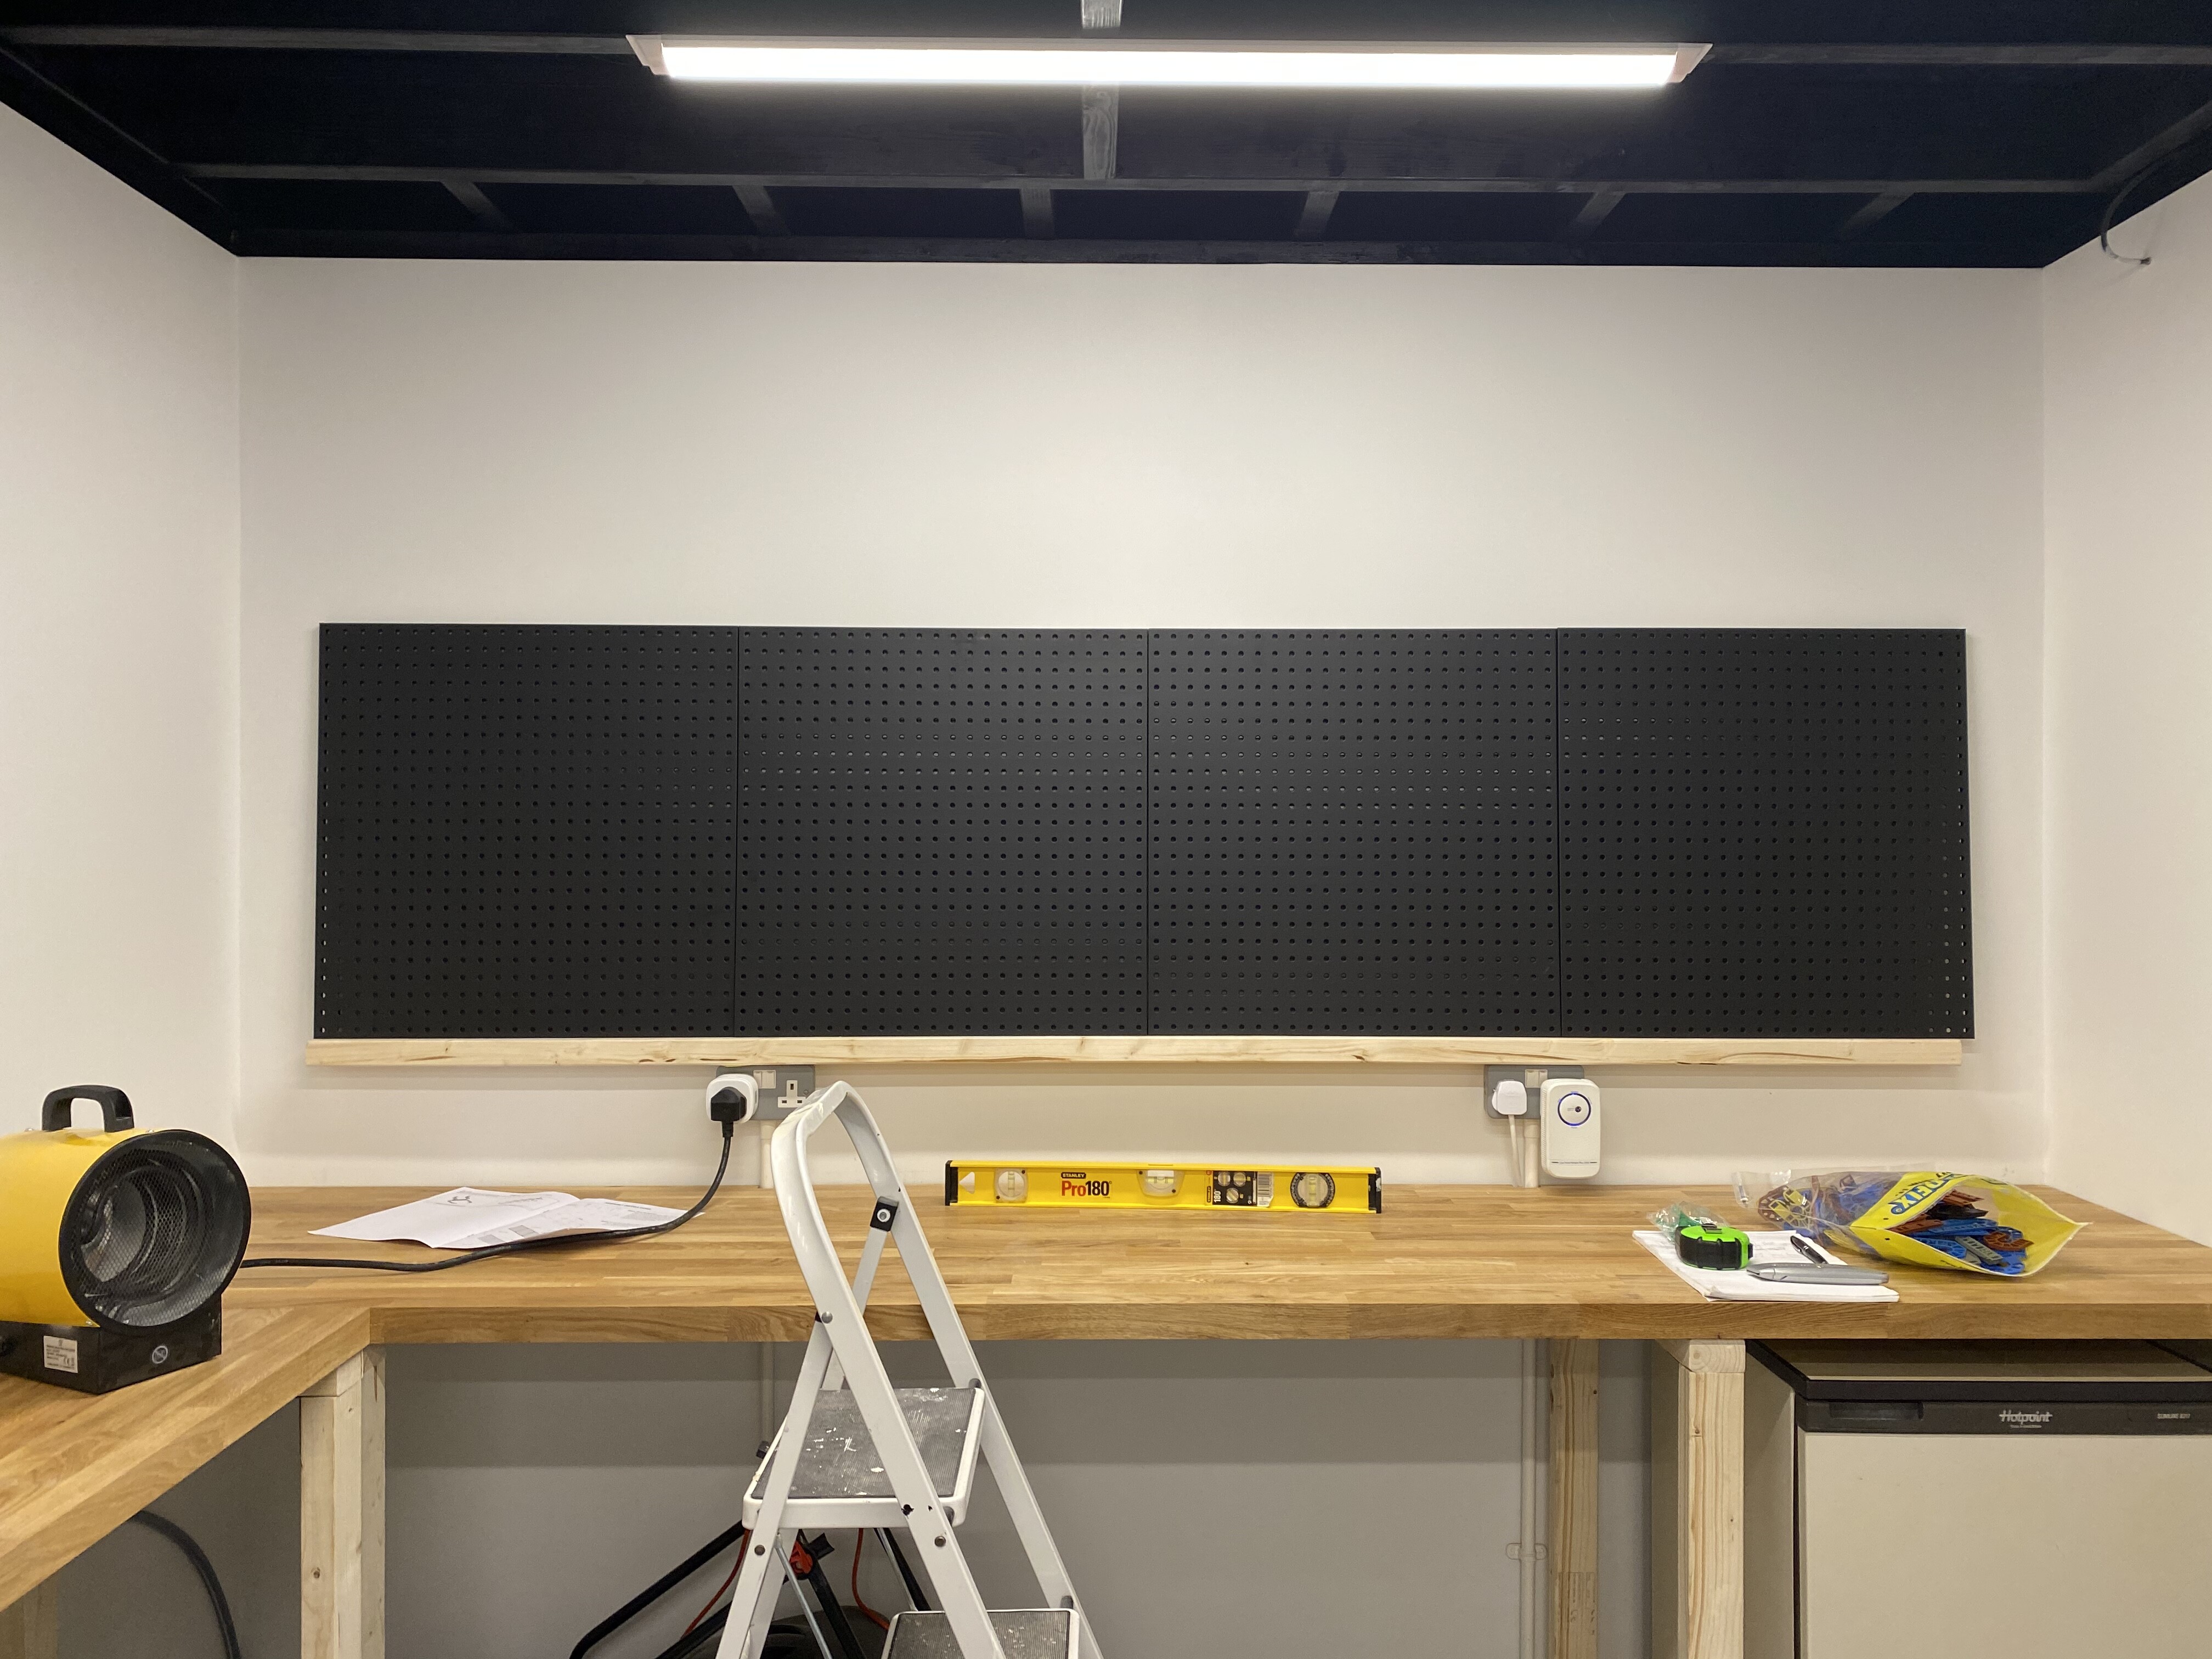
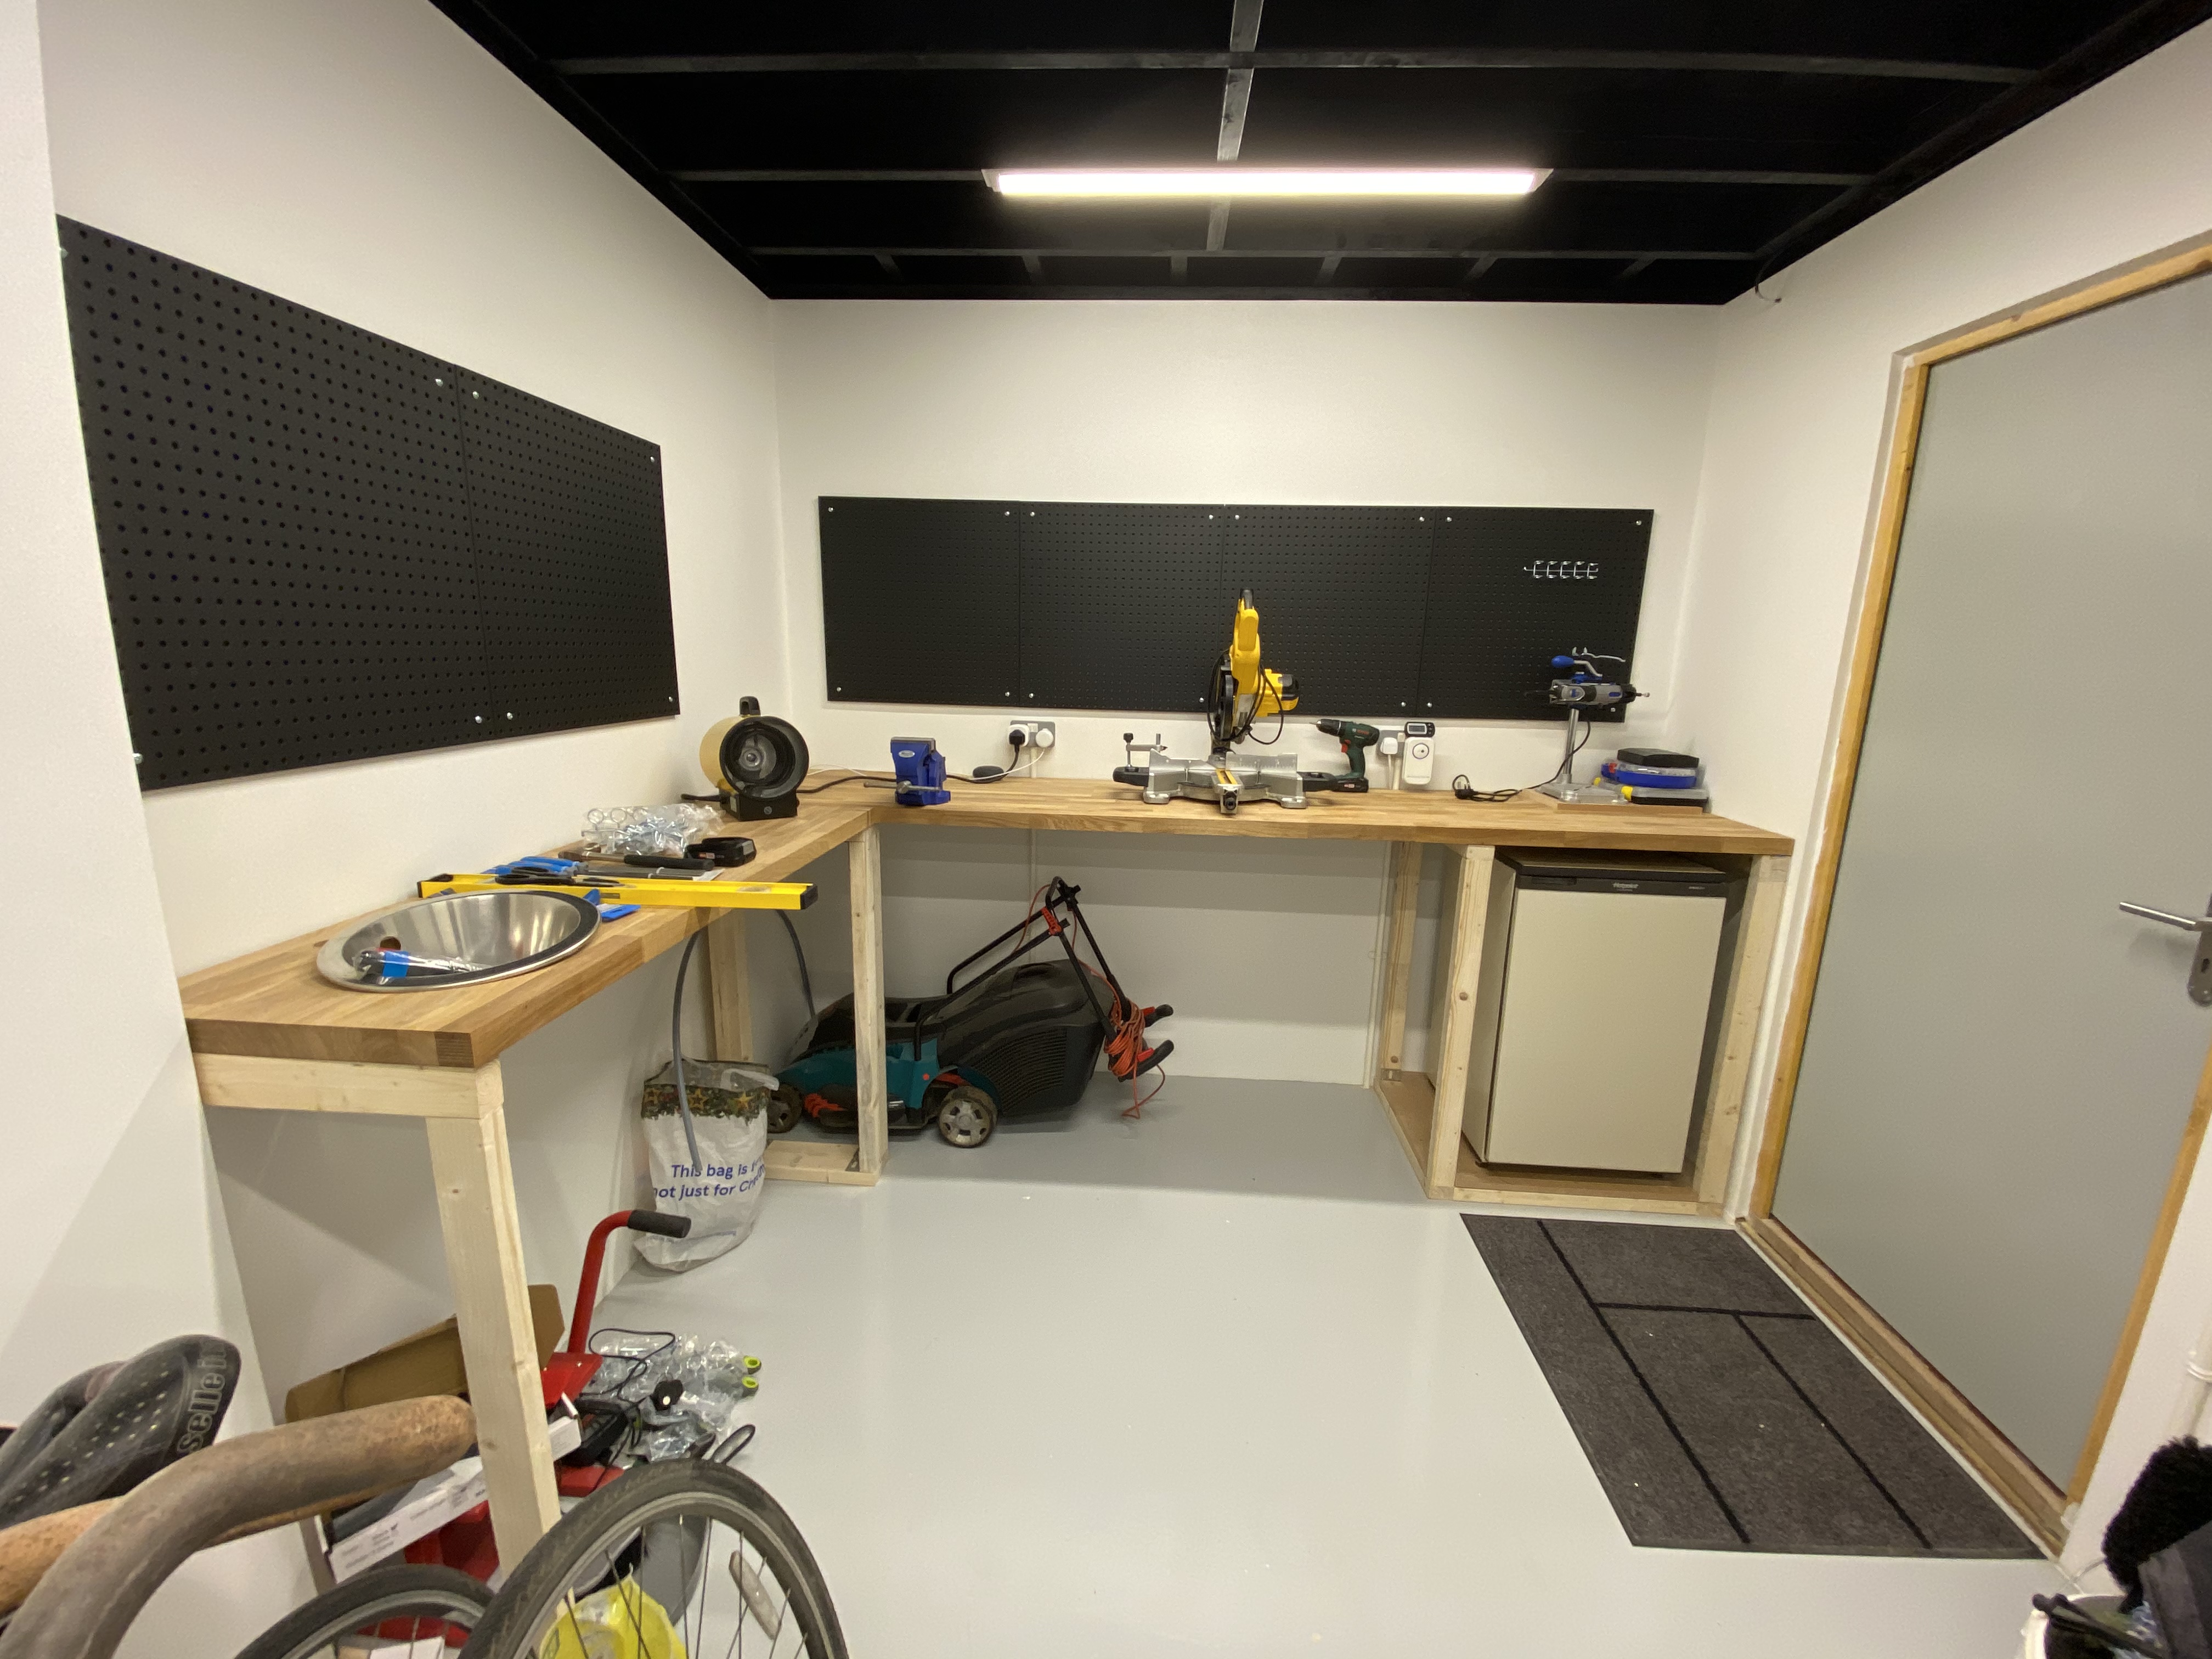
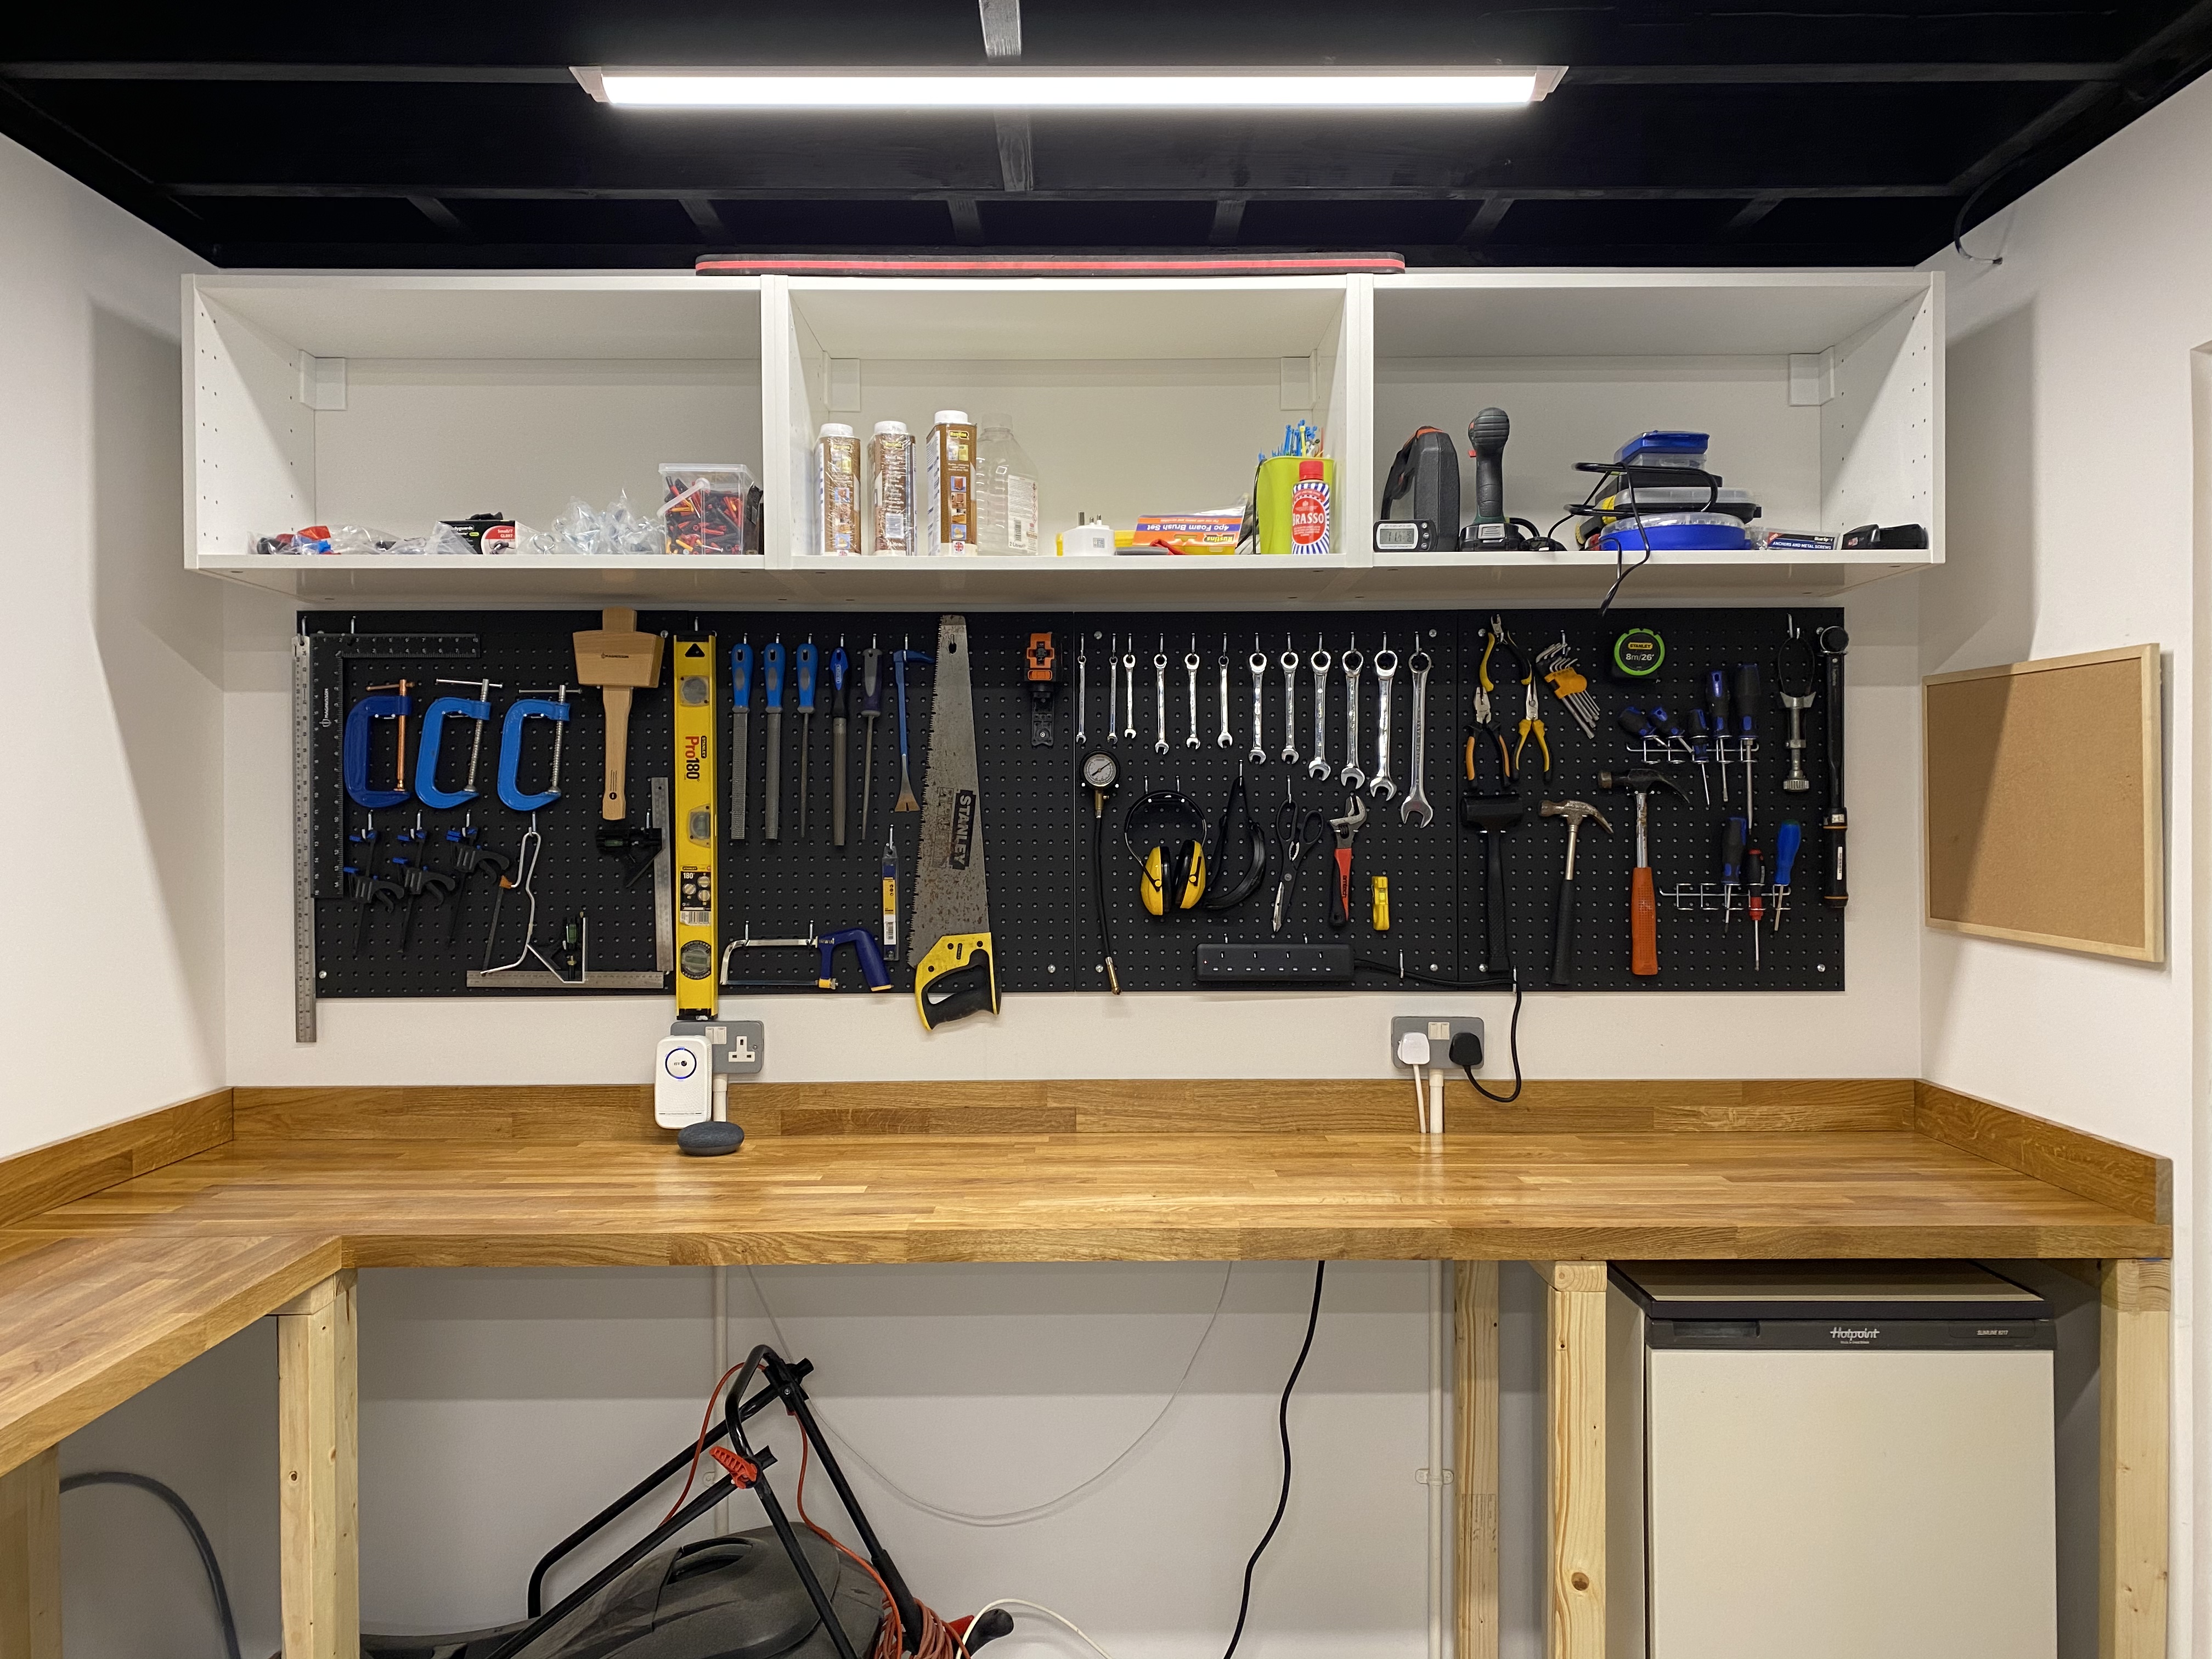
I had our garage refurbished recently. It was falling apart and didn’t make good use of space. We’ve decorated it ourselves it and as part of that now I’m using the time off work over Christmas and New Years to build a nice worktop ![]()
I’m no carpenter but do have a can-do approach to most things in life so this has been a learning experience ![]()
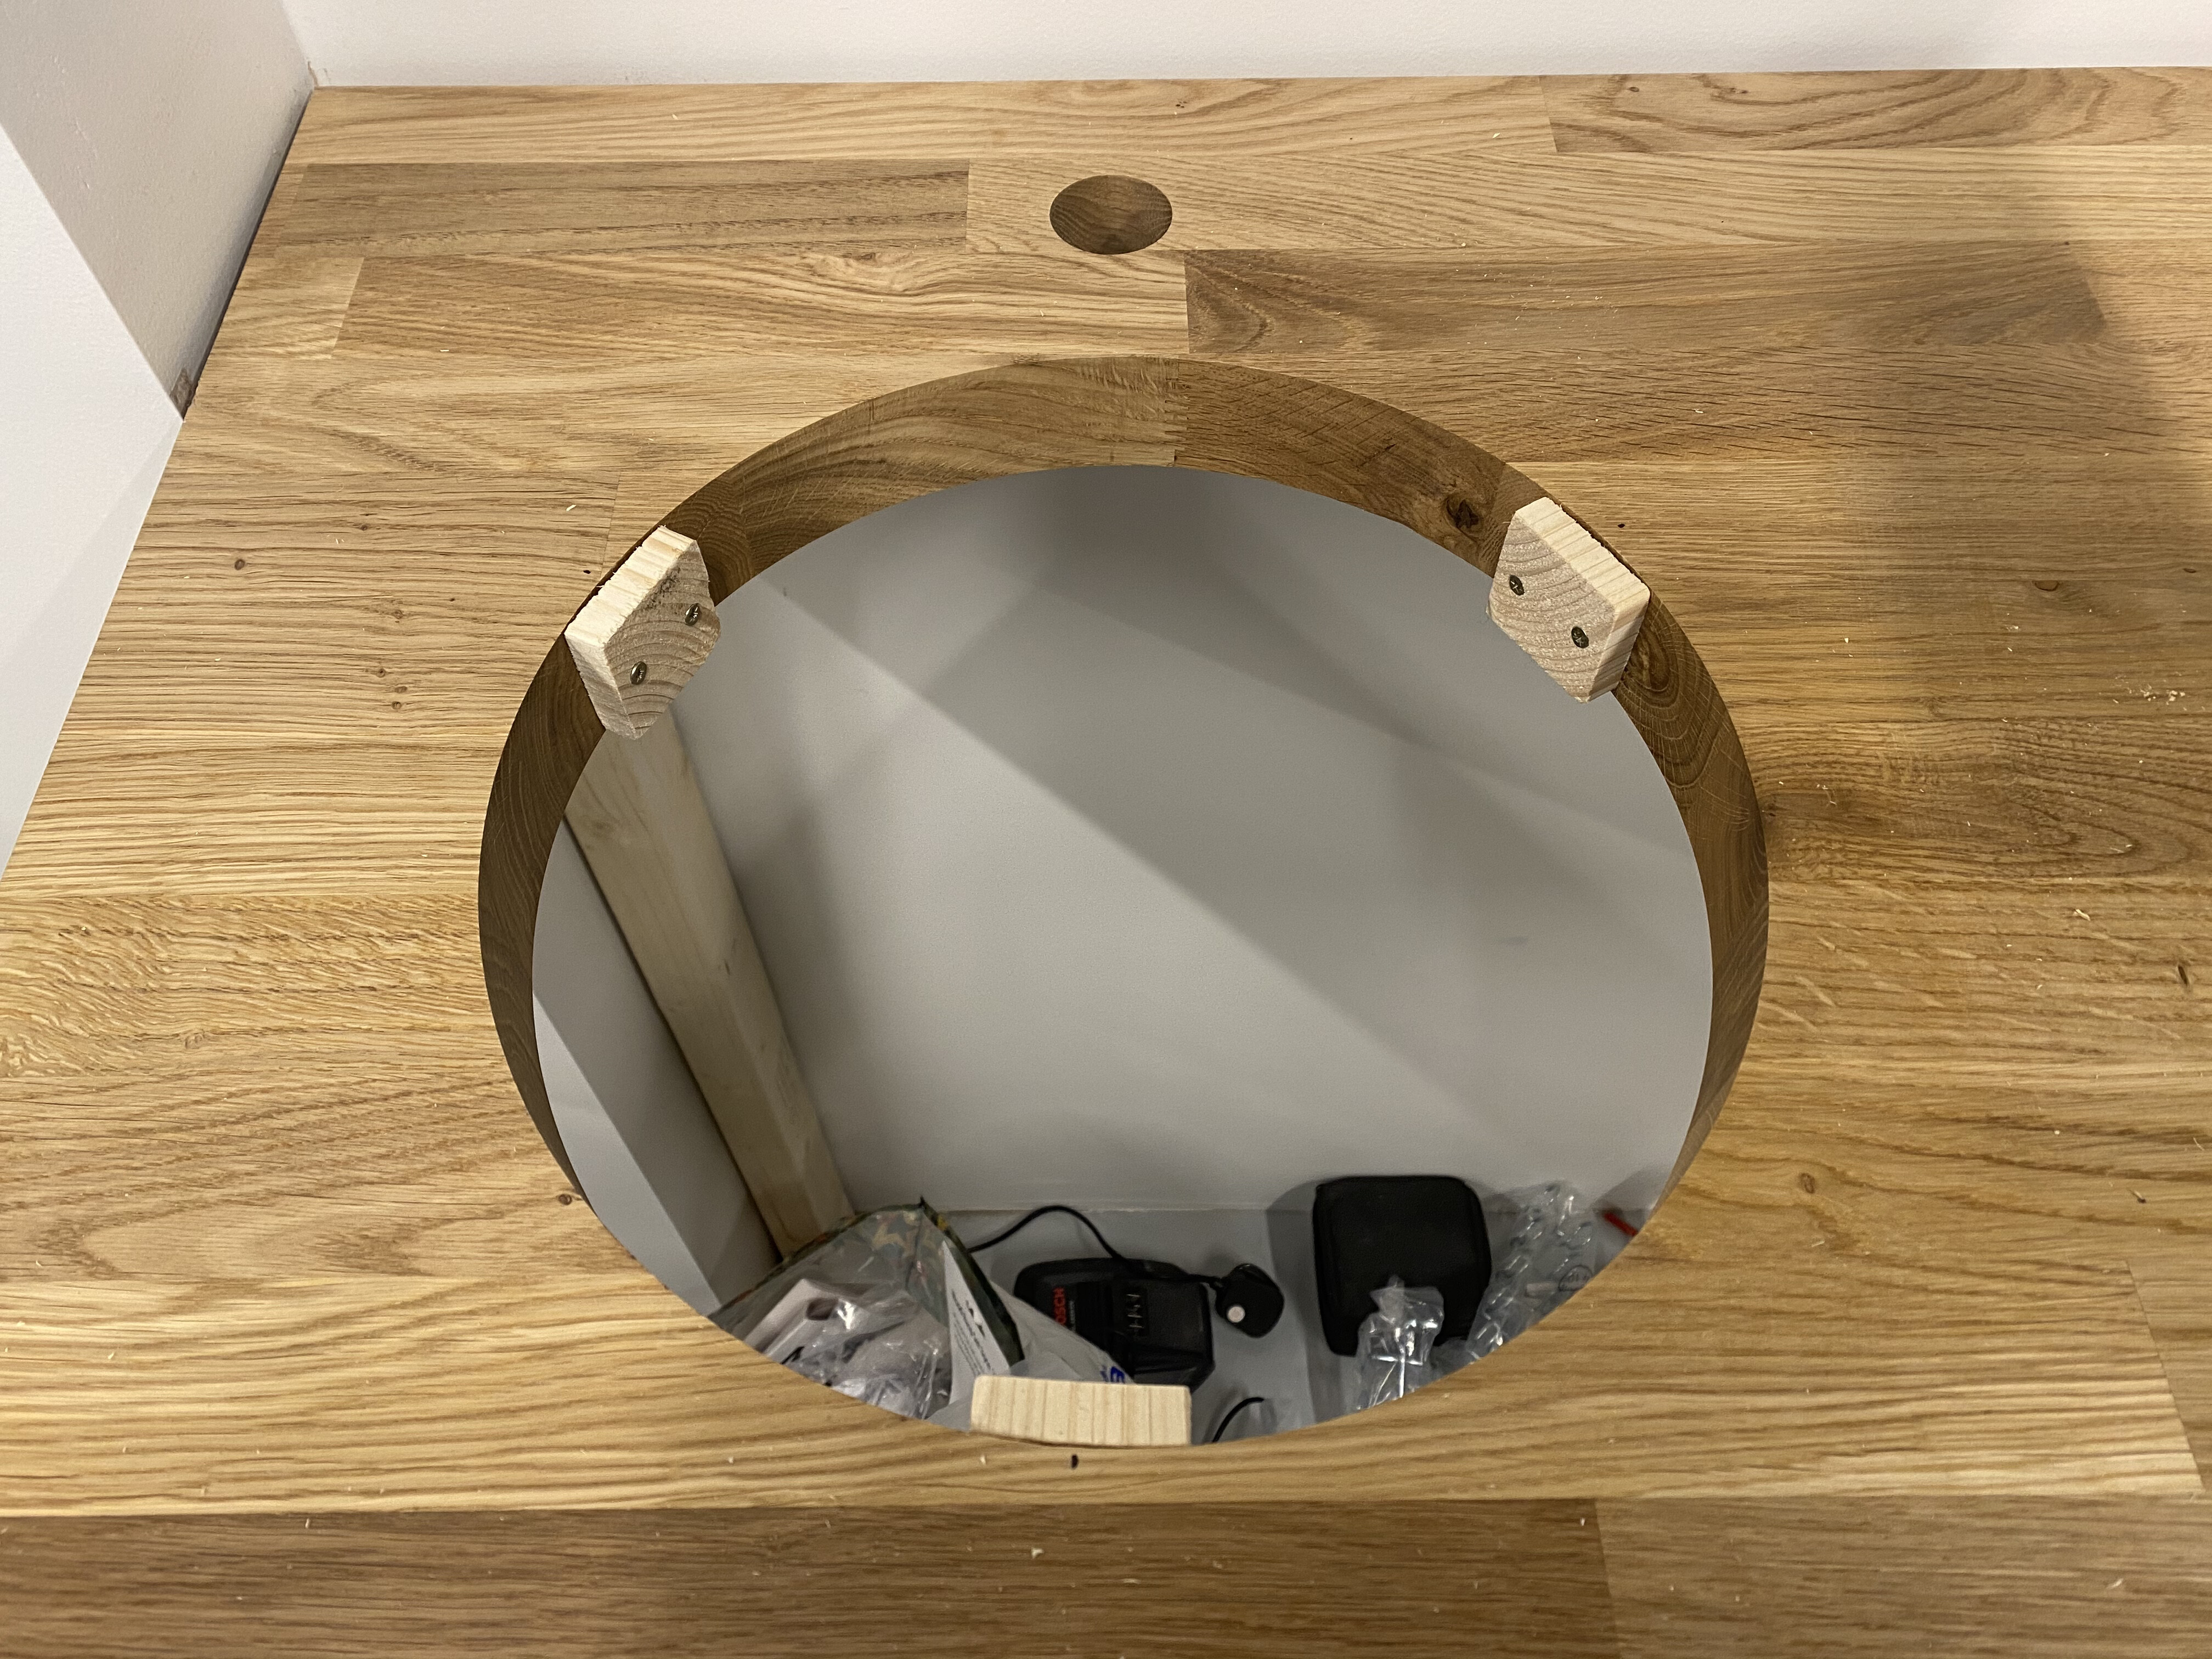
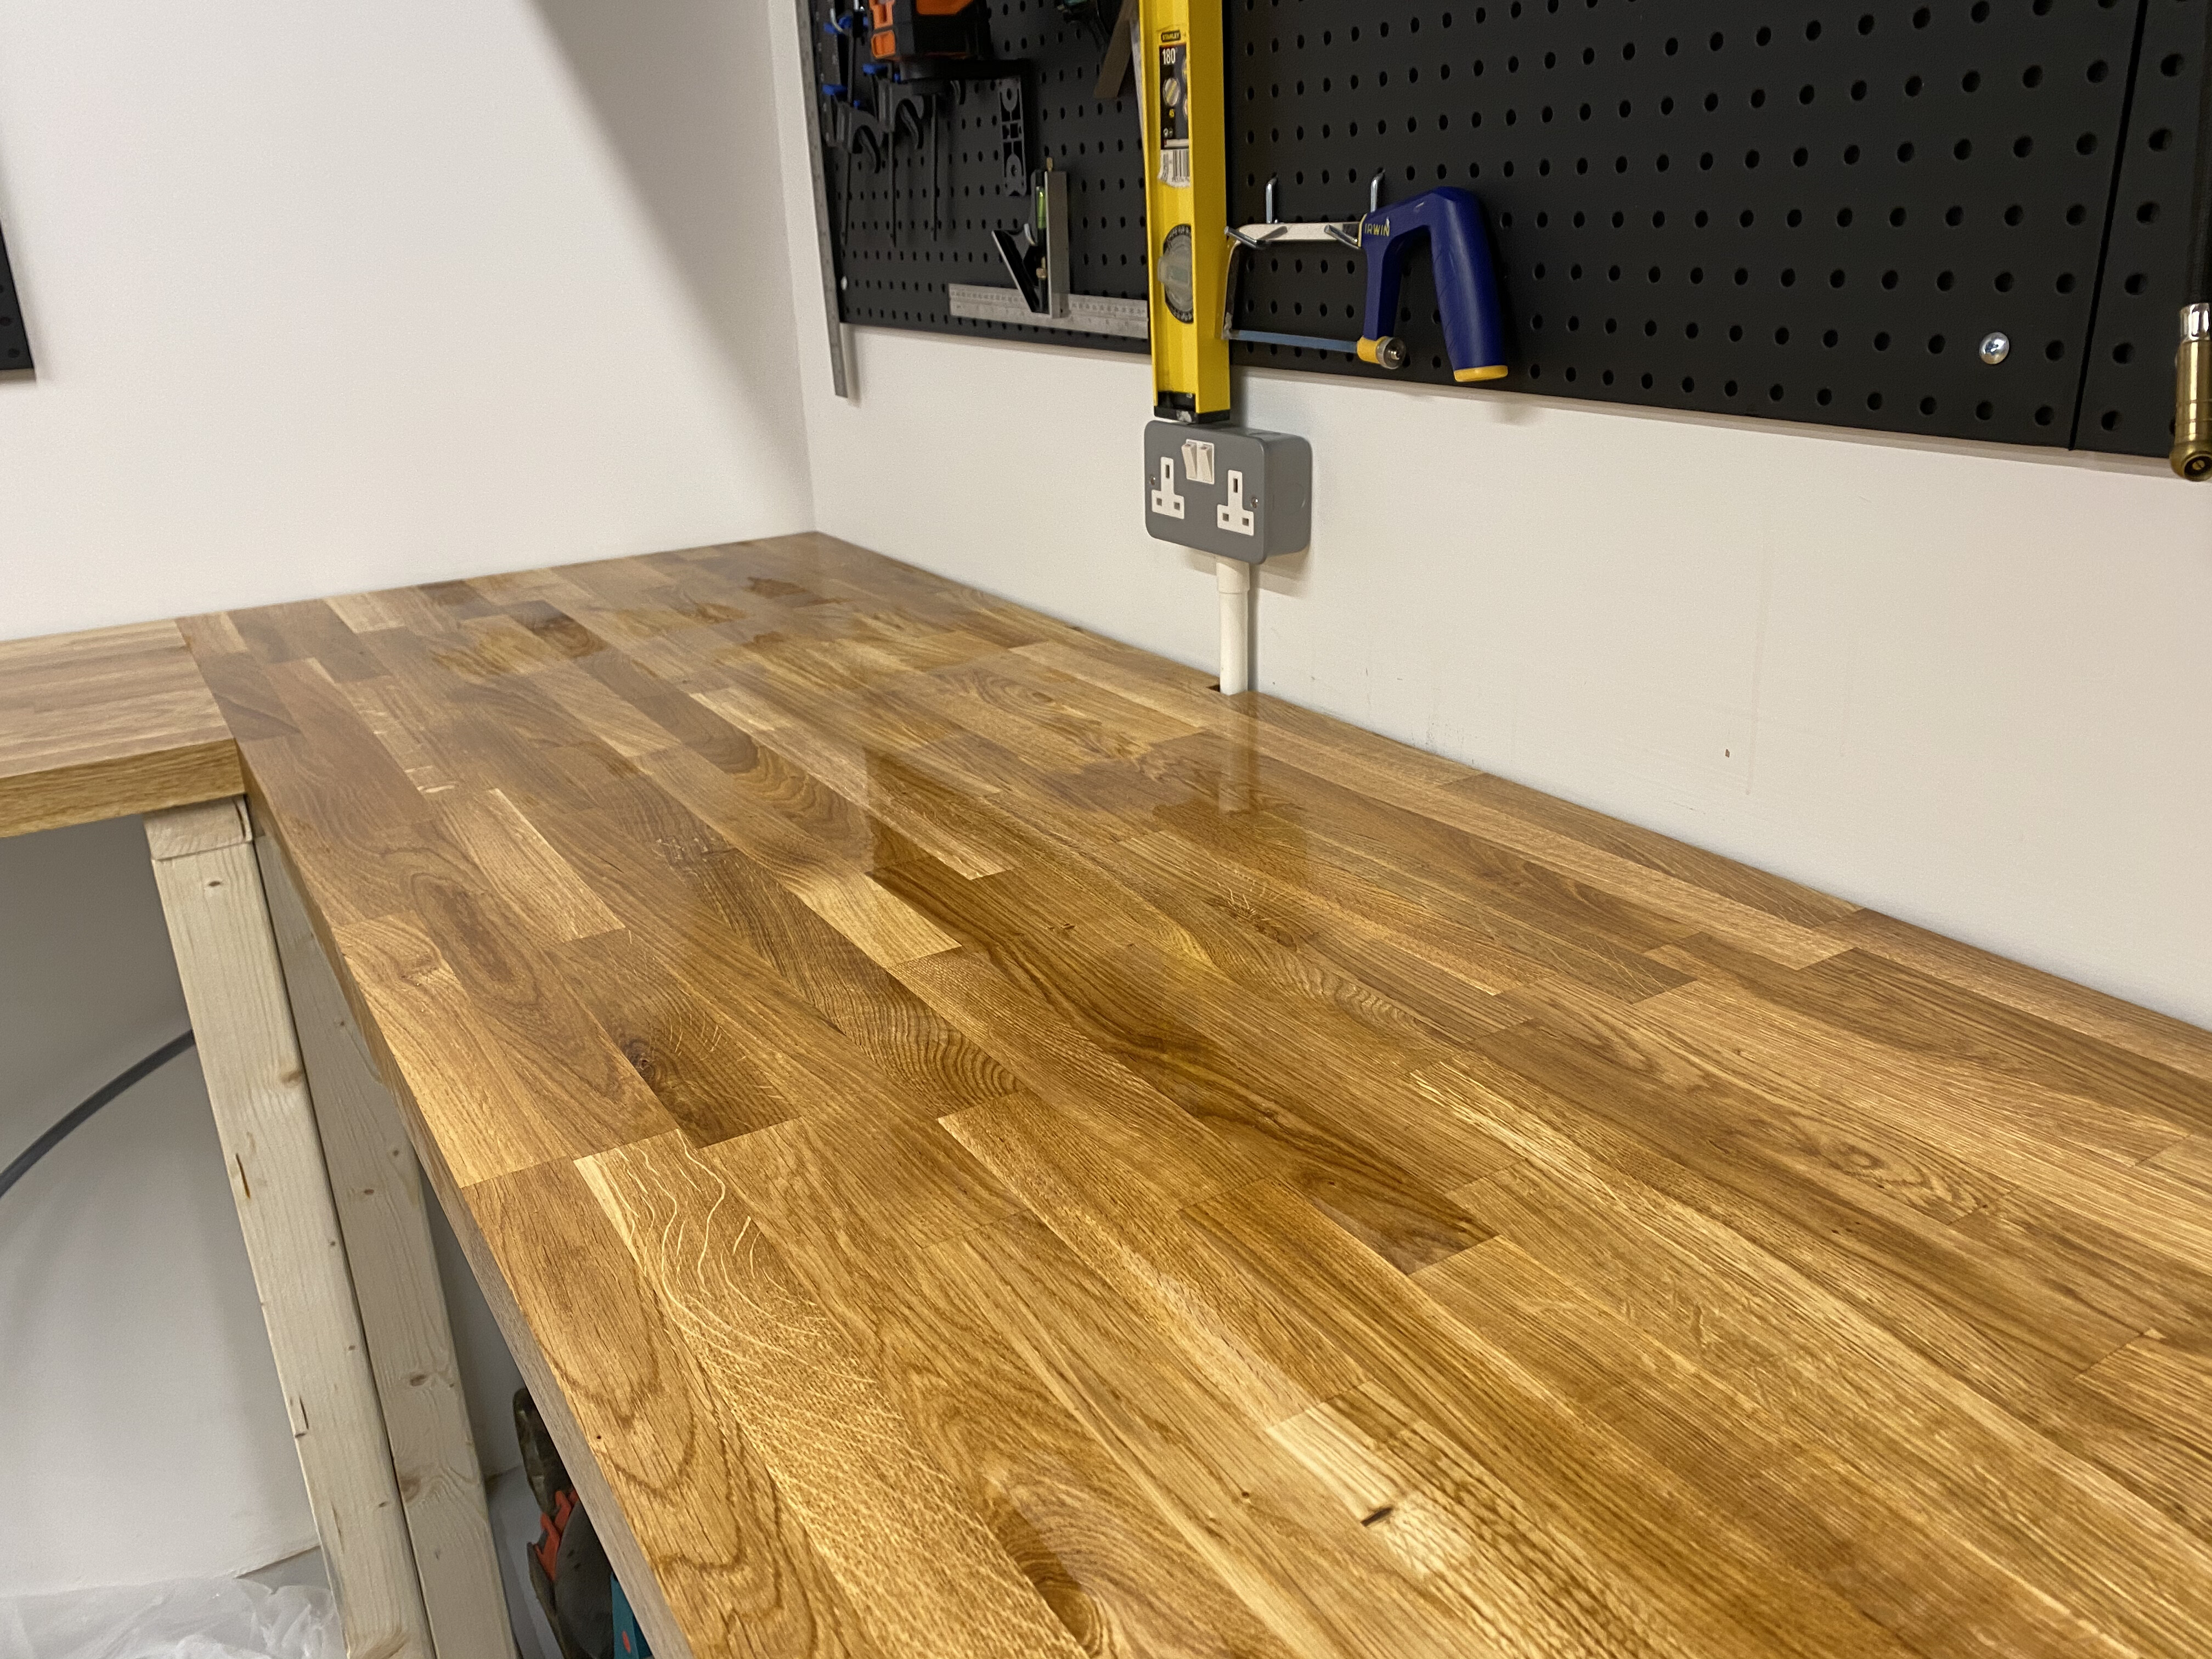
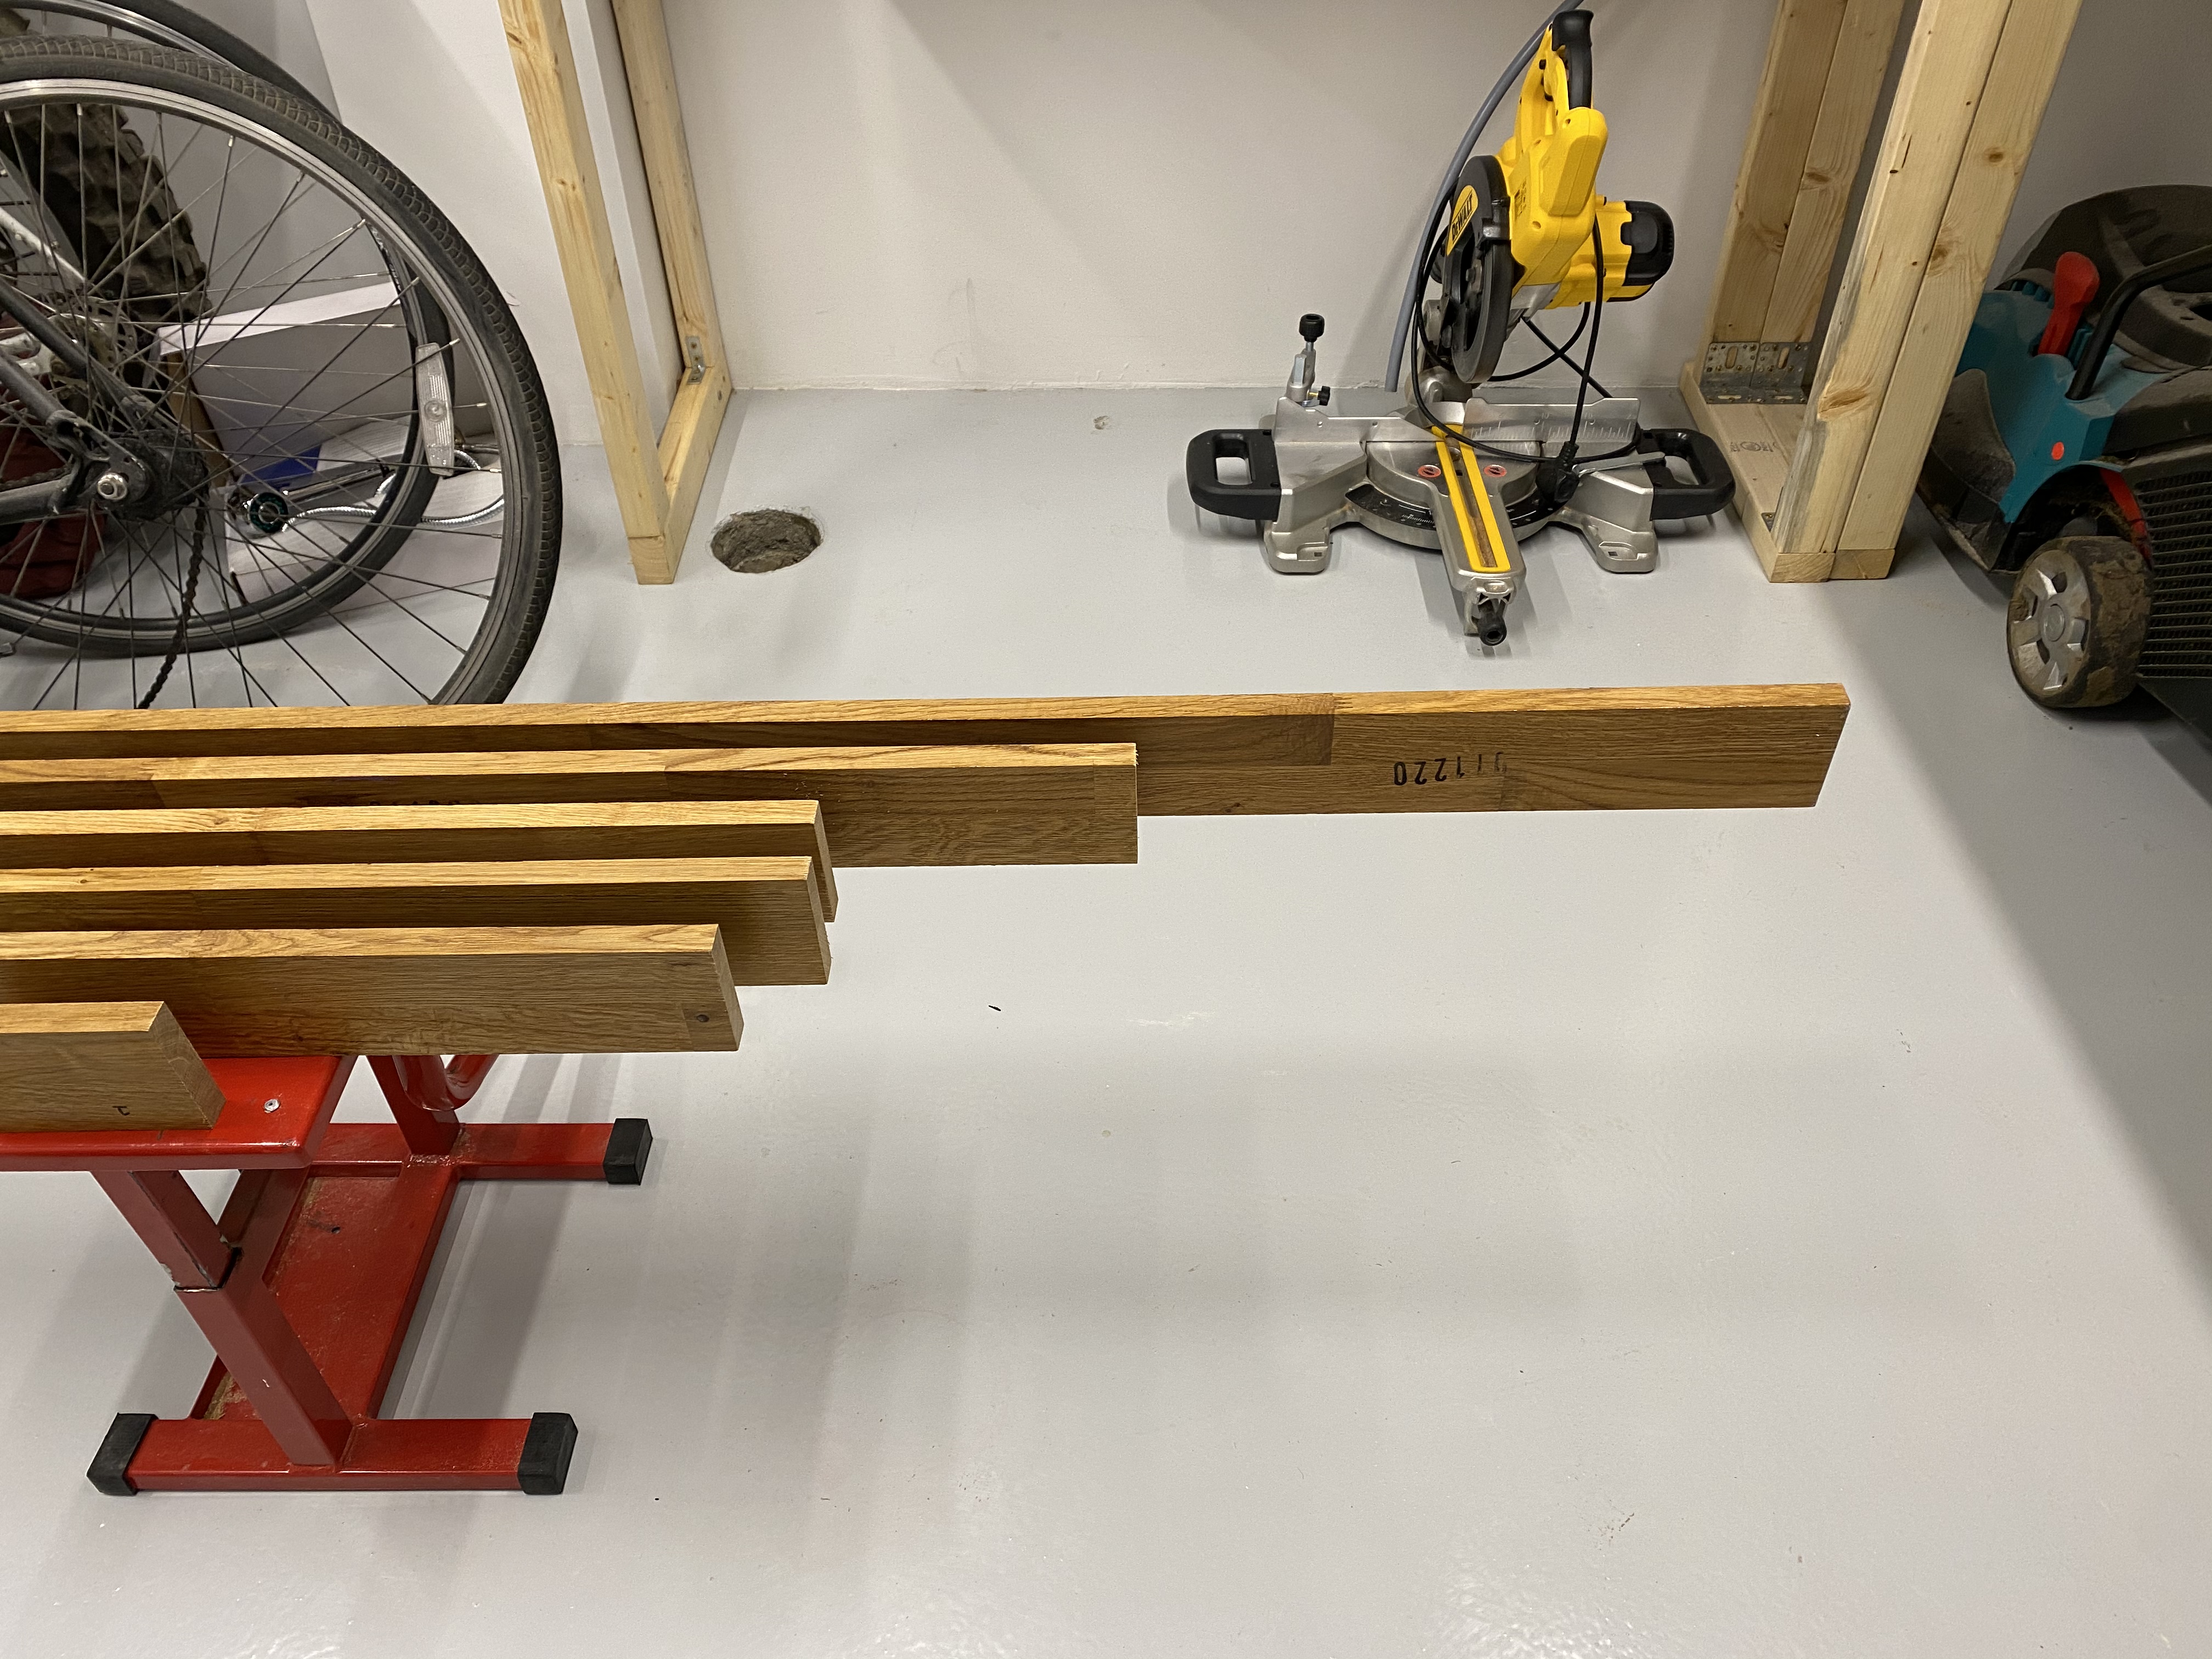
I’m building the frames and buying in some pre-cut oak worktops. I’ll plumb in a sink as well.
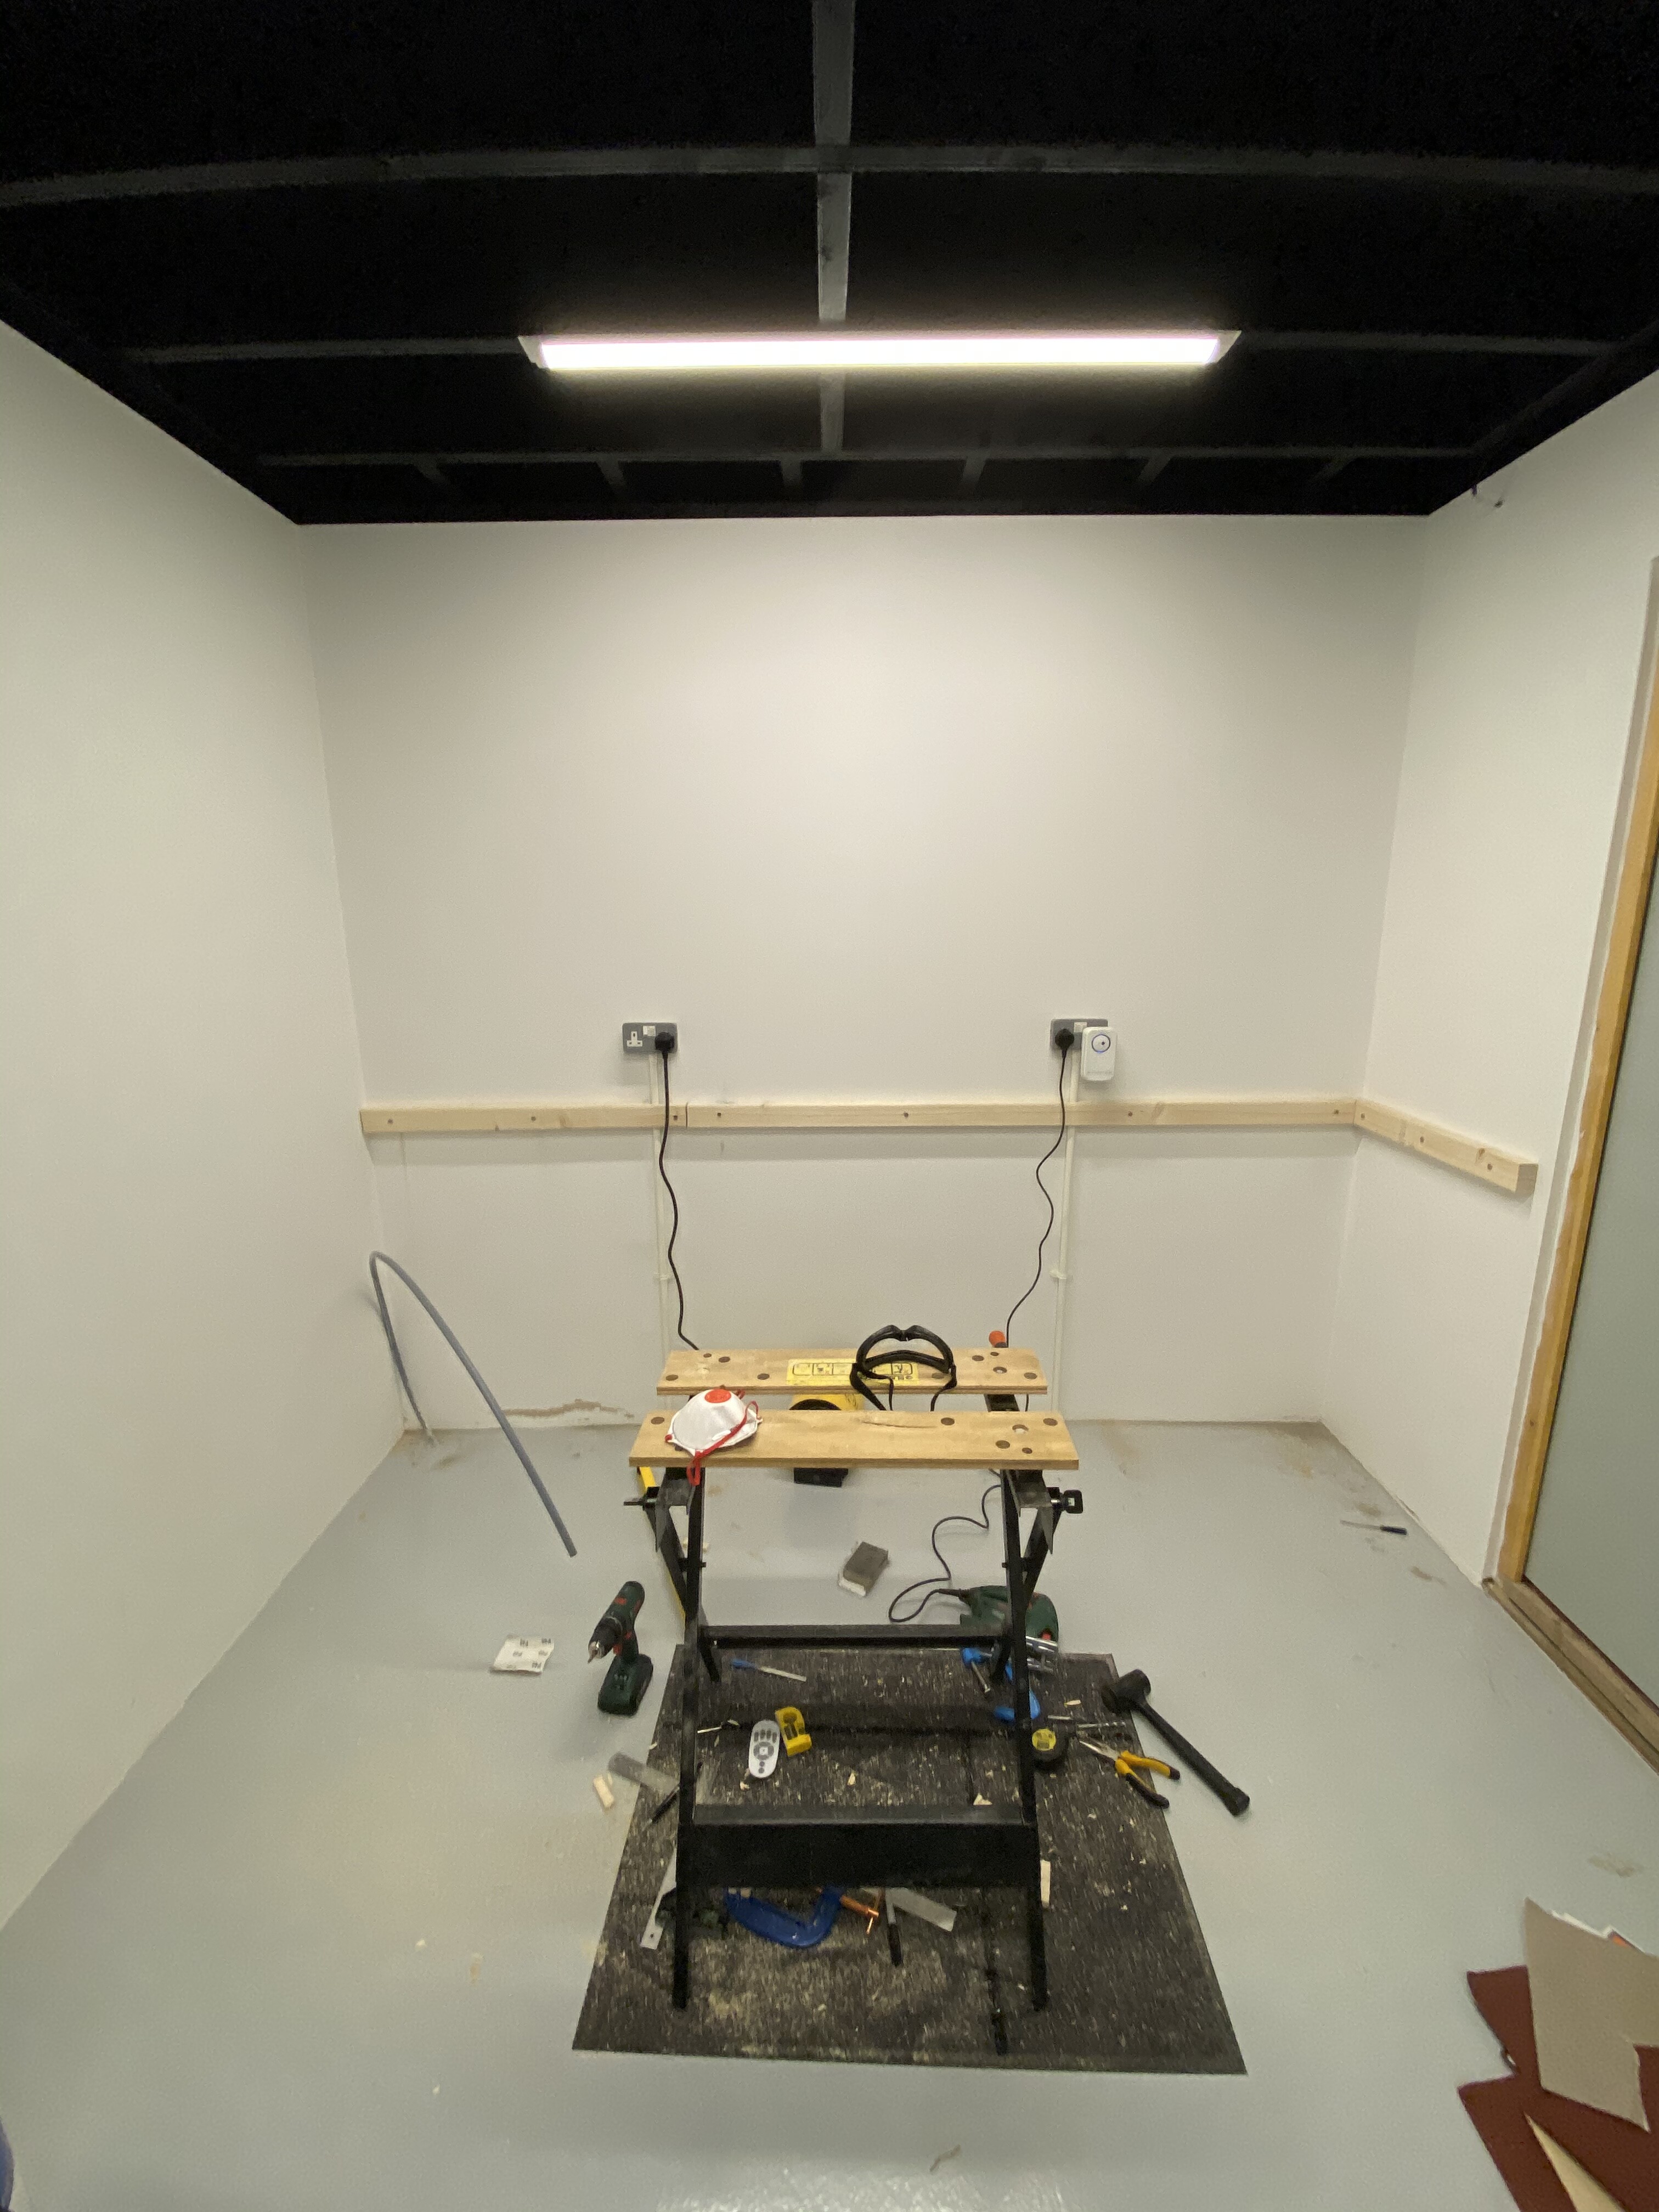
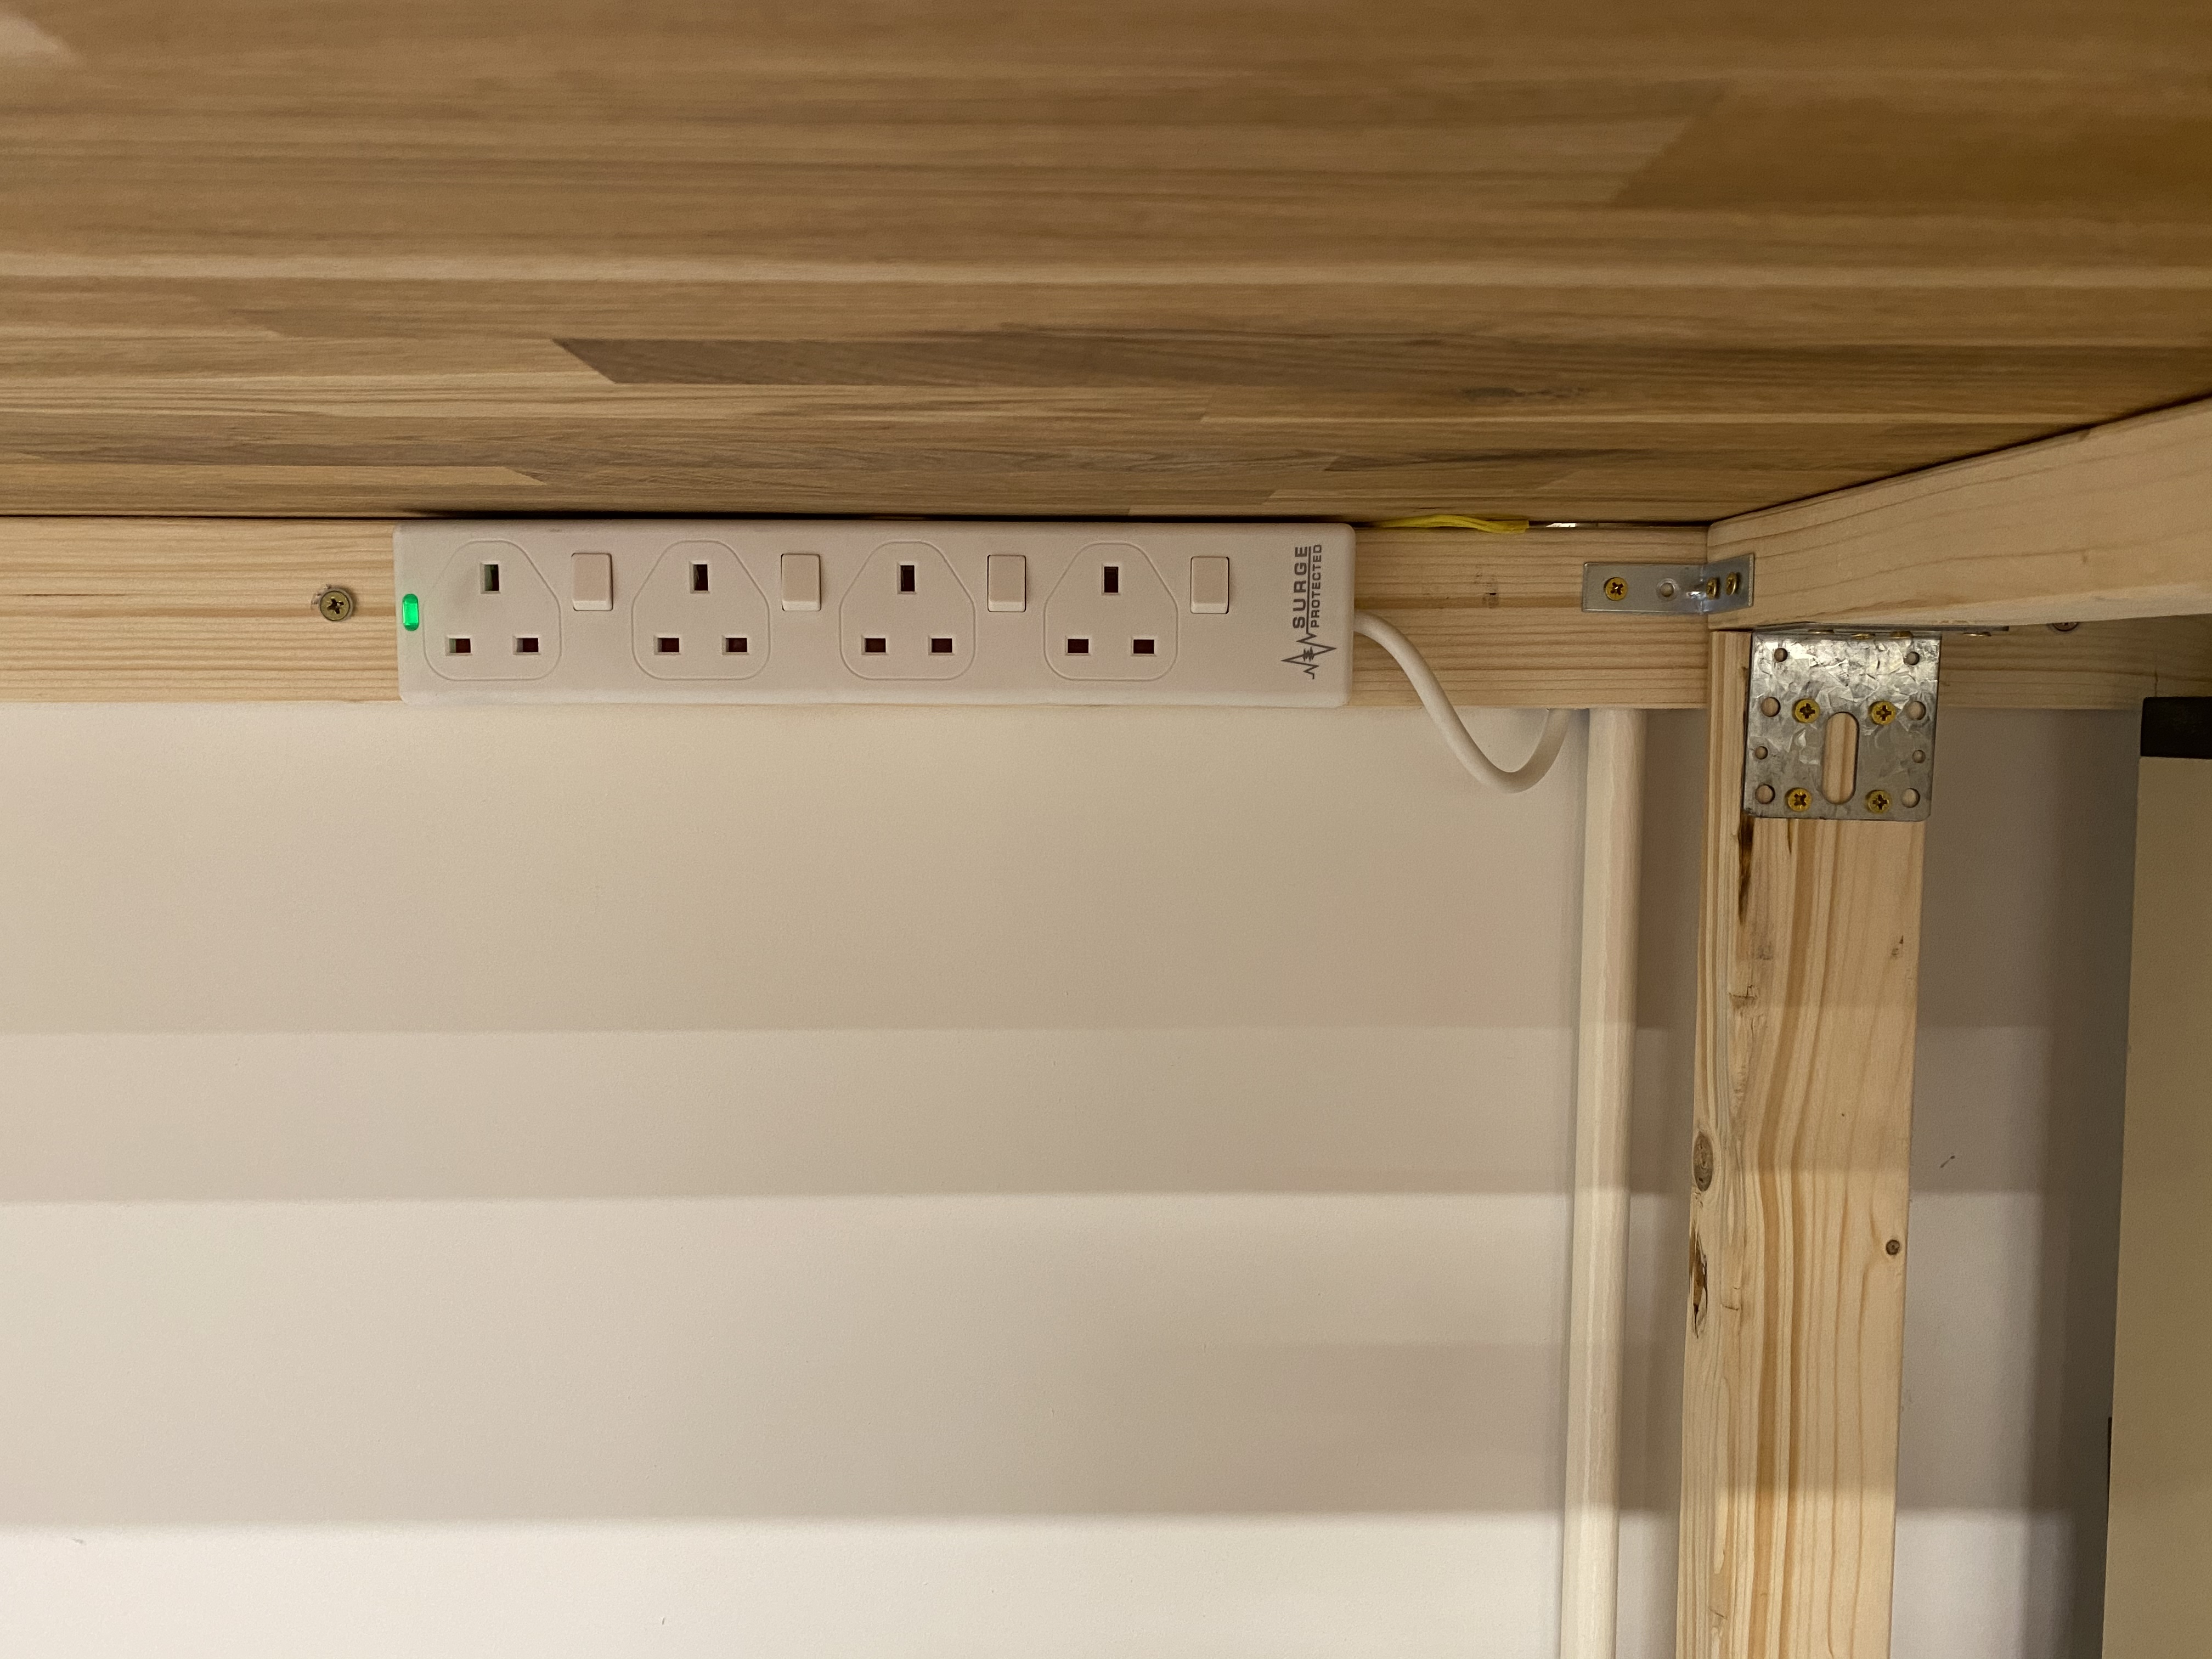
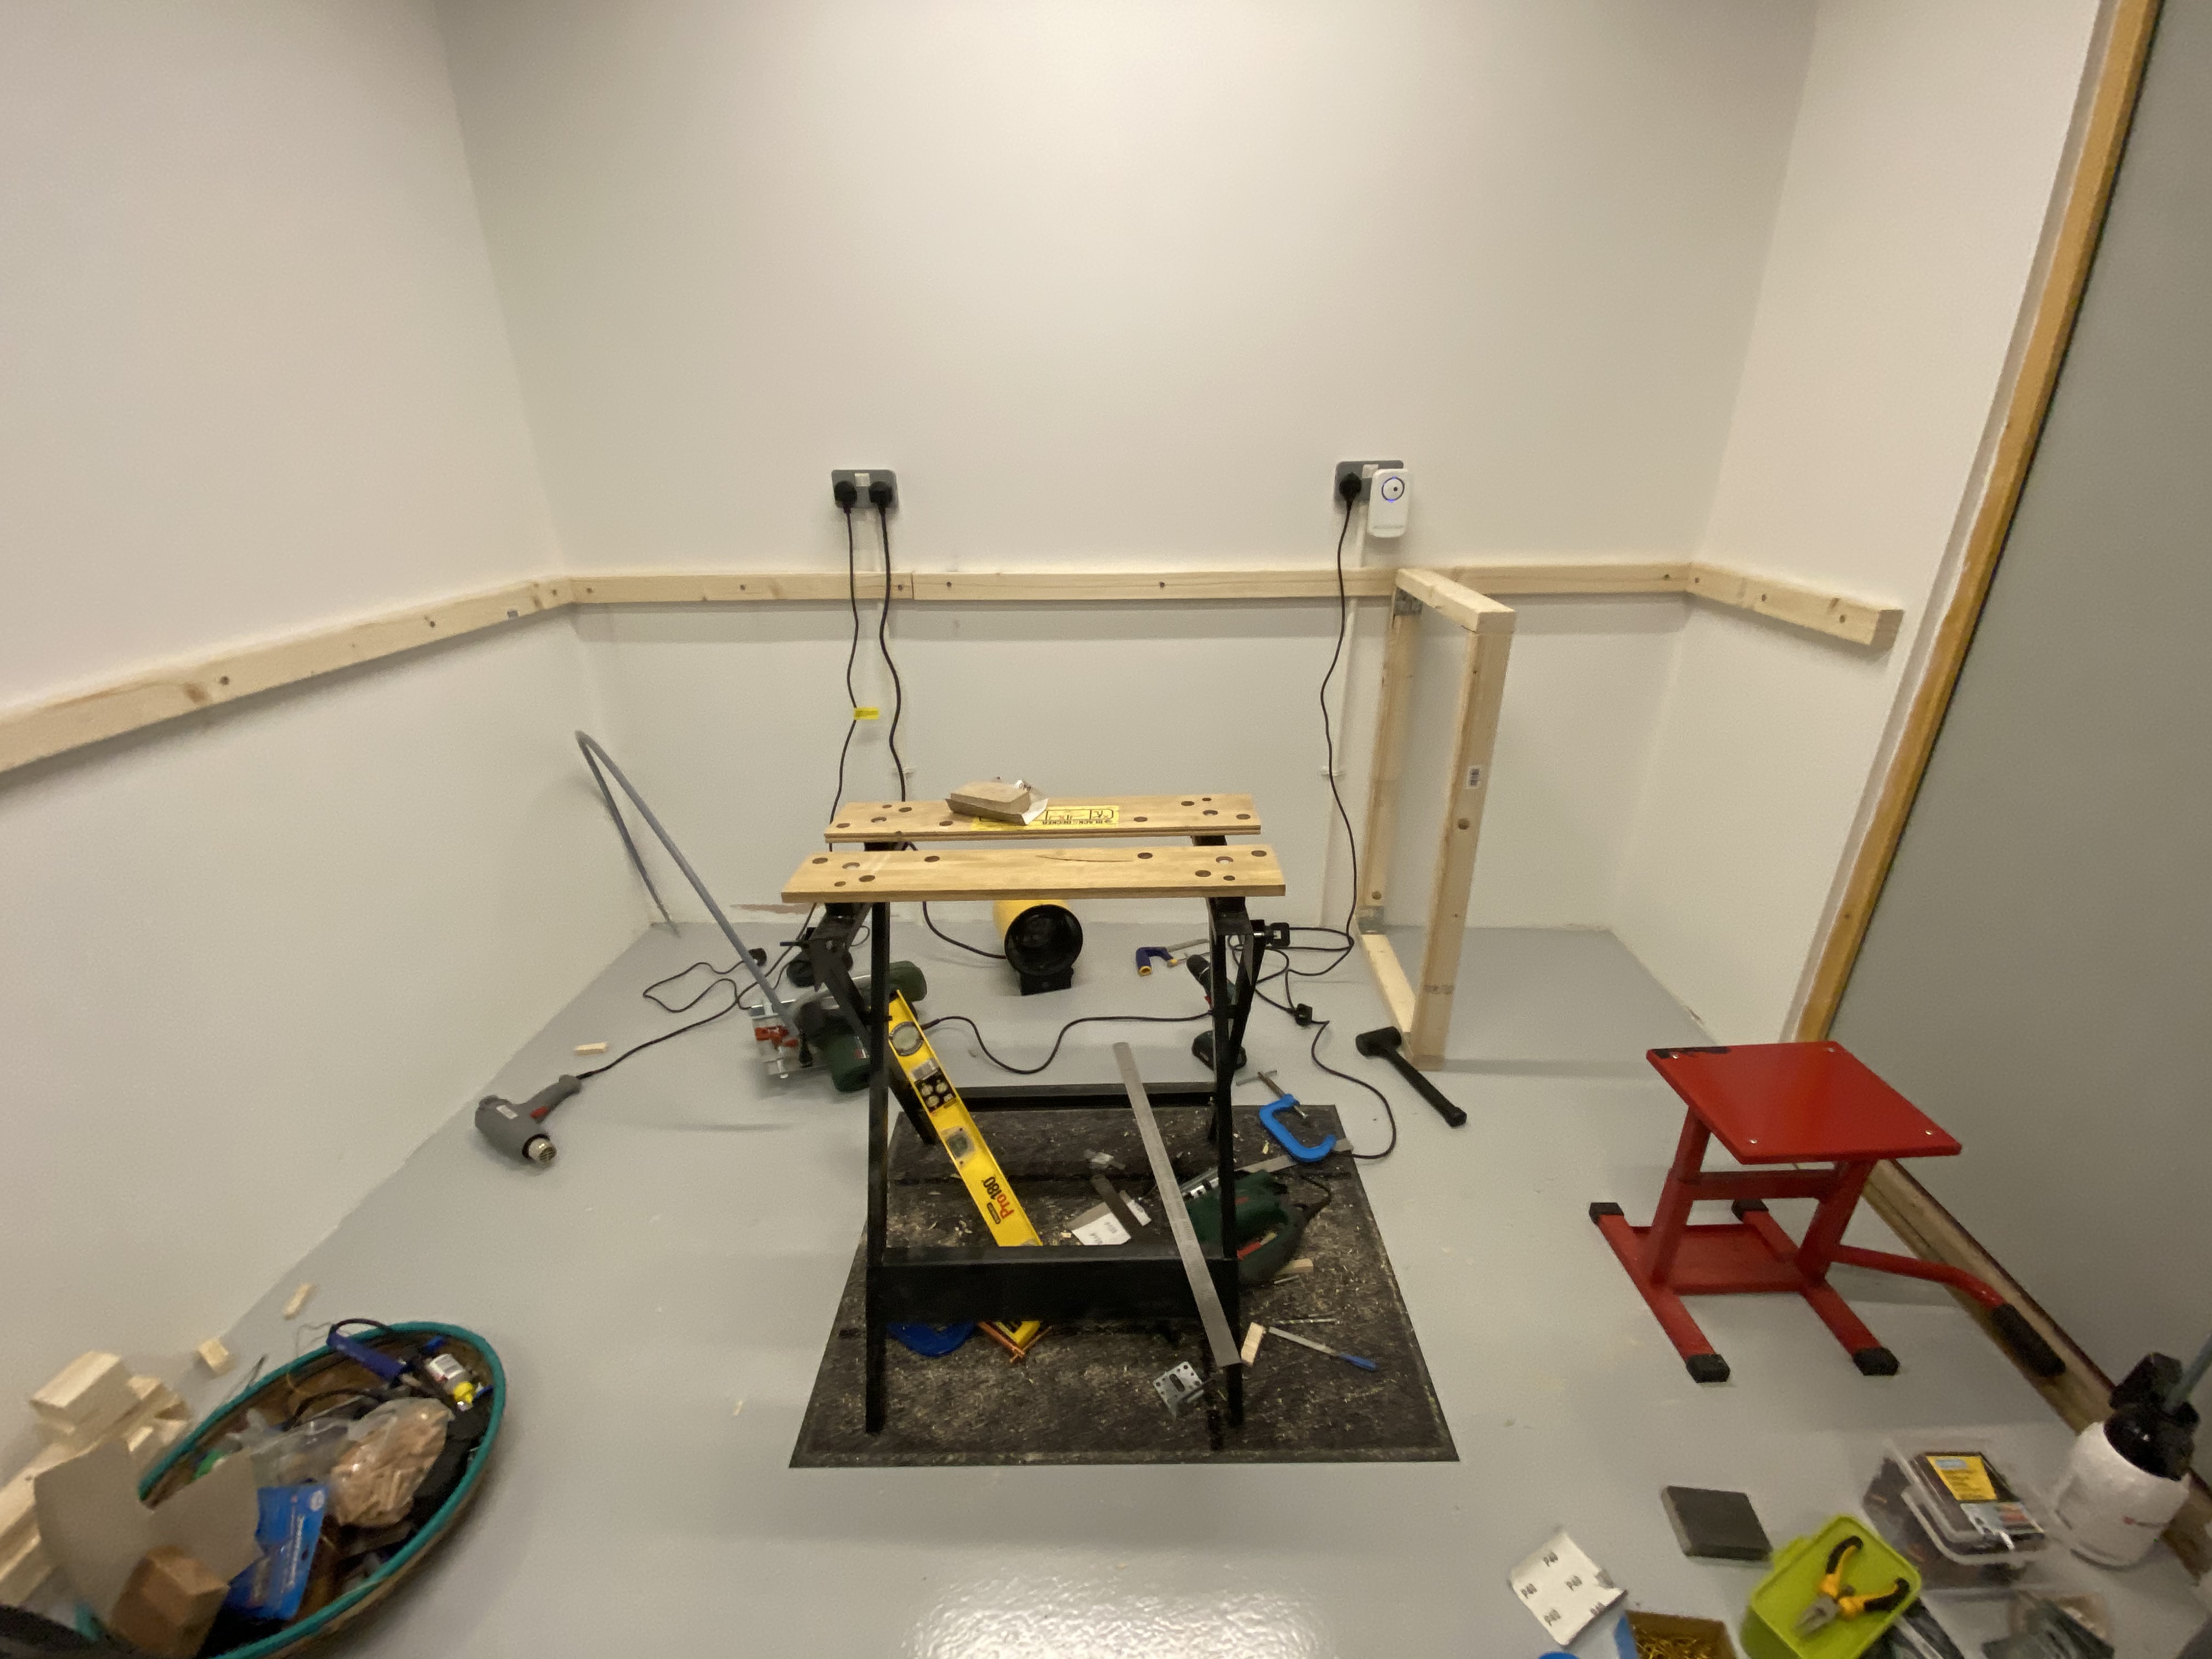
First batons going up. Worktops will be mounted to these.
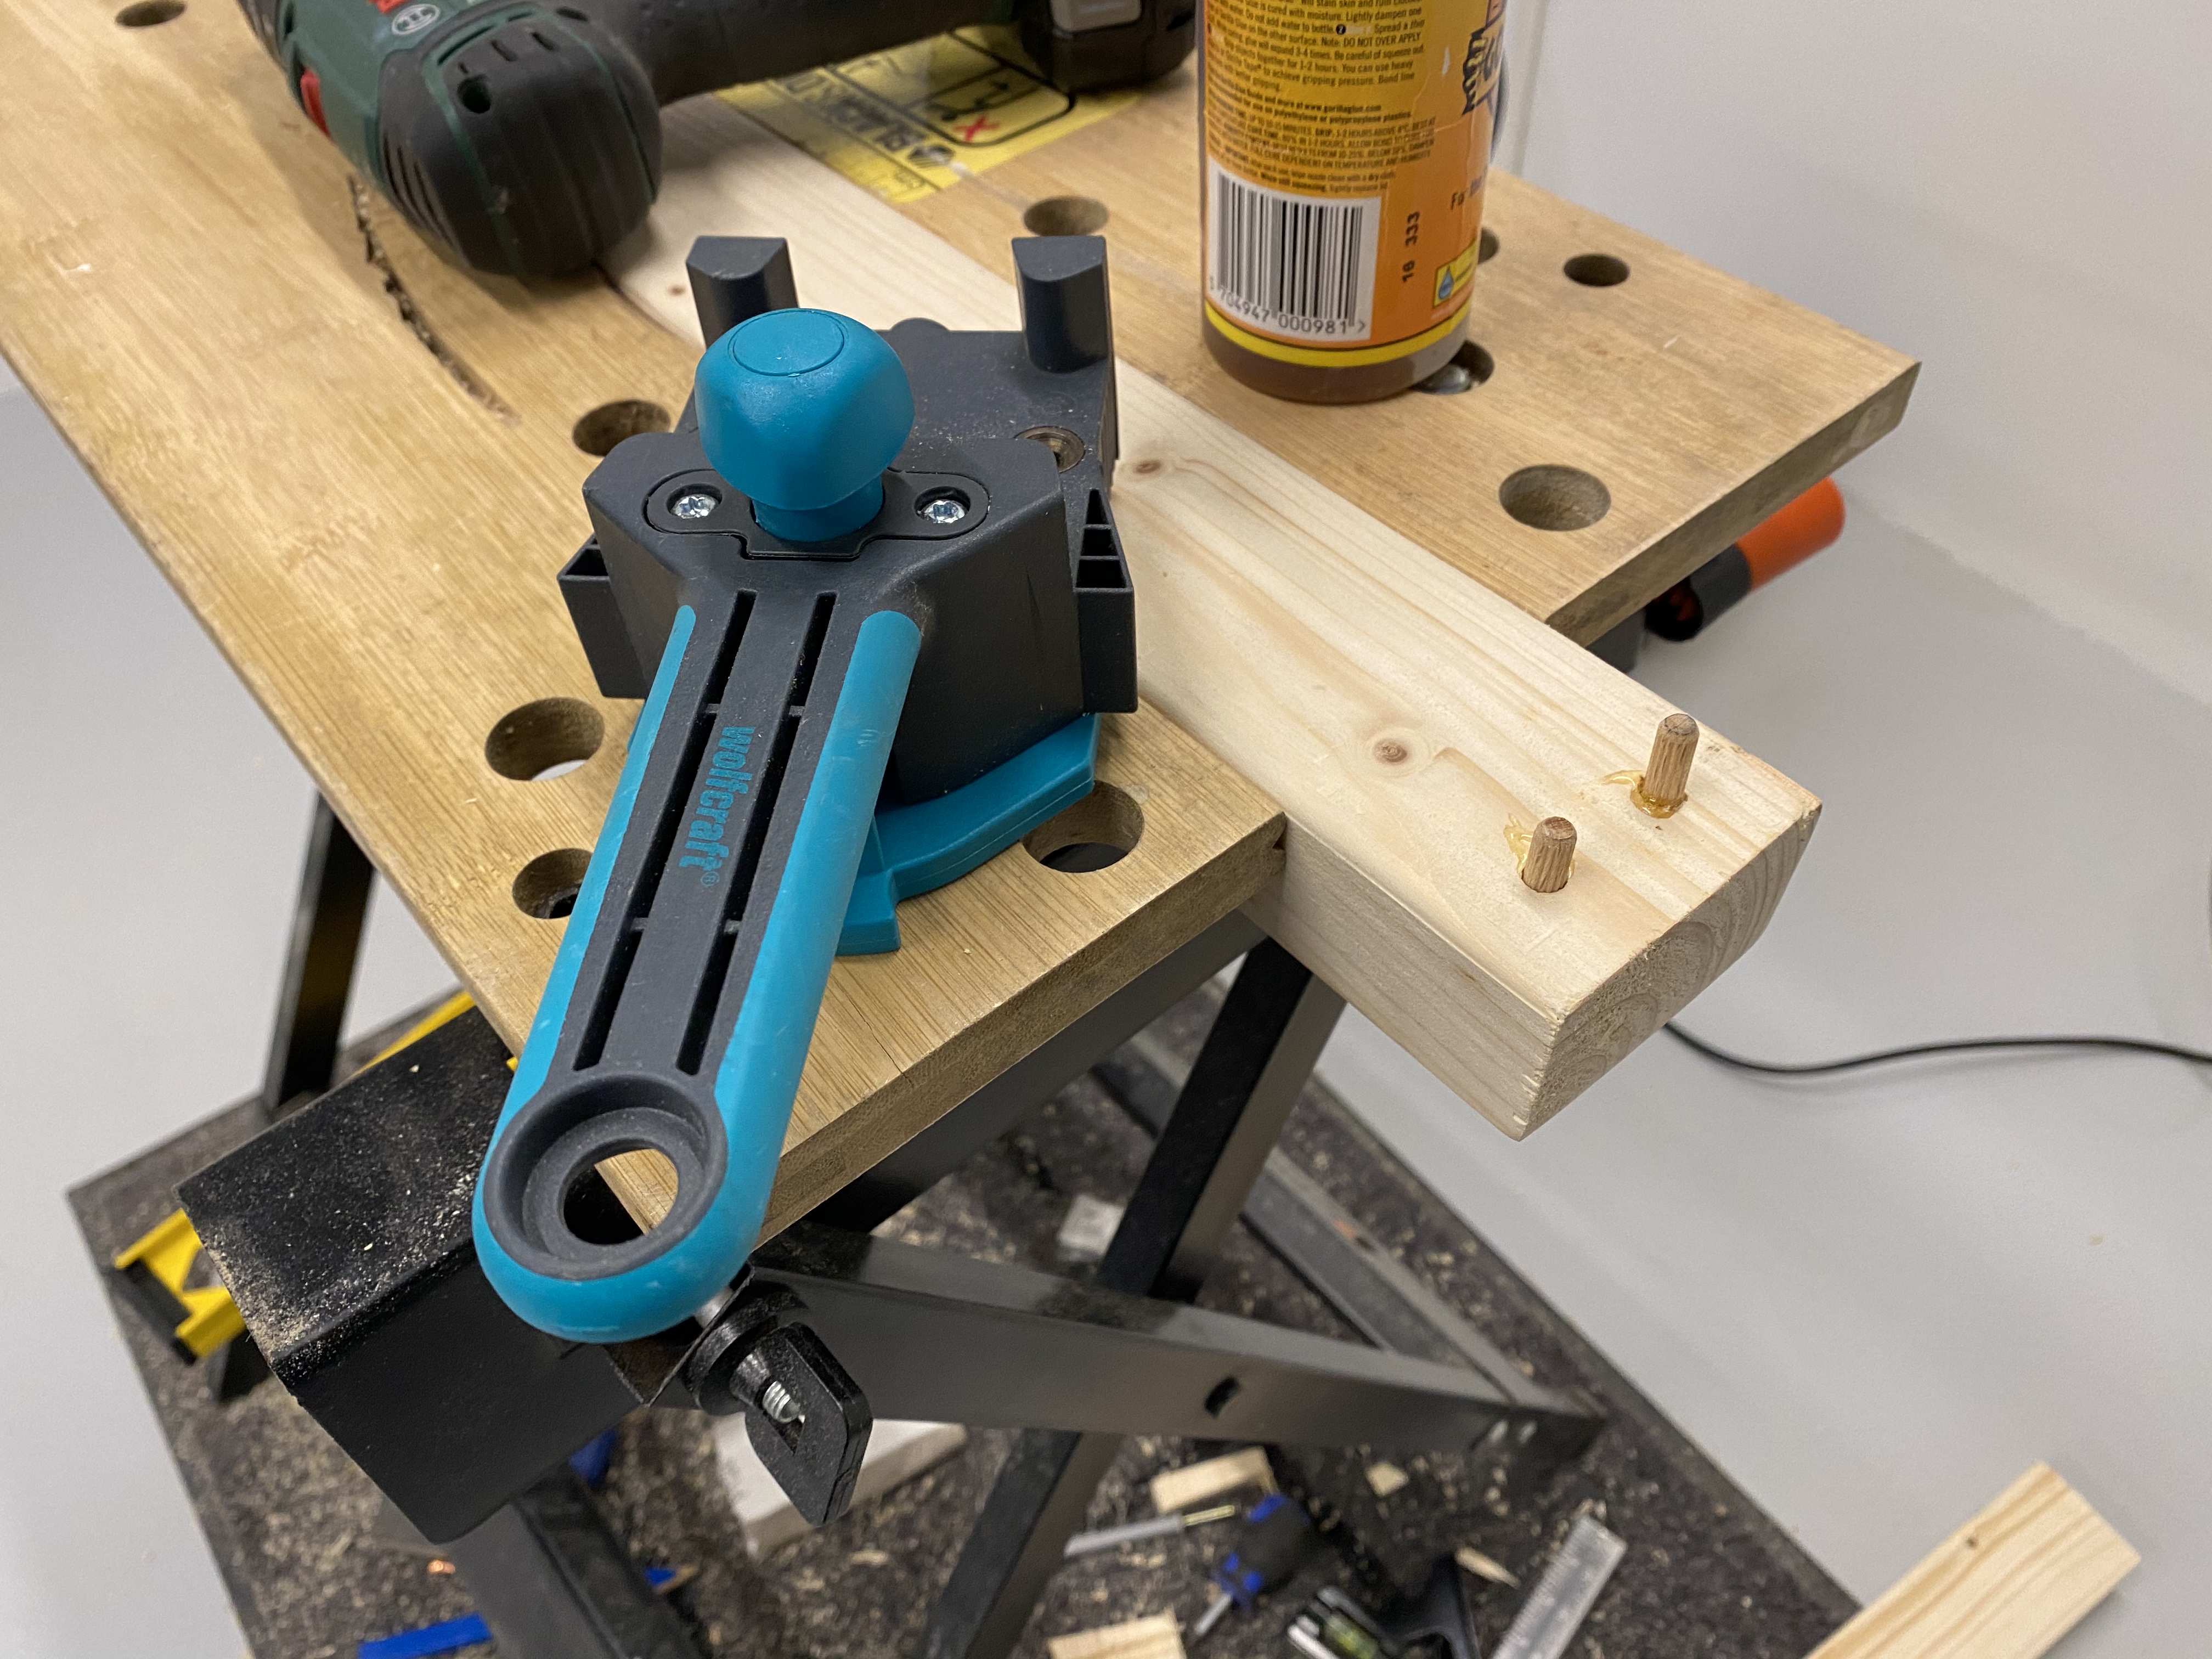
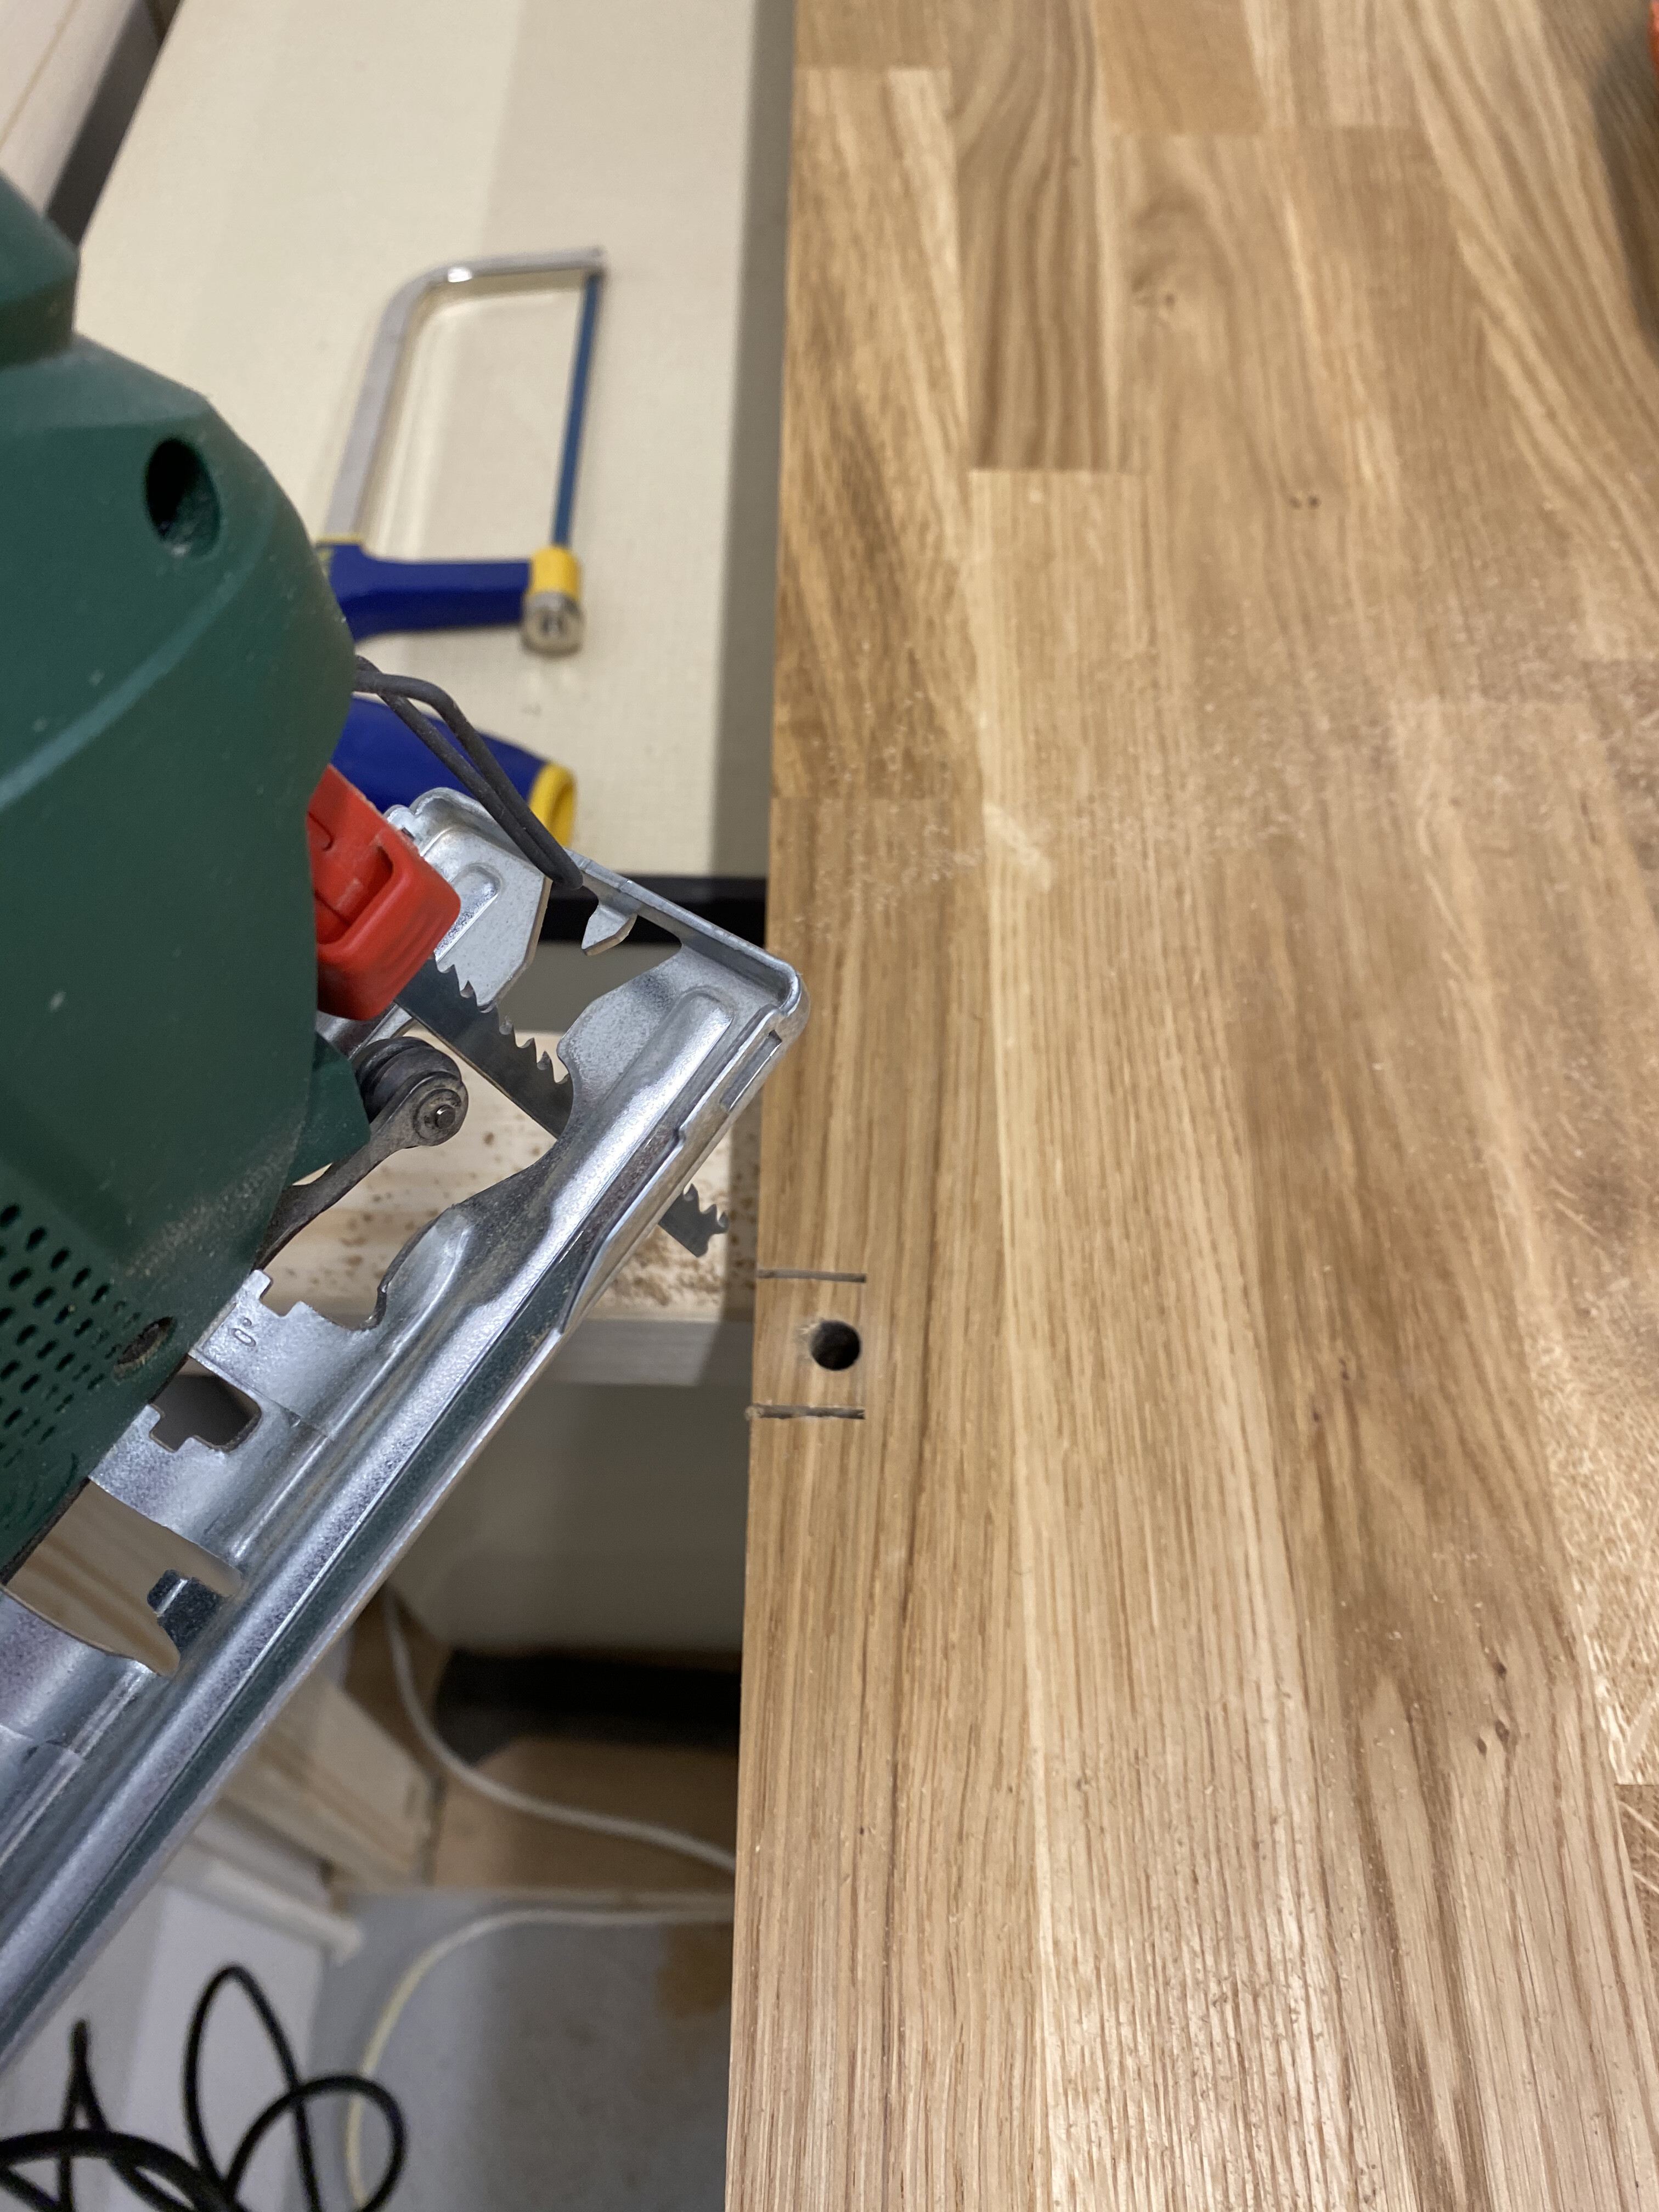
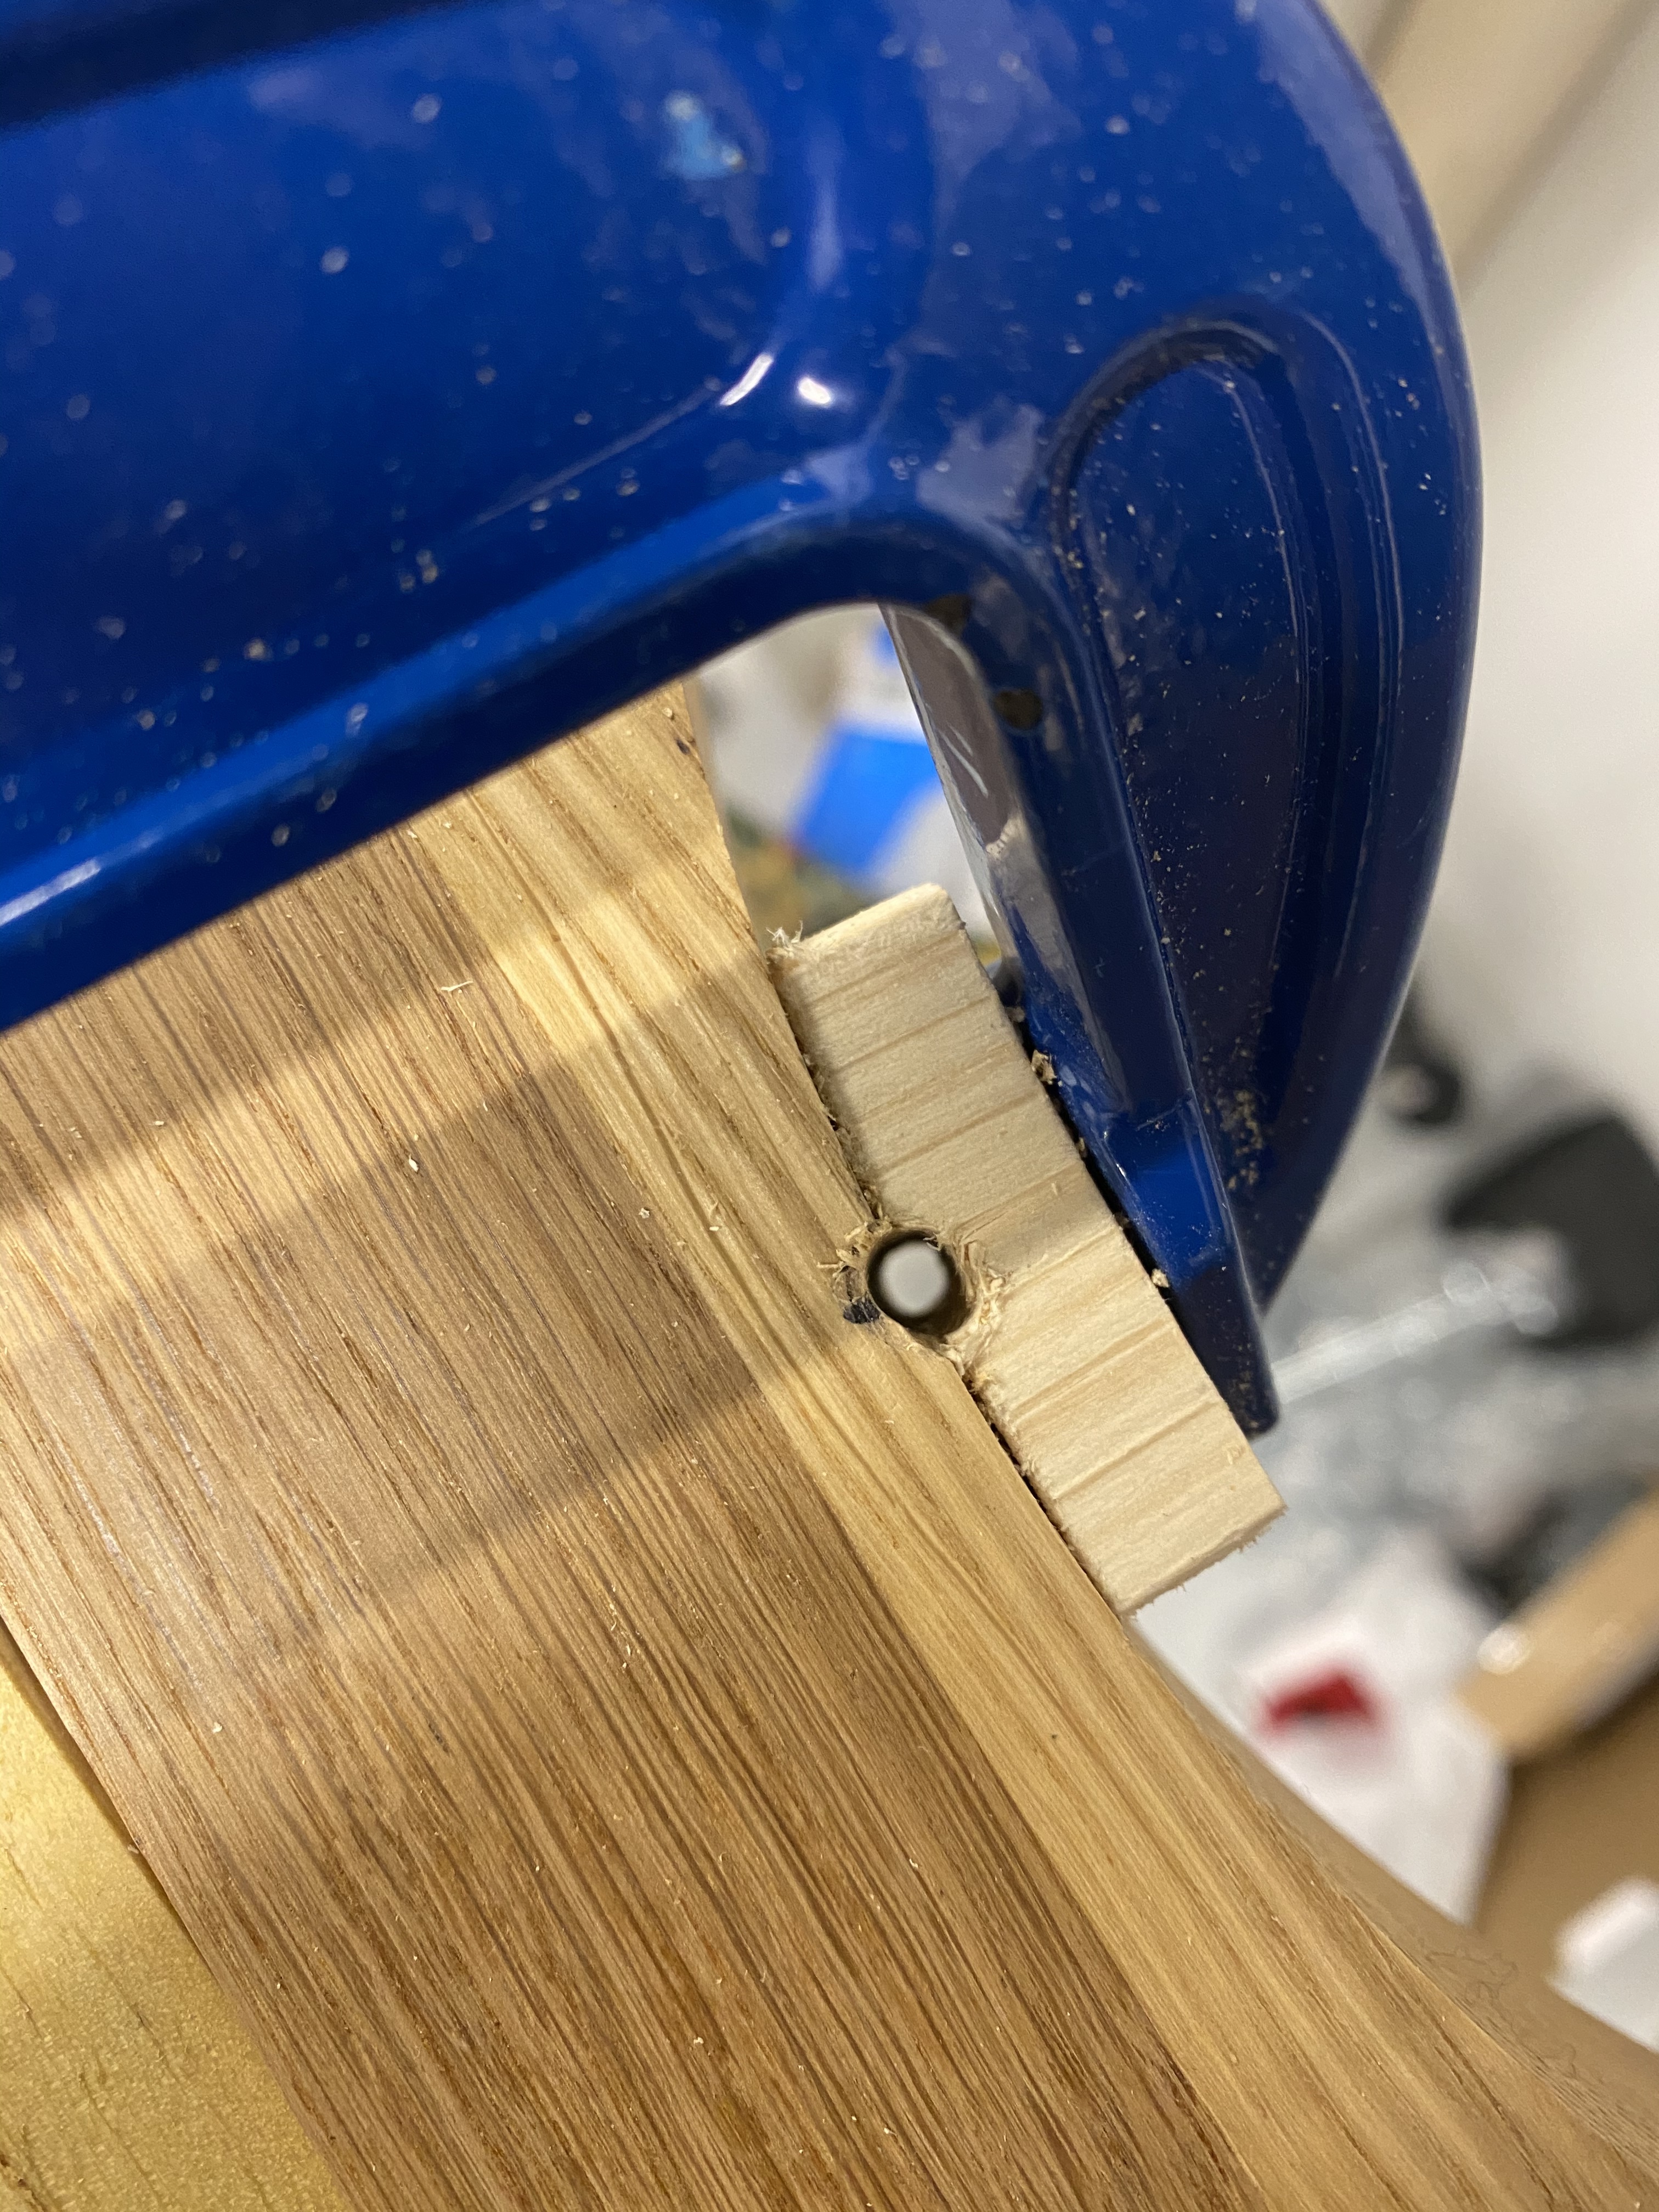
Dowling. Nope, not doing that, too fiddly and old-fashioned, back-track.
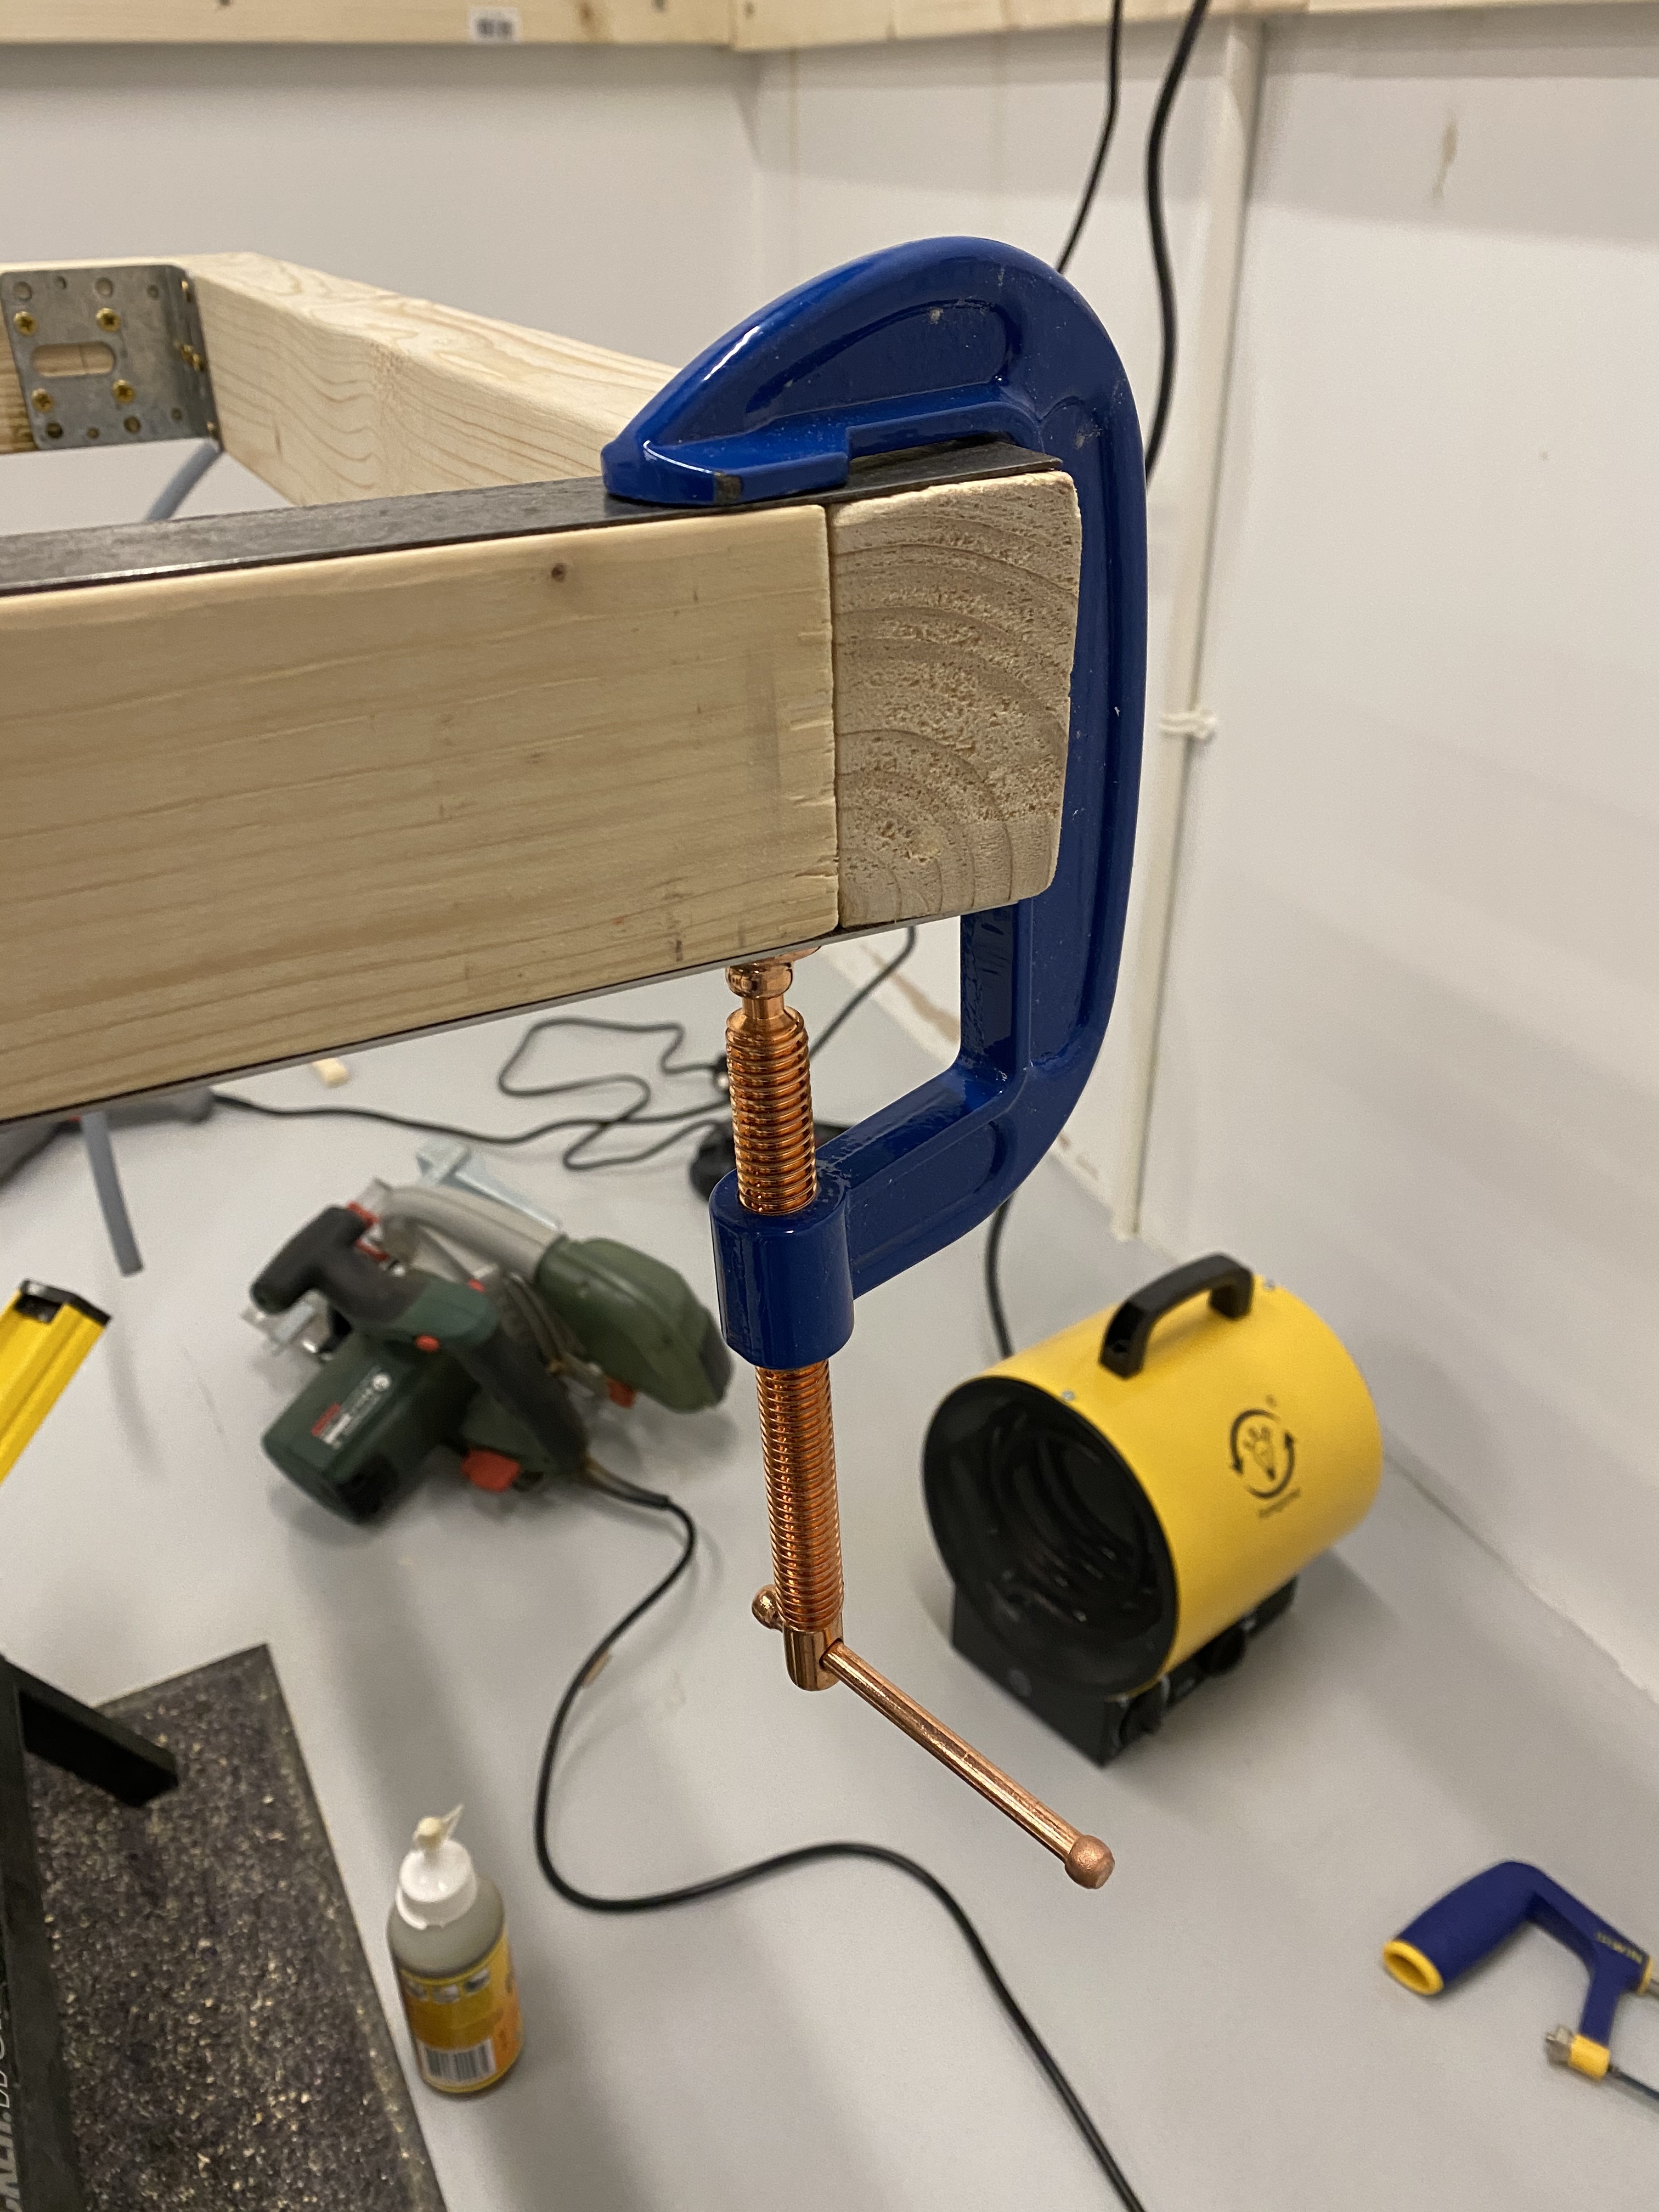
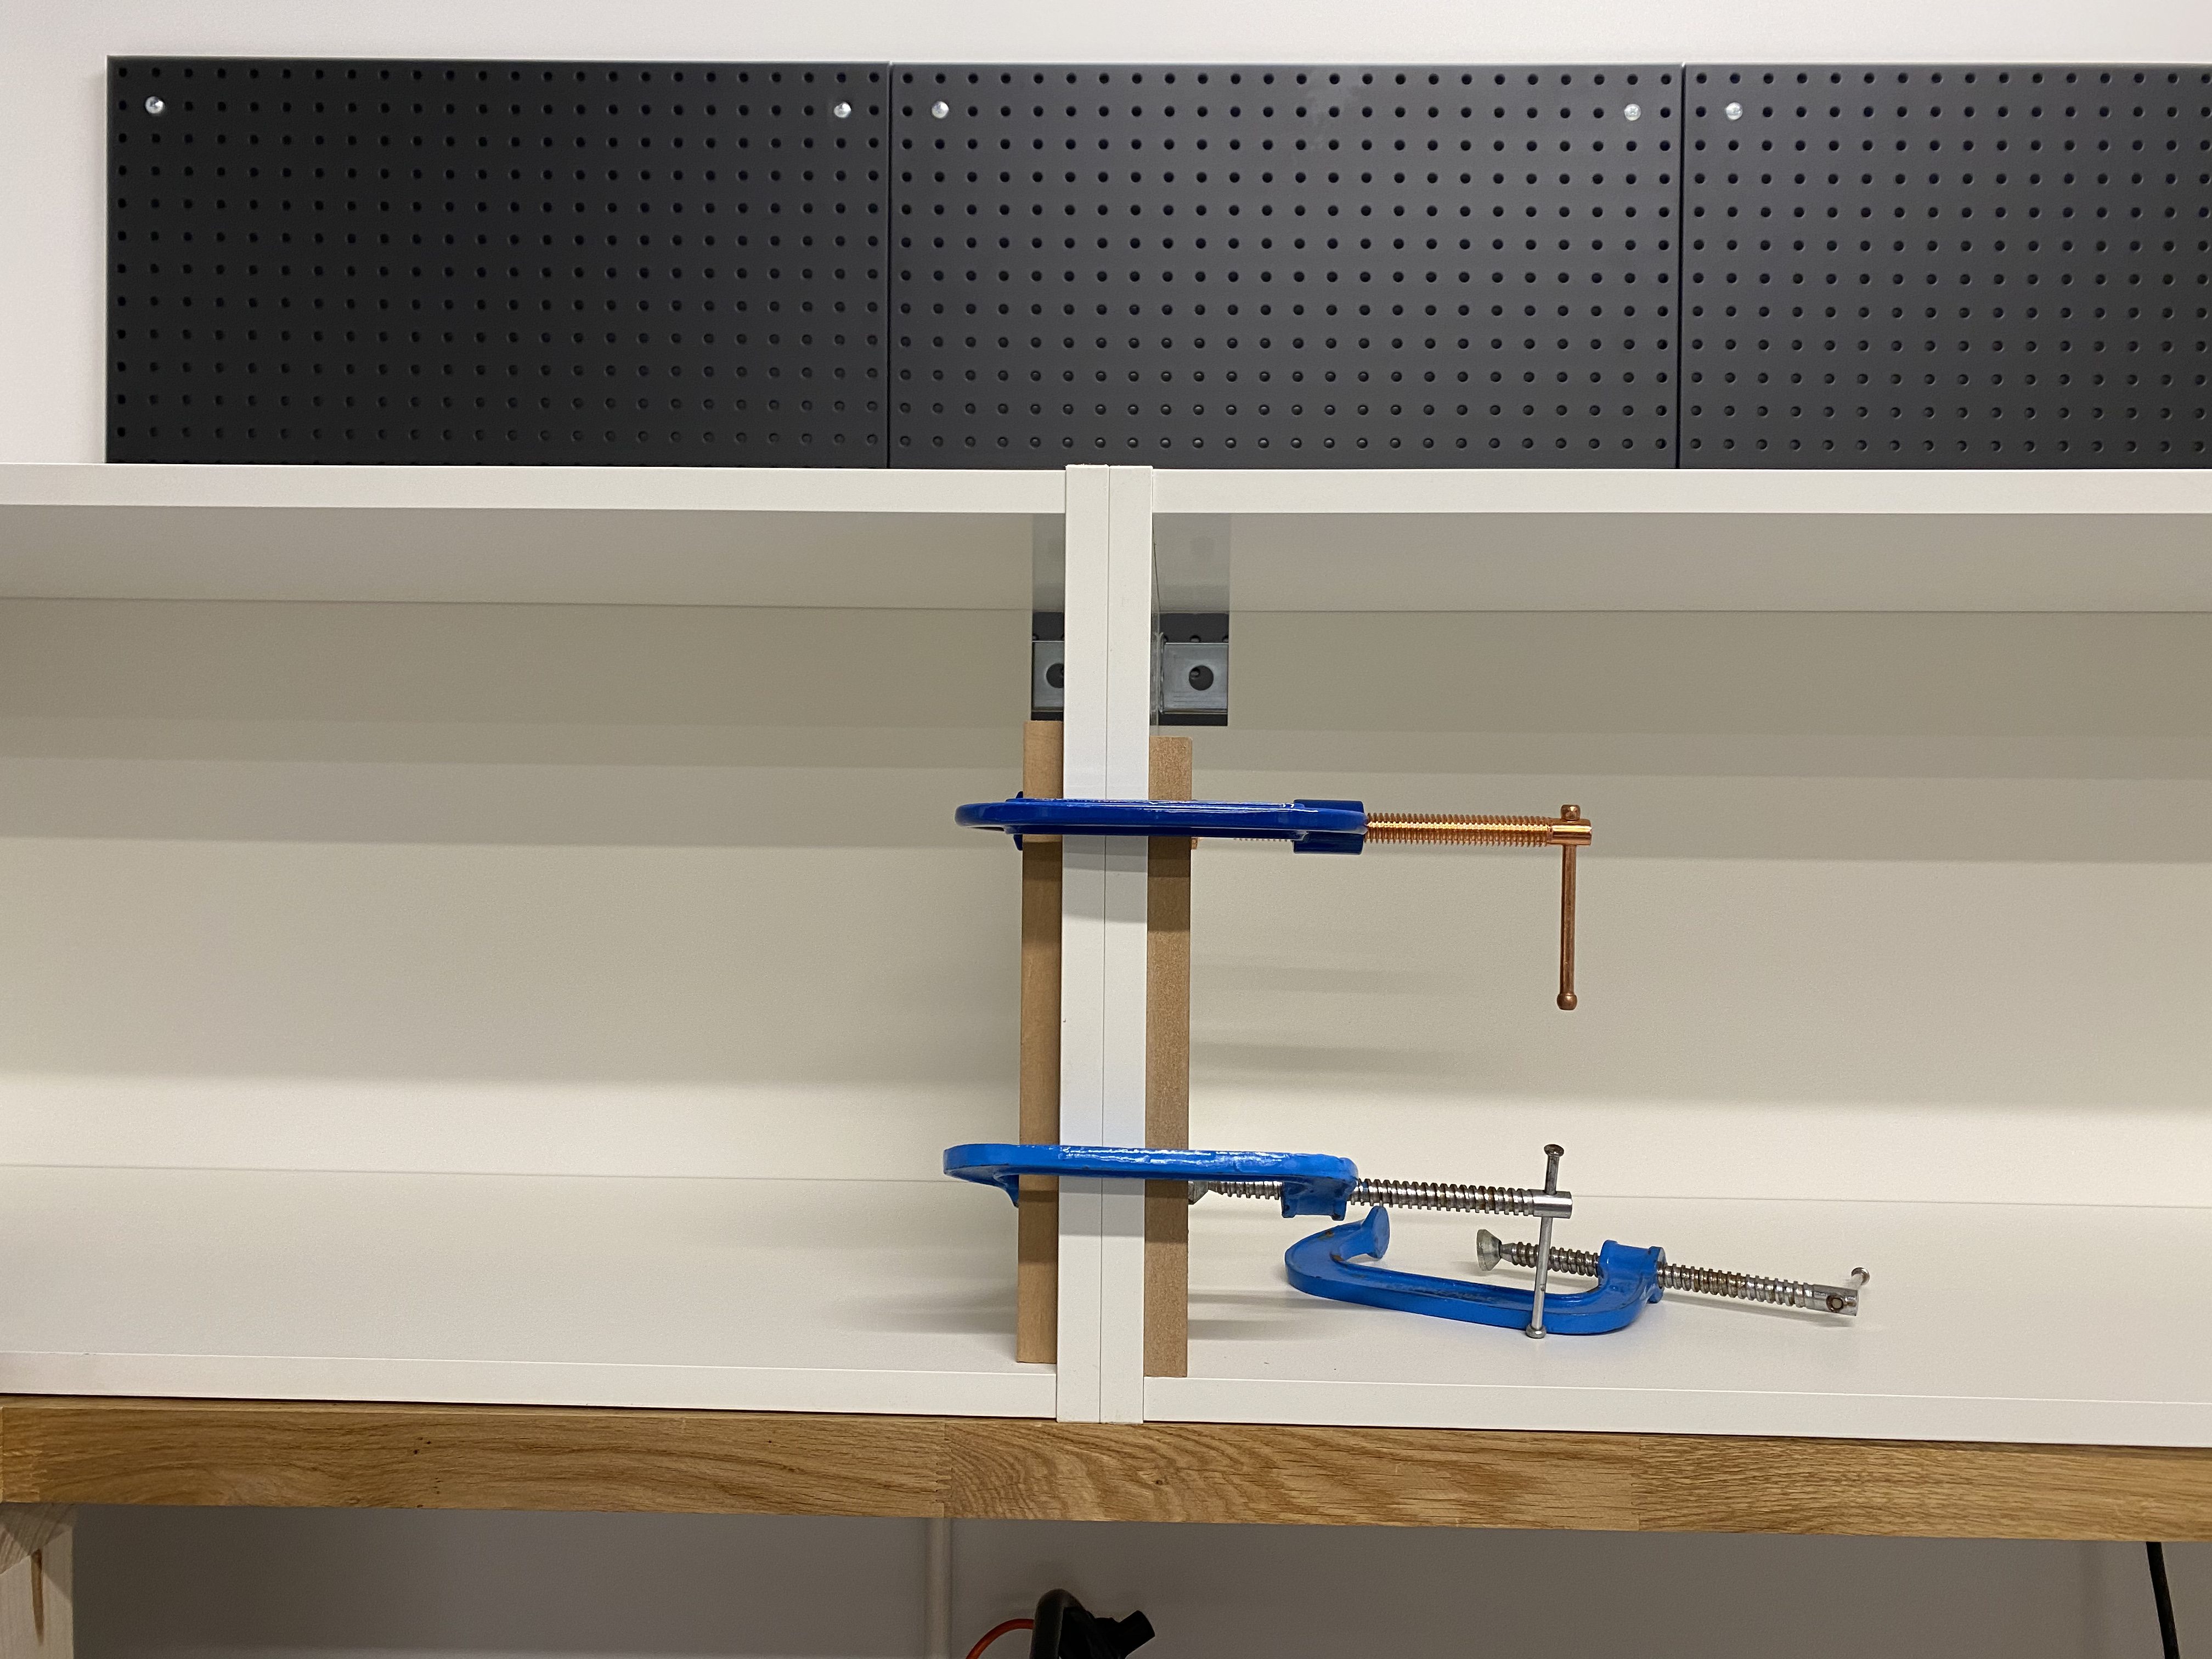
Early attempts at clamping before joining.
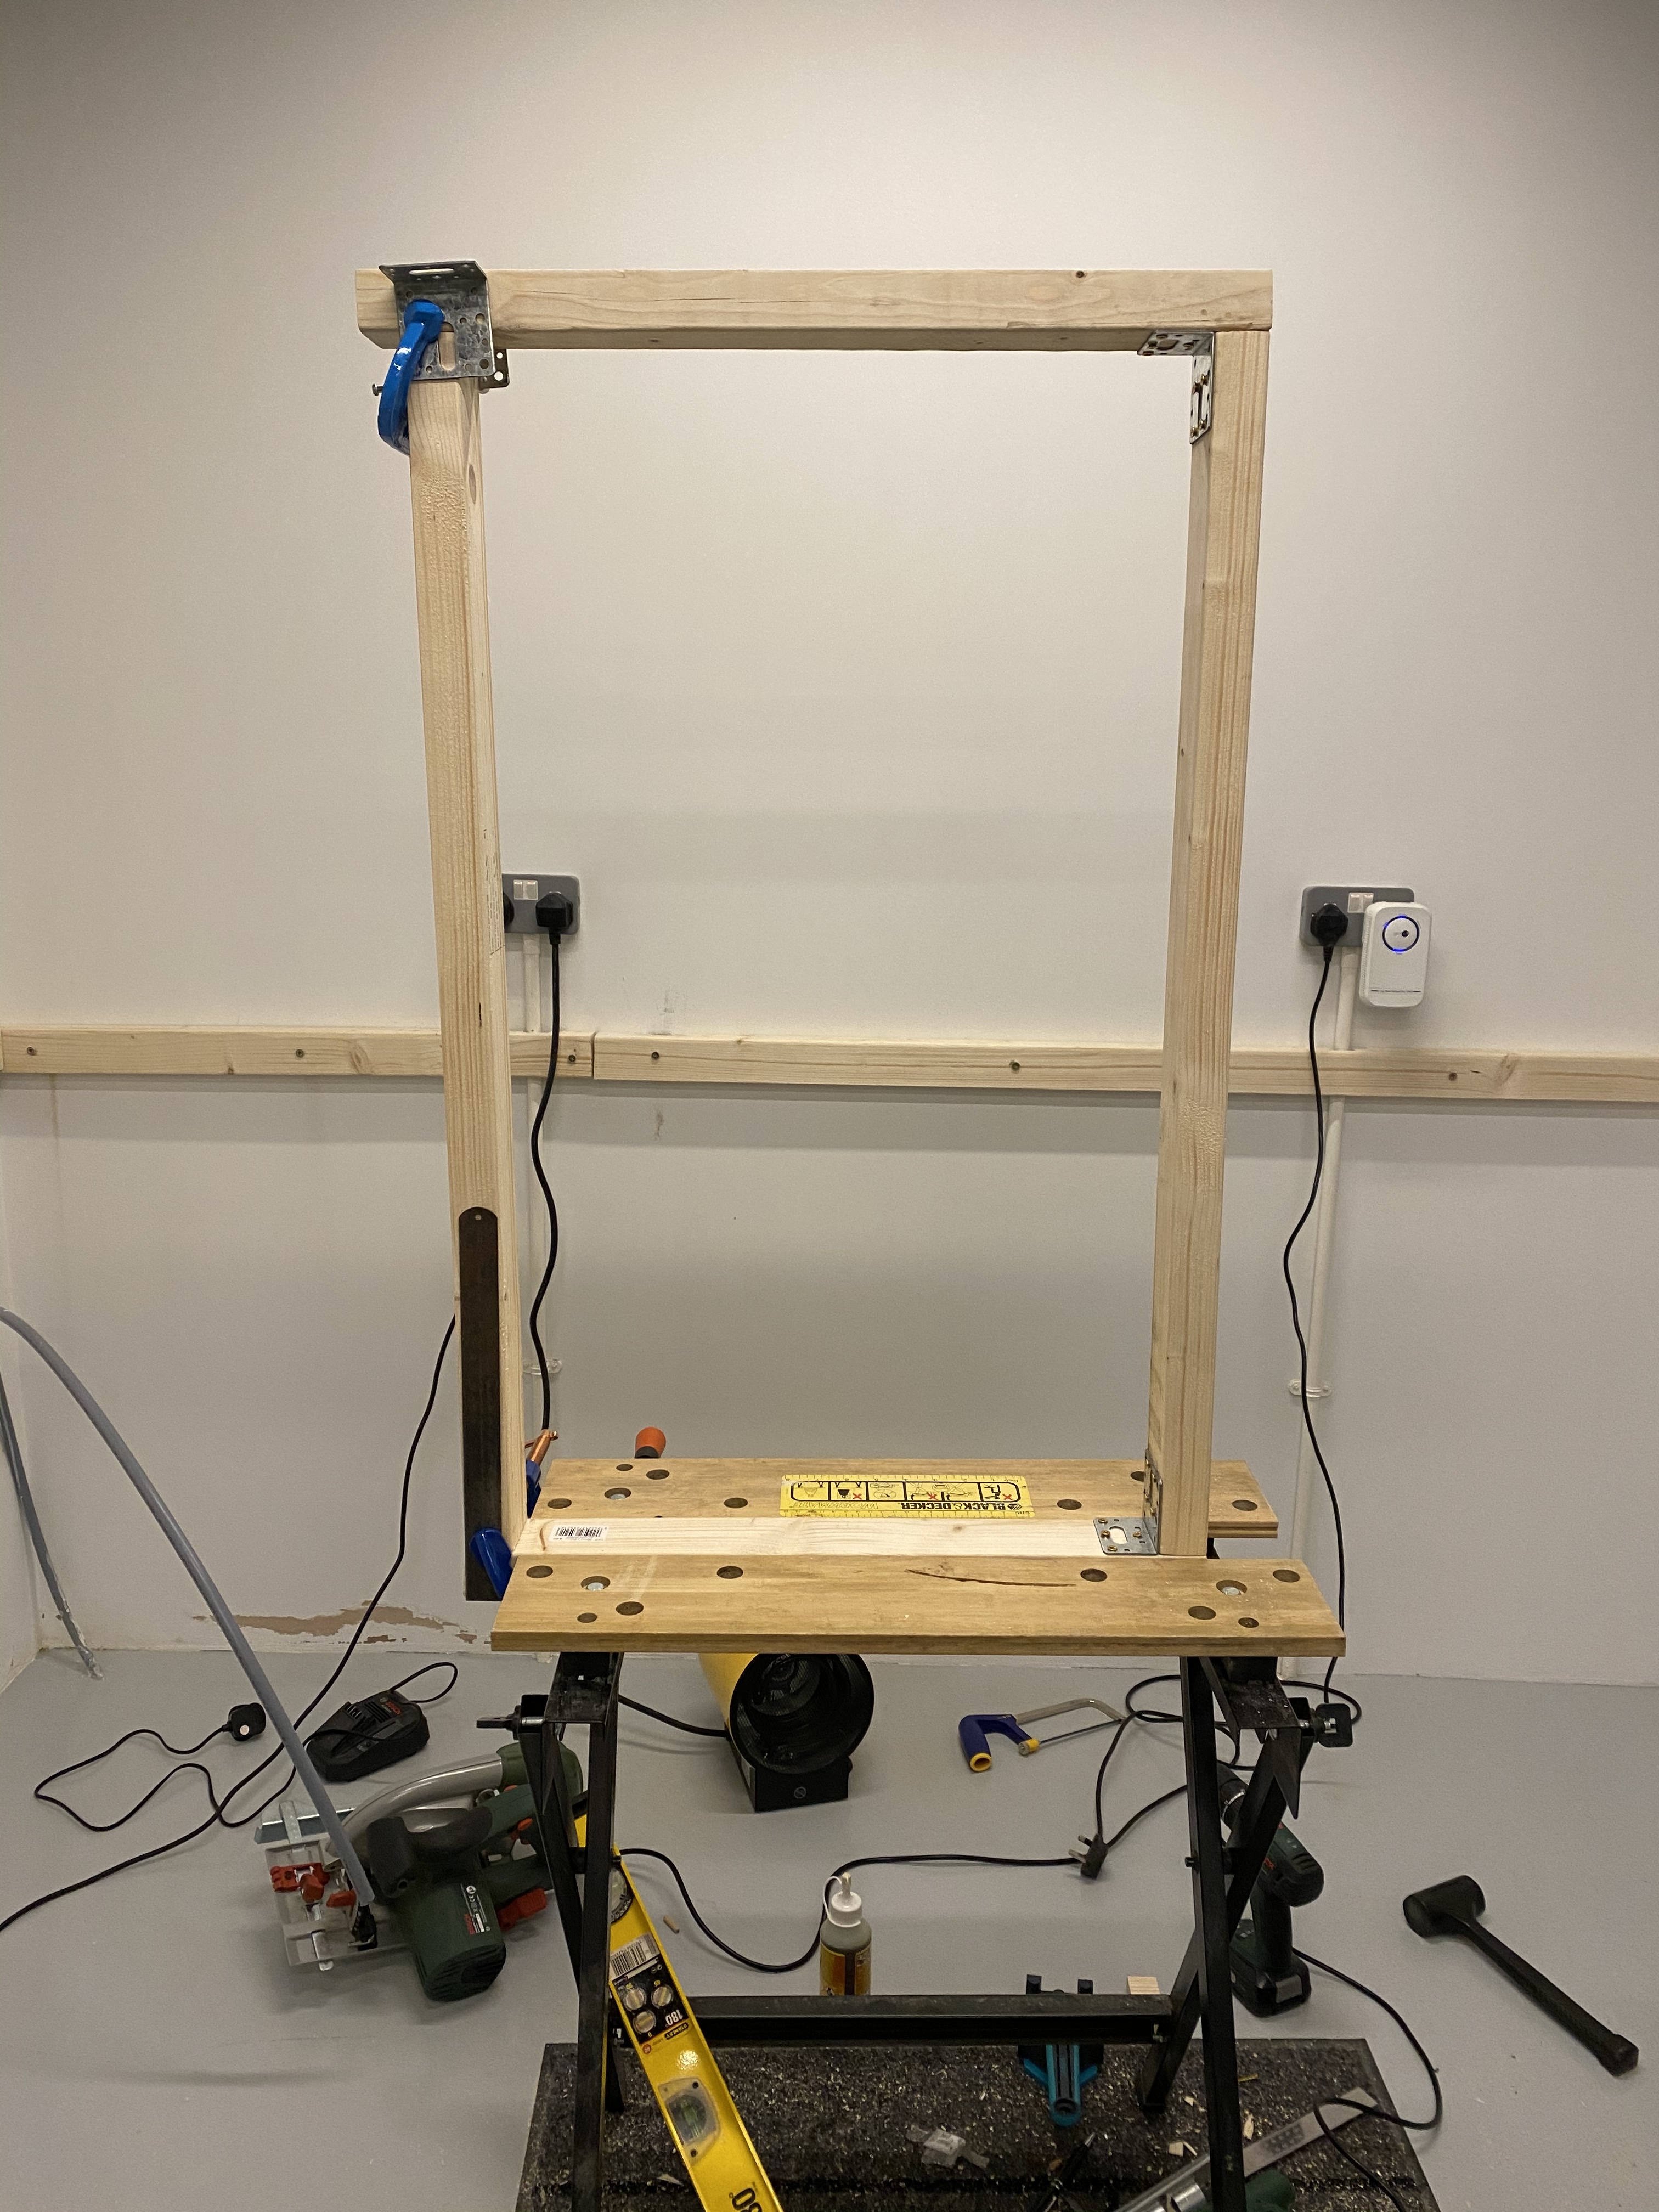
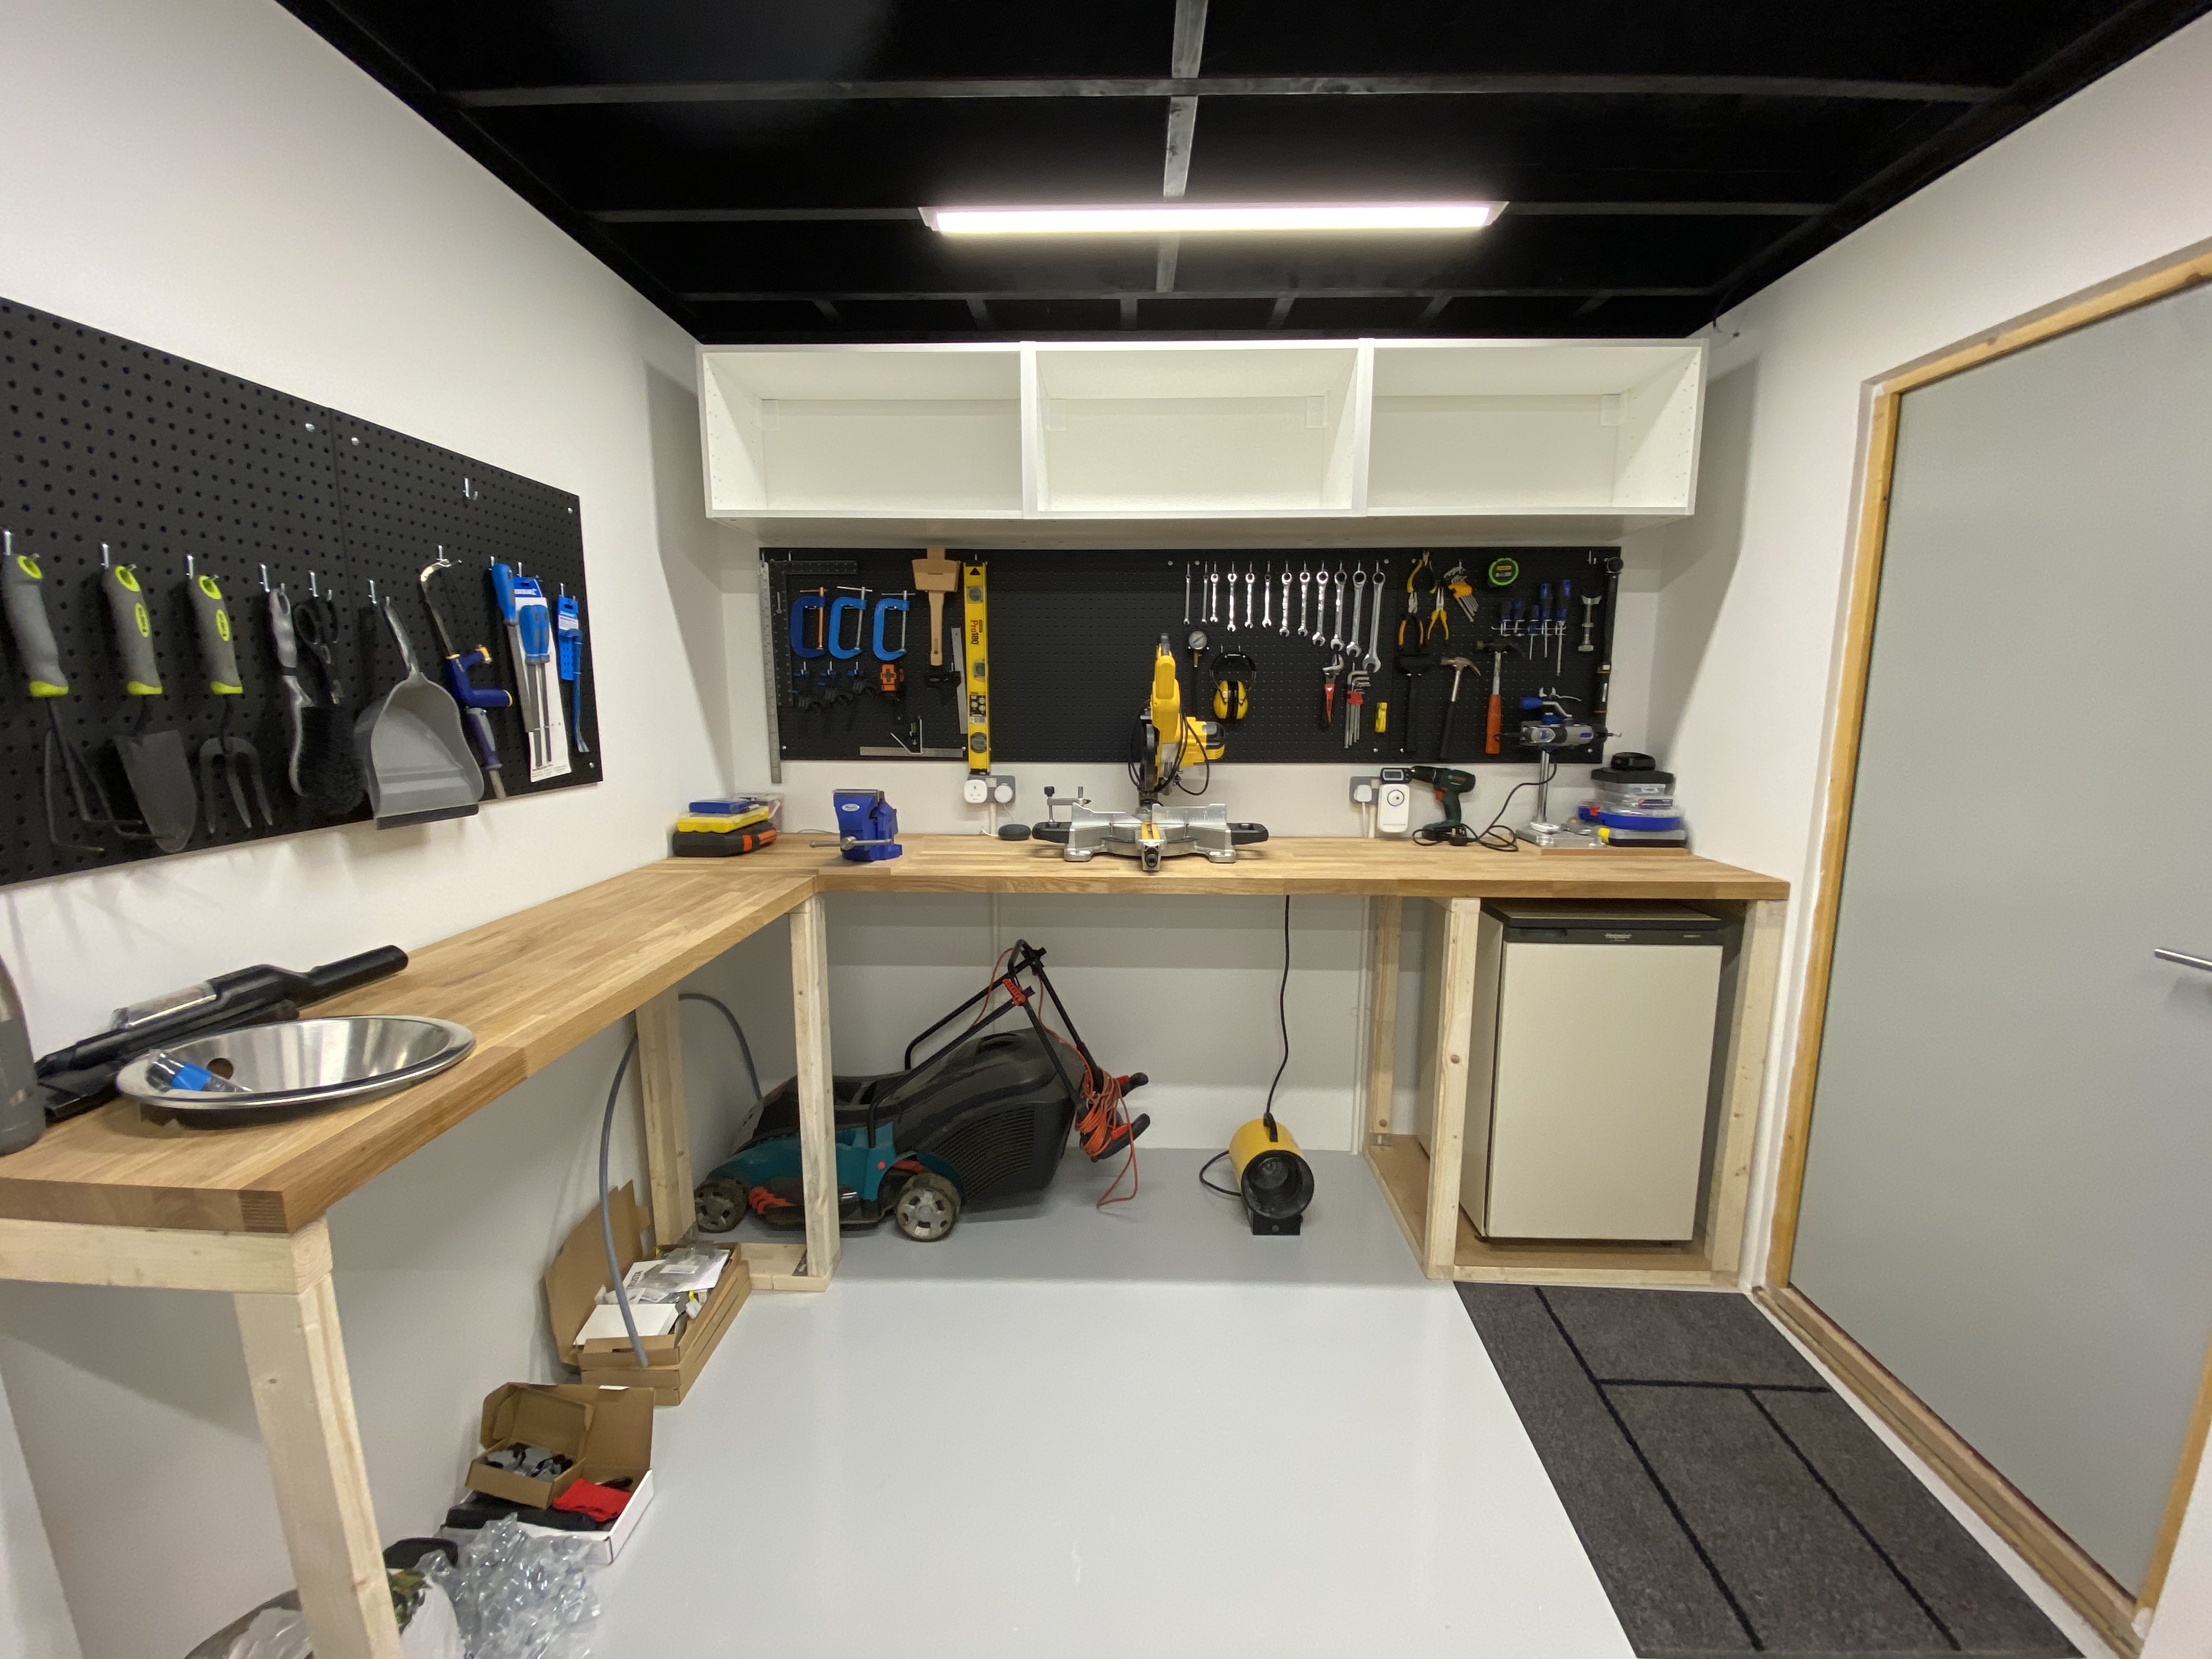
First frame nearly there!
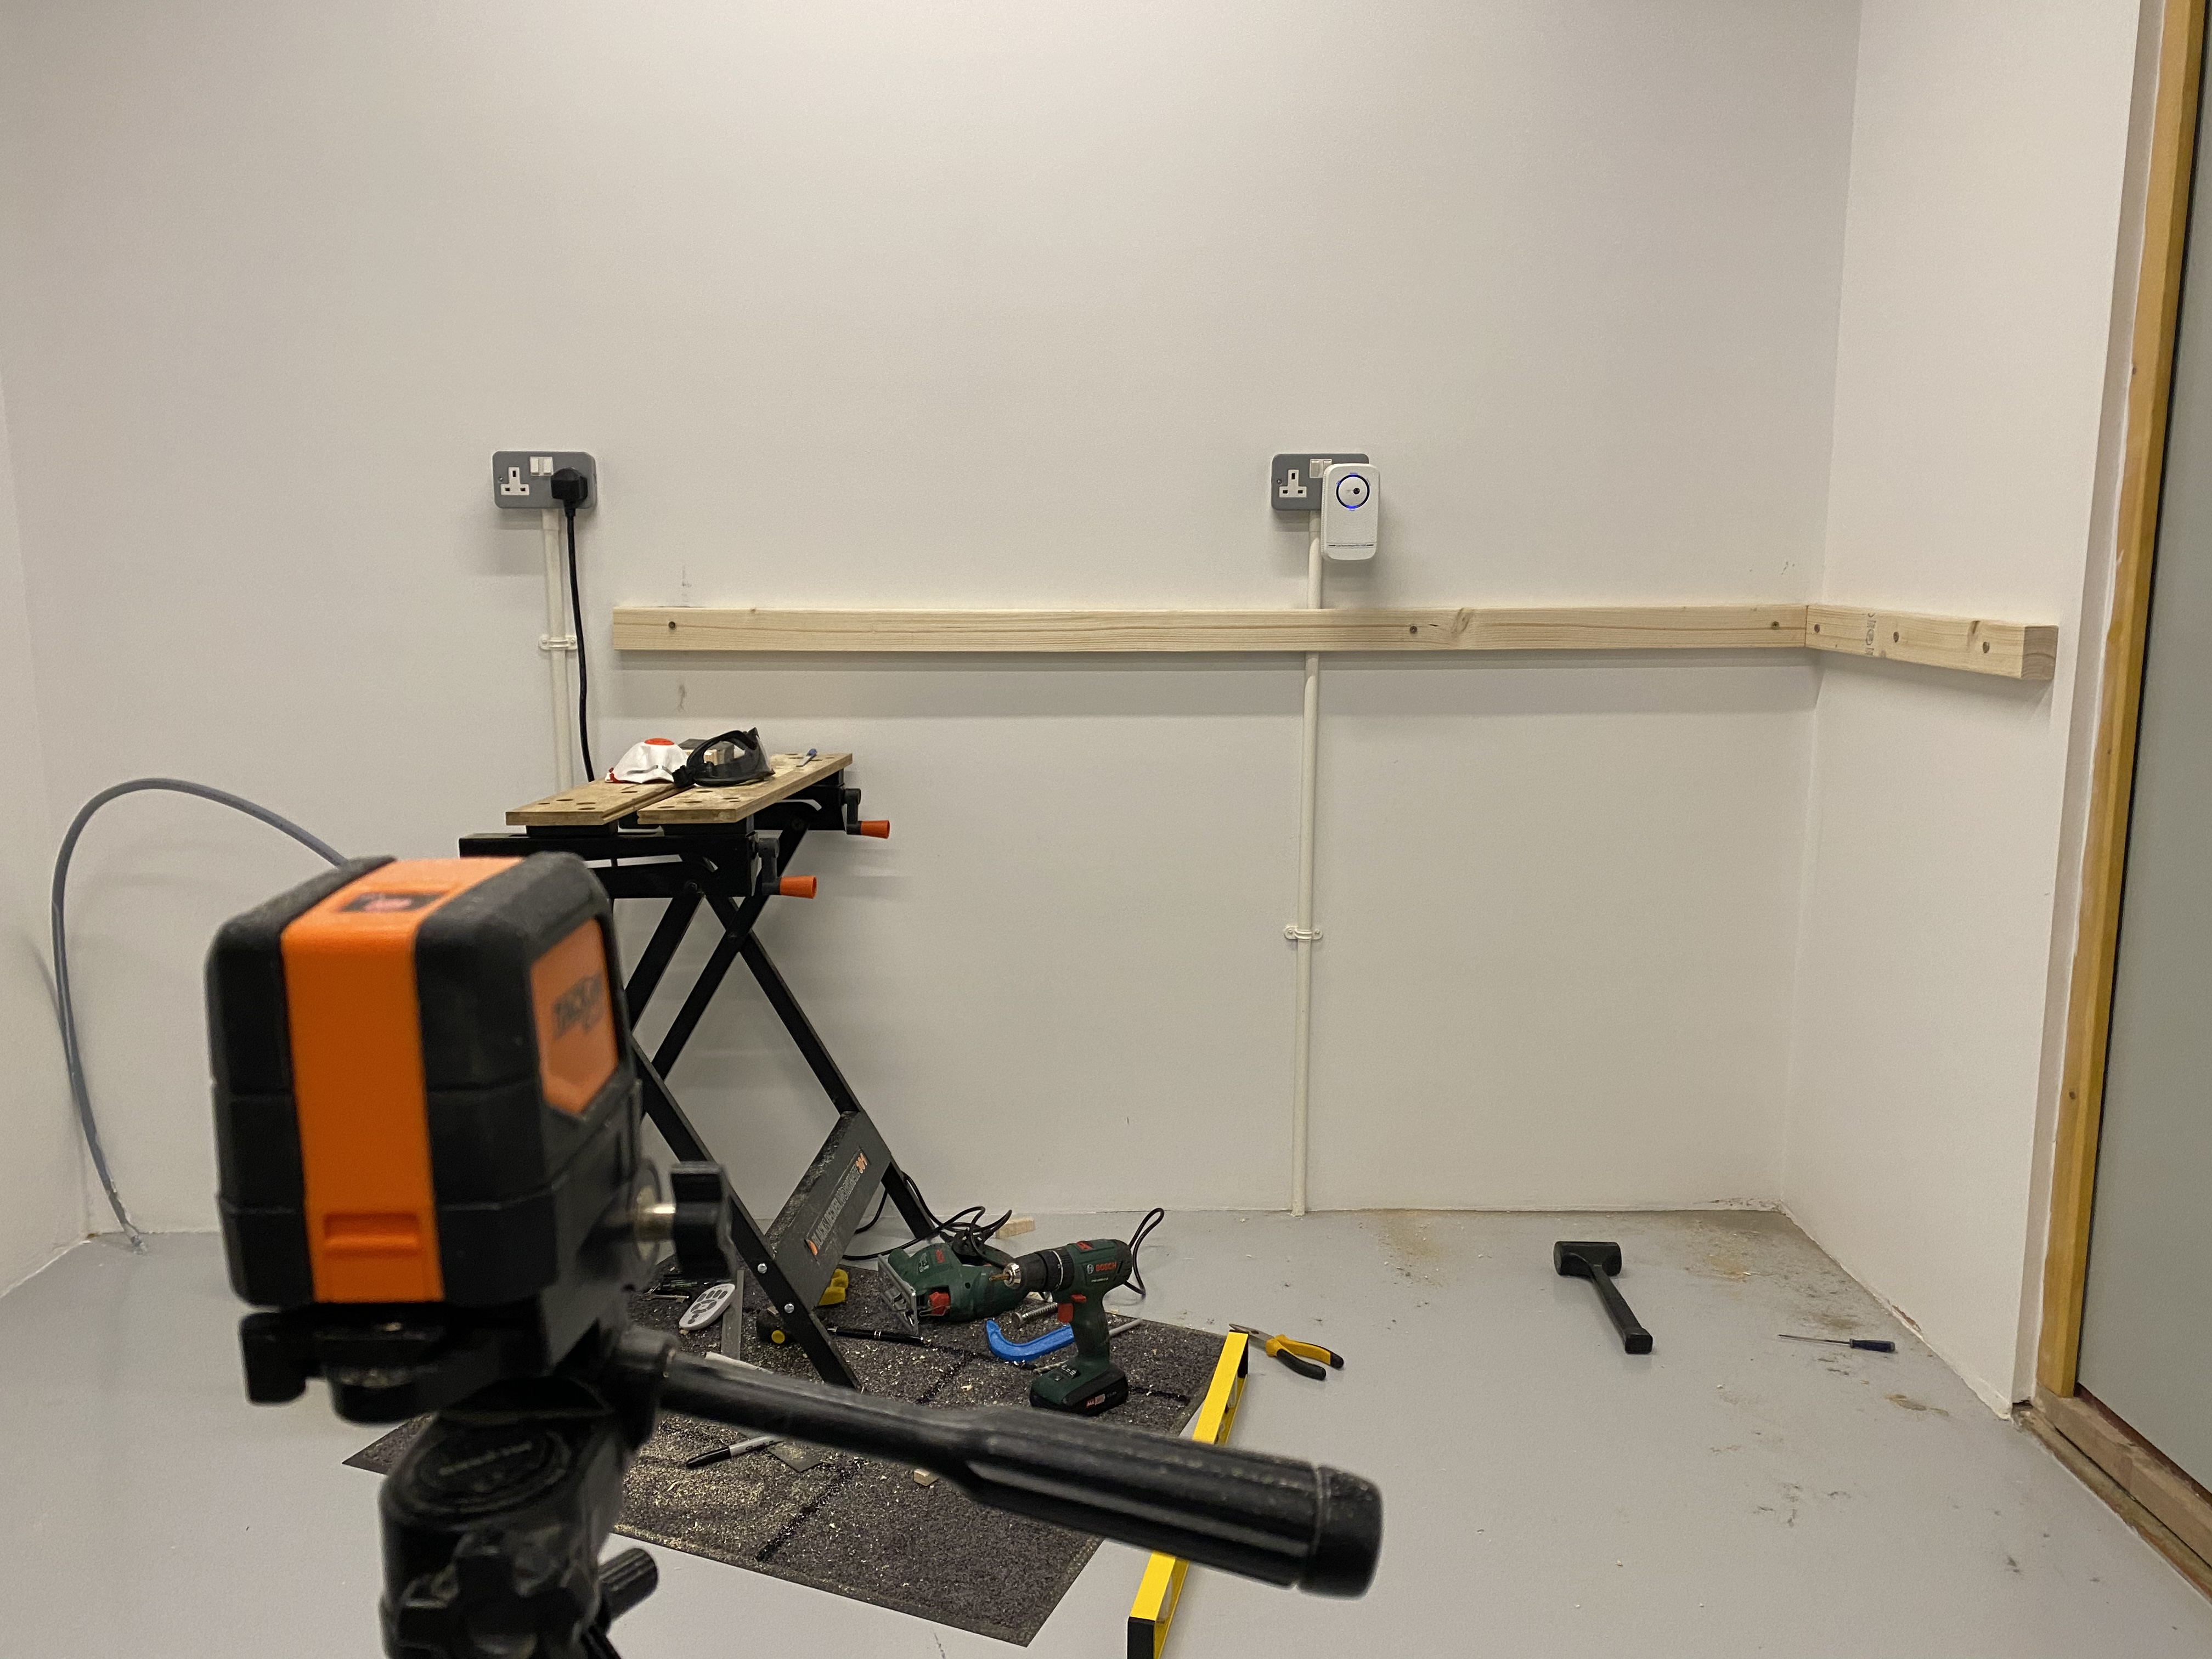
The laser level has been invaluable for keeping everything inline and straight.
Batons and first frame made, yay.

It was cold?
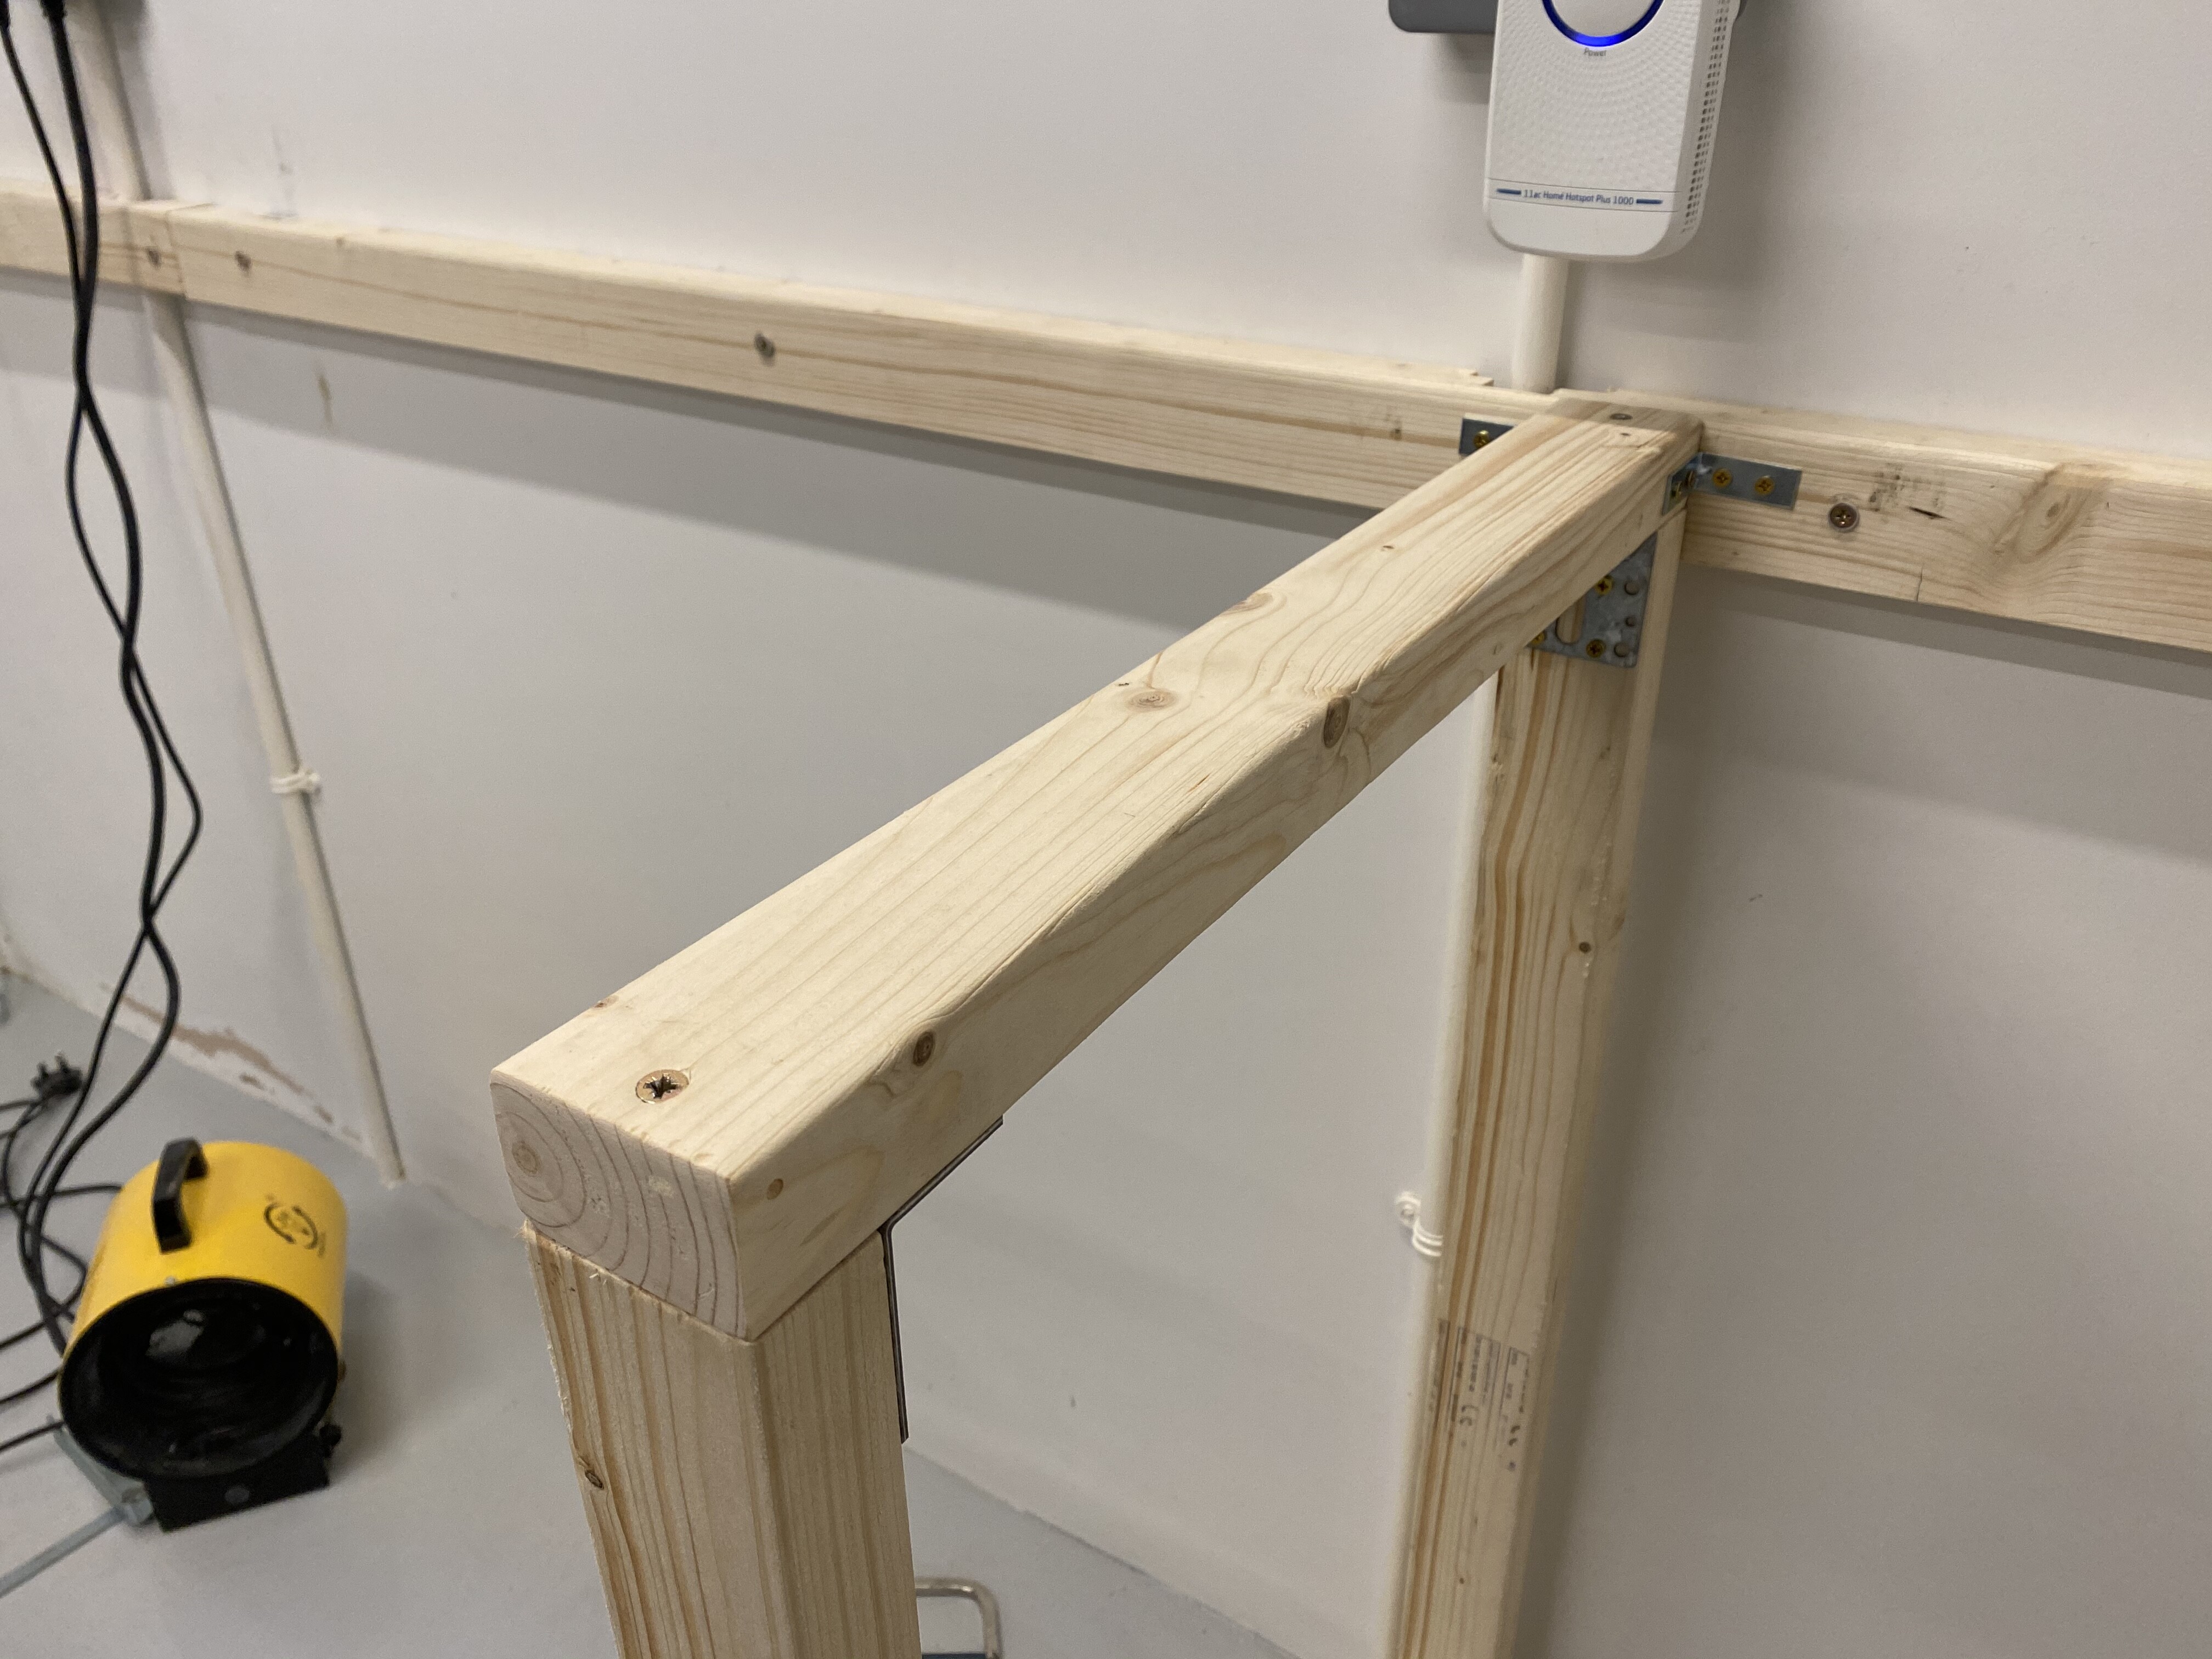
Frame #1

Bugger, broke a few long screws by not drilling pilot holes first. Have corrected this.
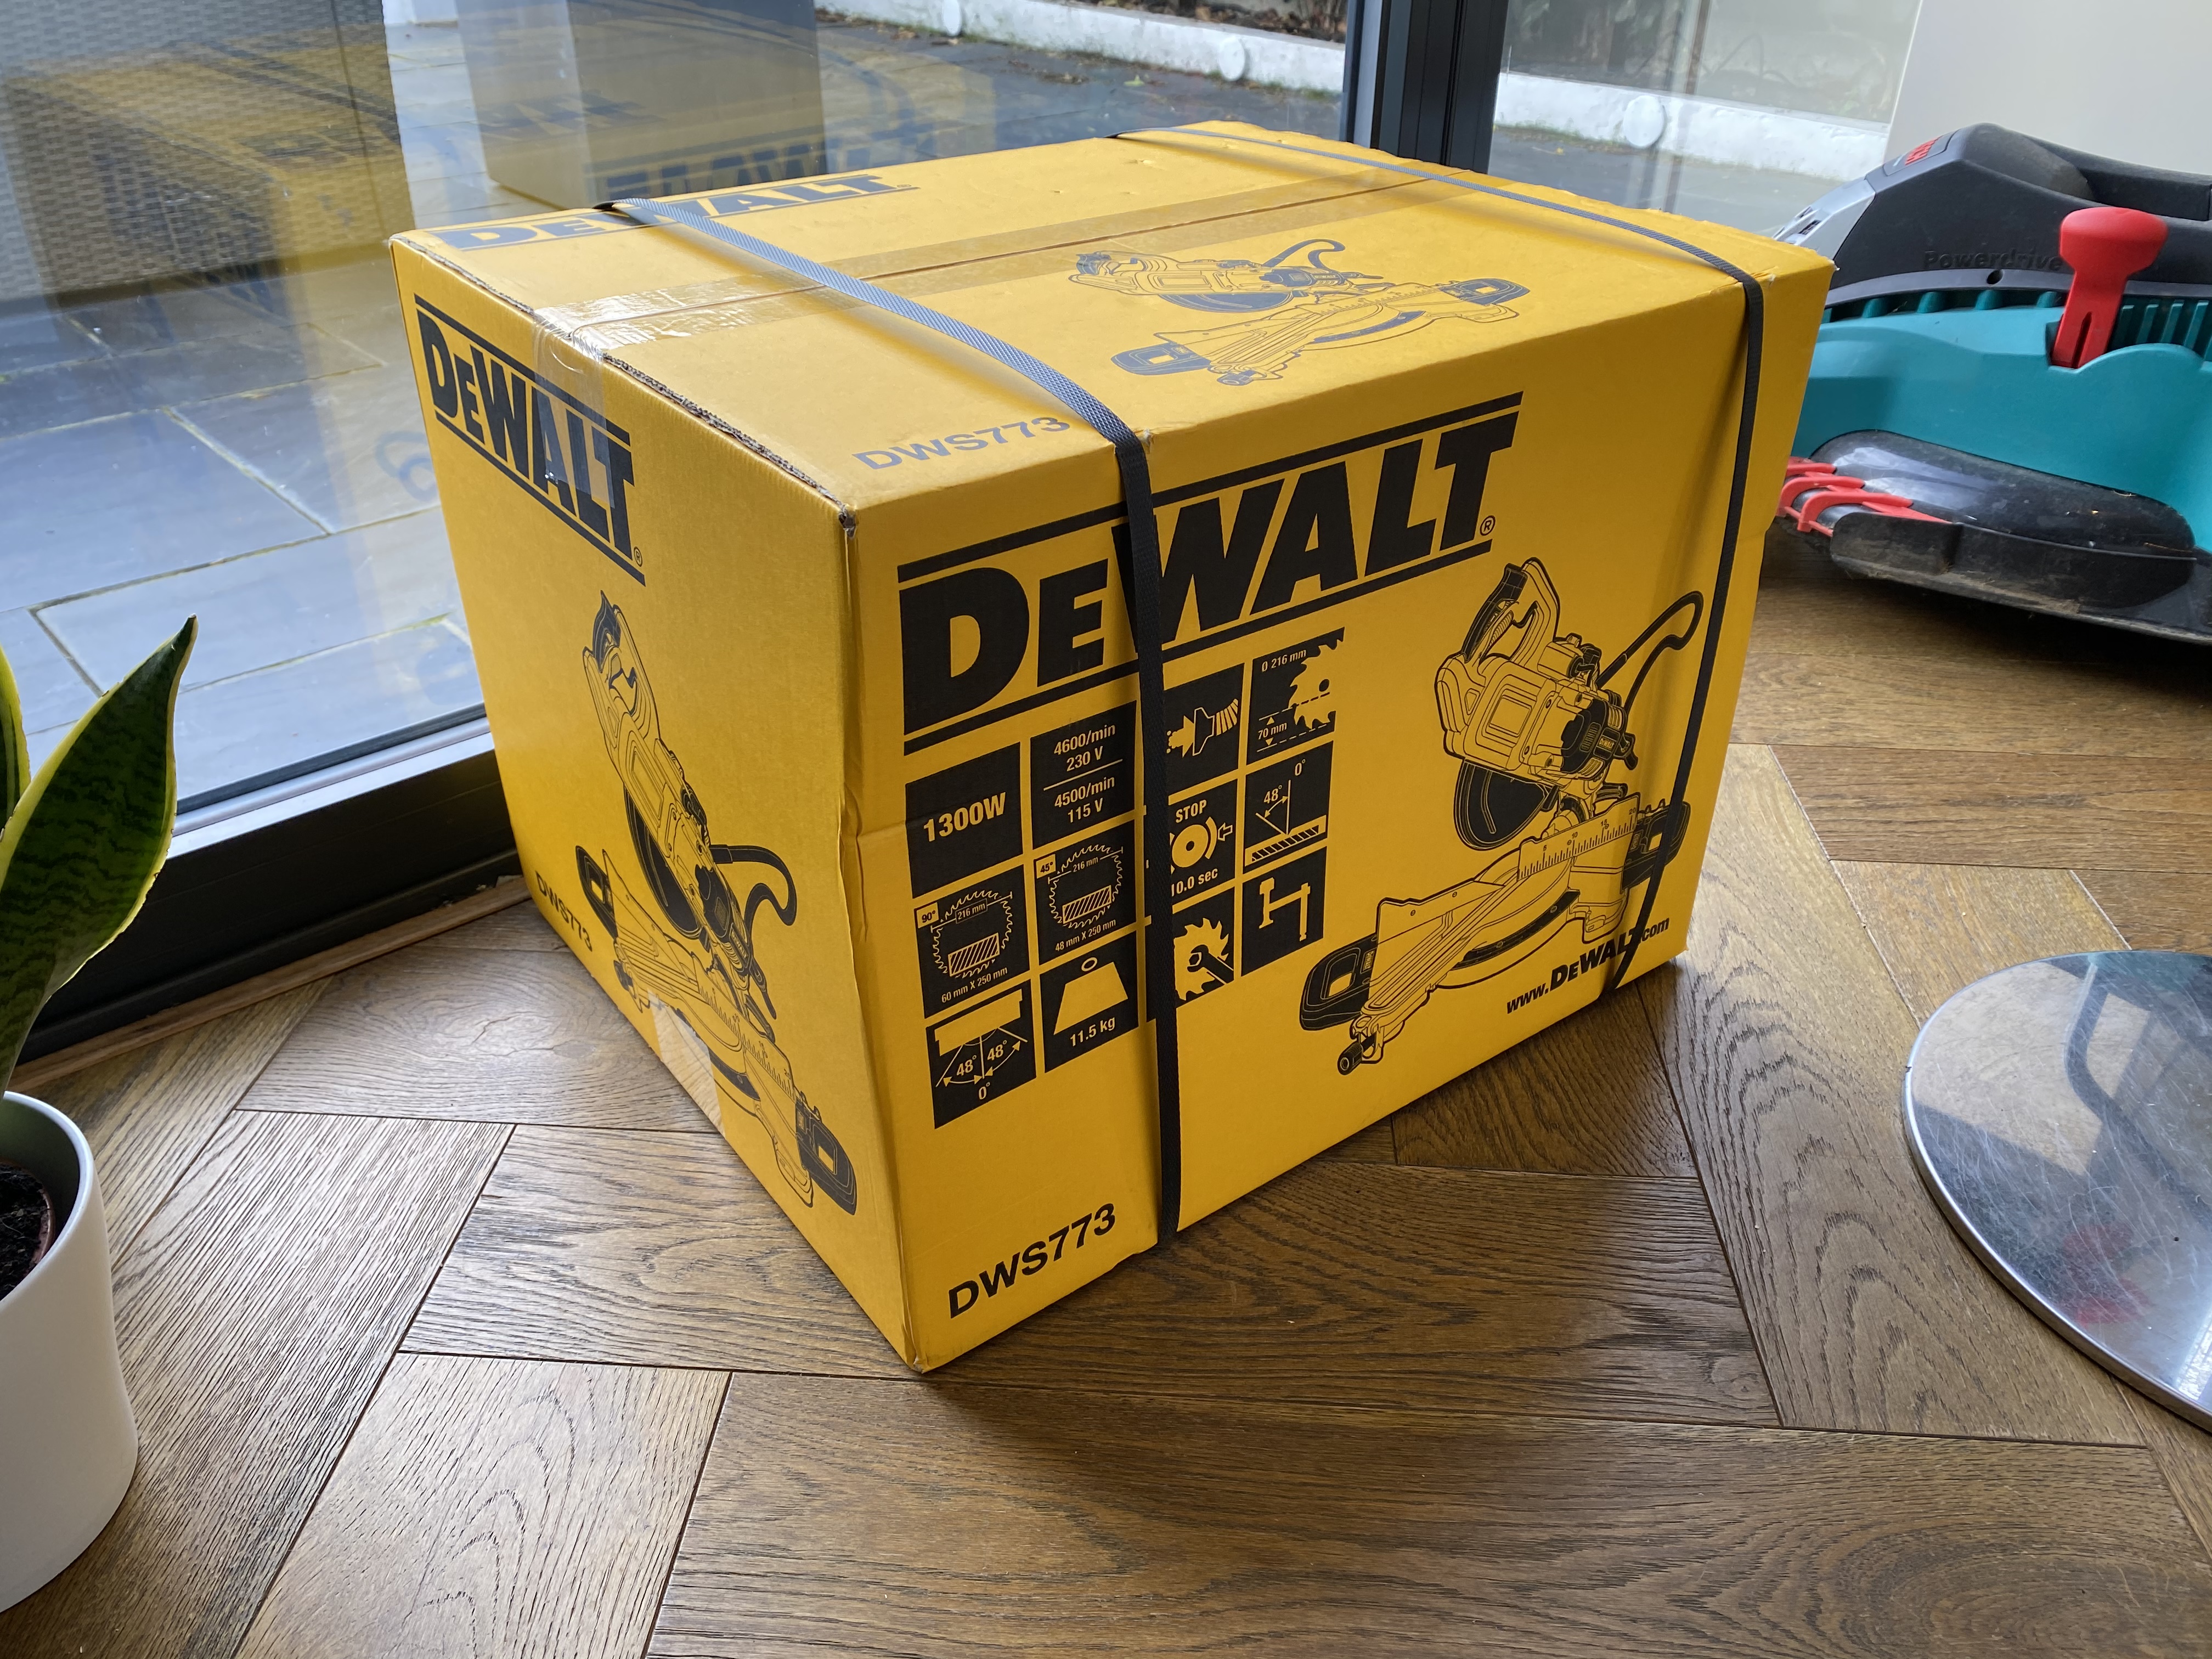
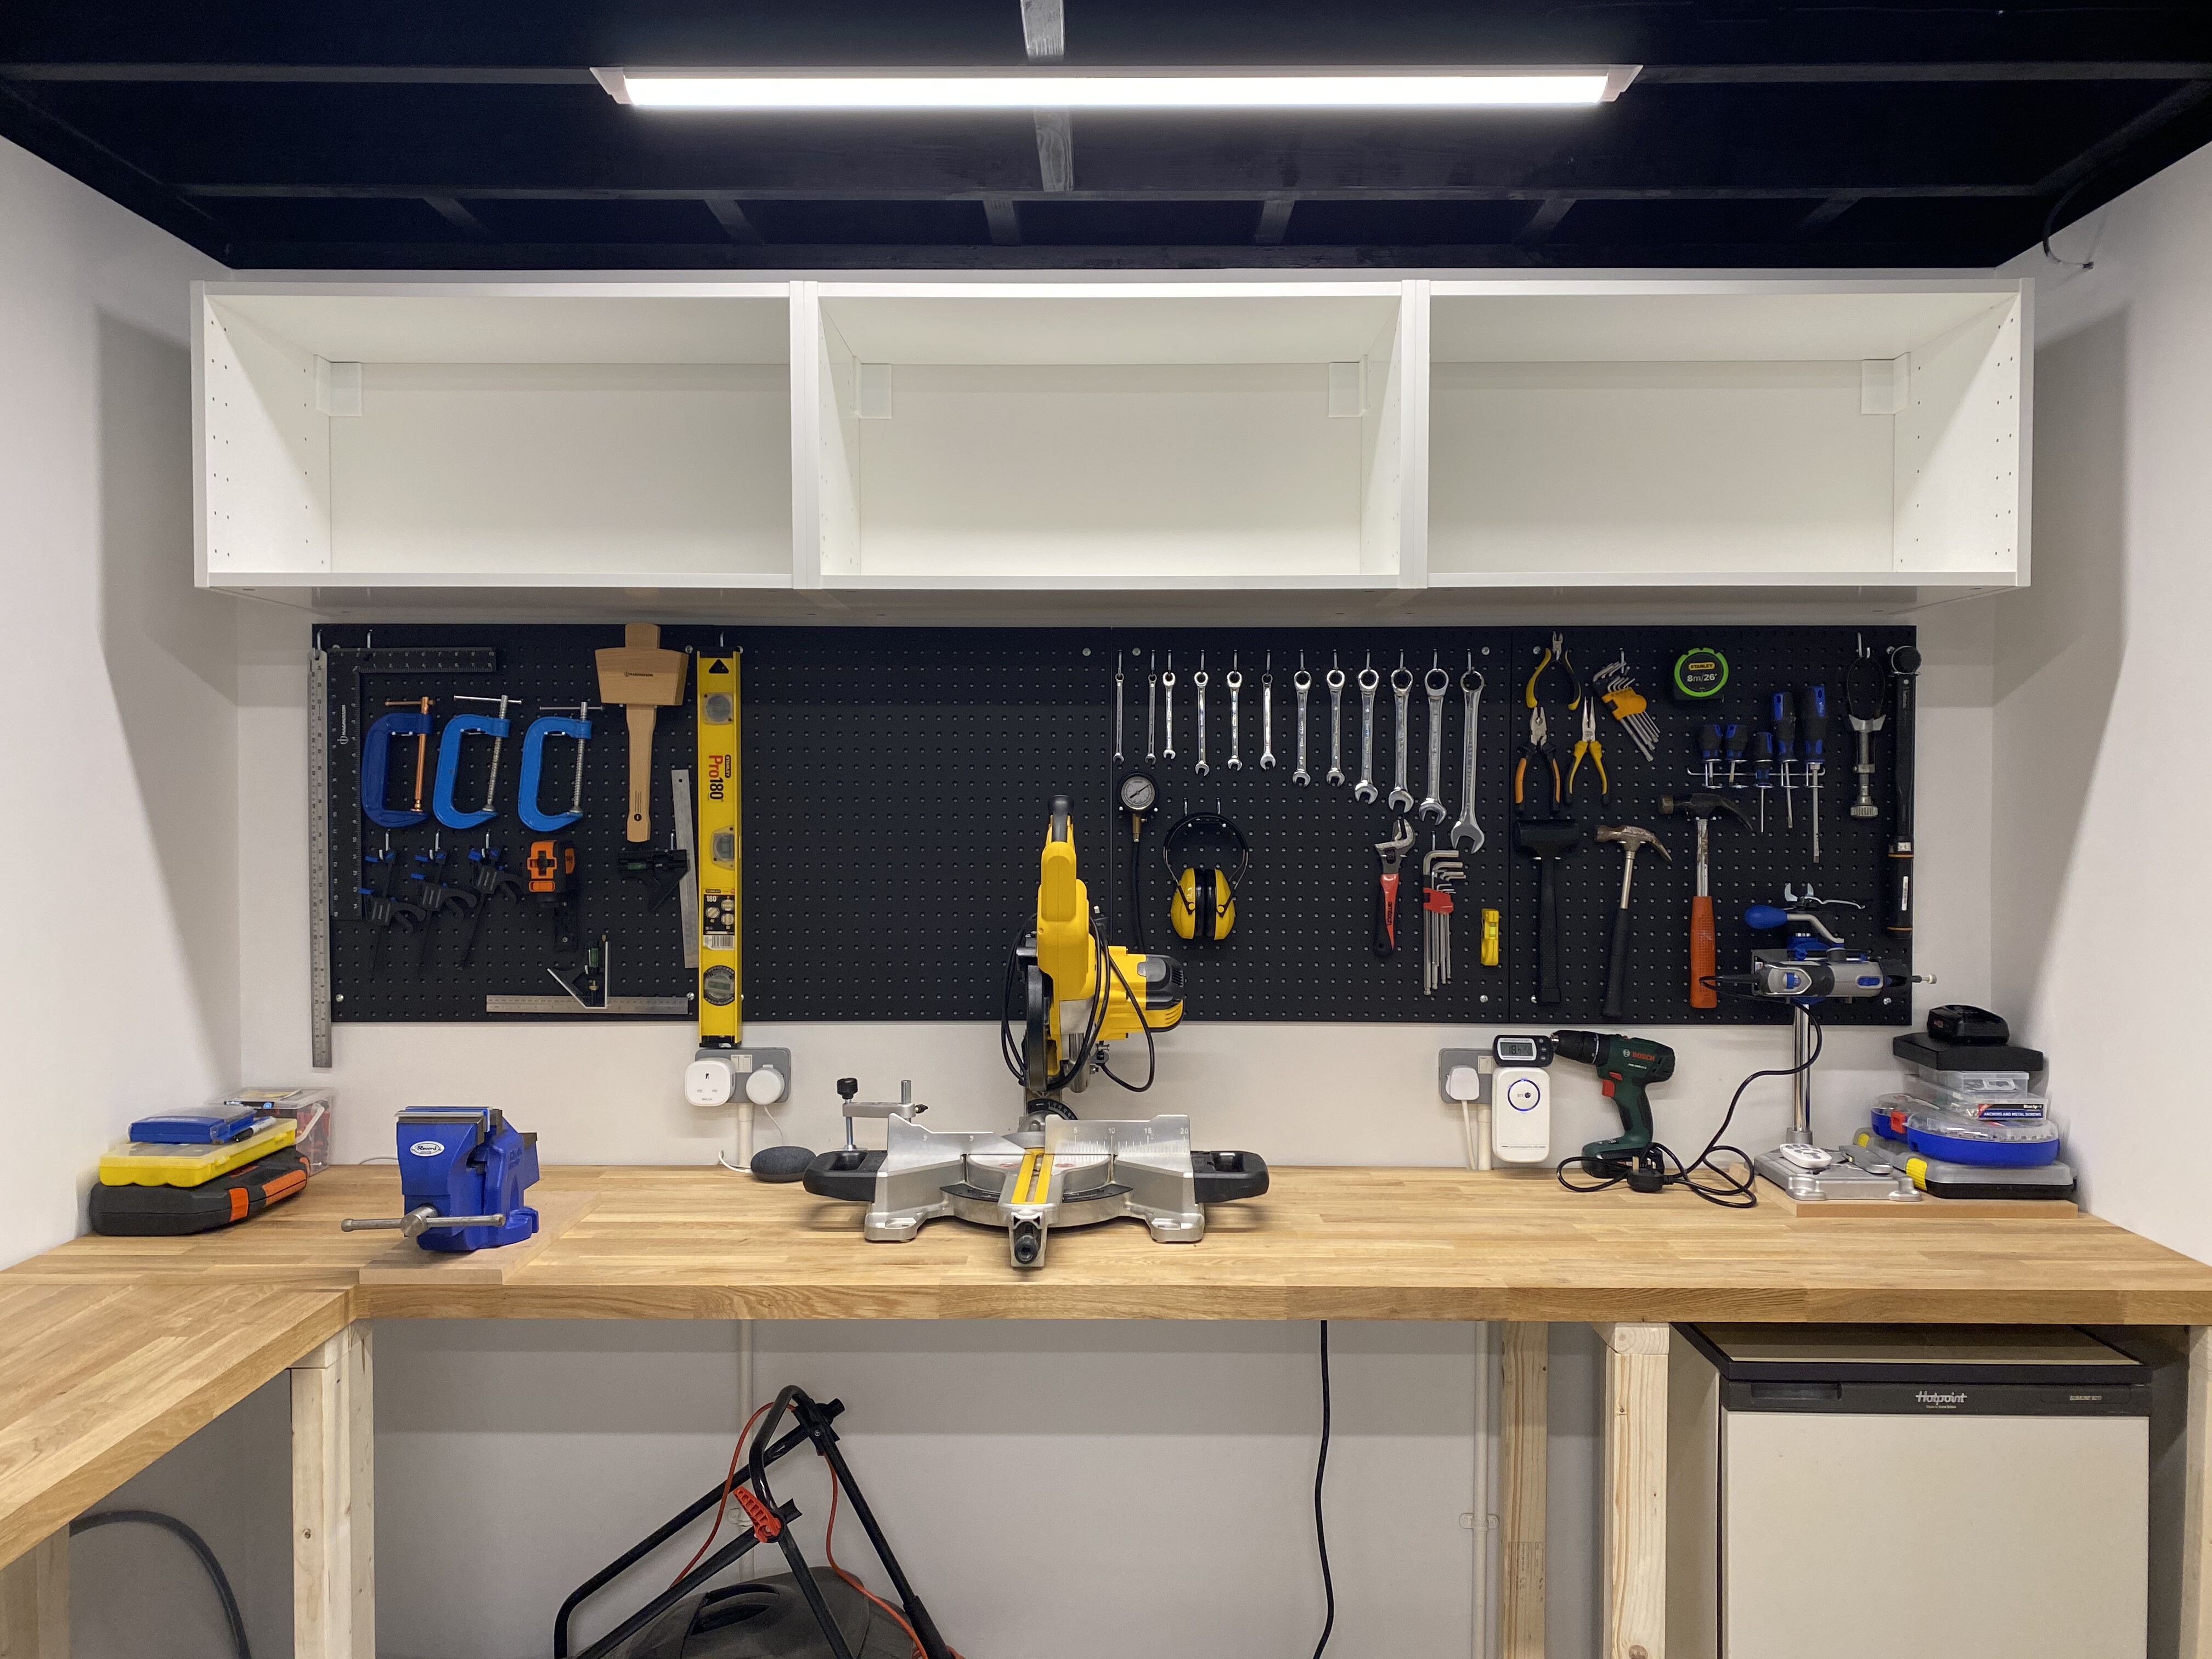
Got fed up of bad cuts with jigsaws and circular saws, took the plunge on a nice chop-saw after recommendations from friends.
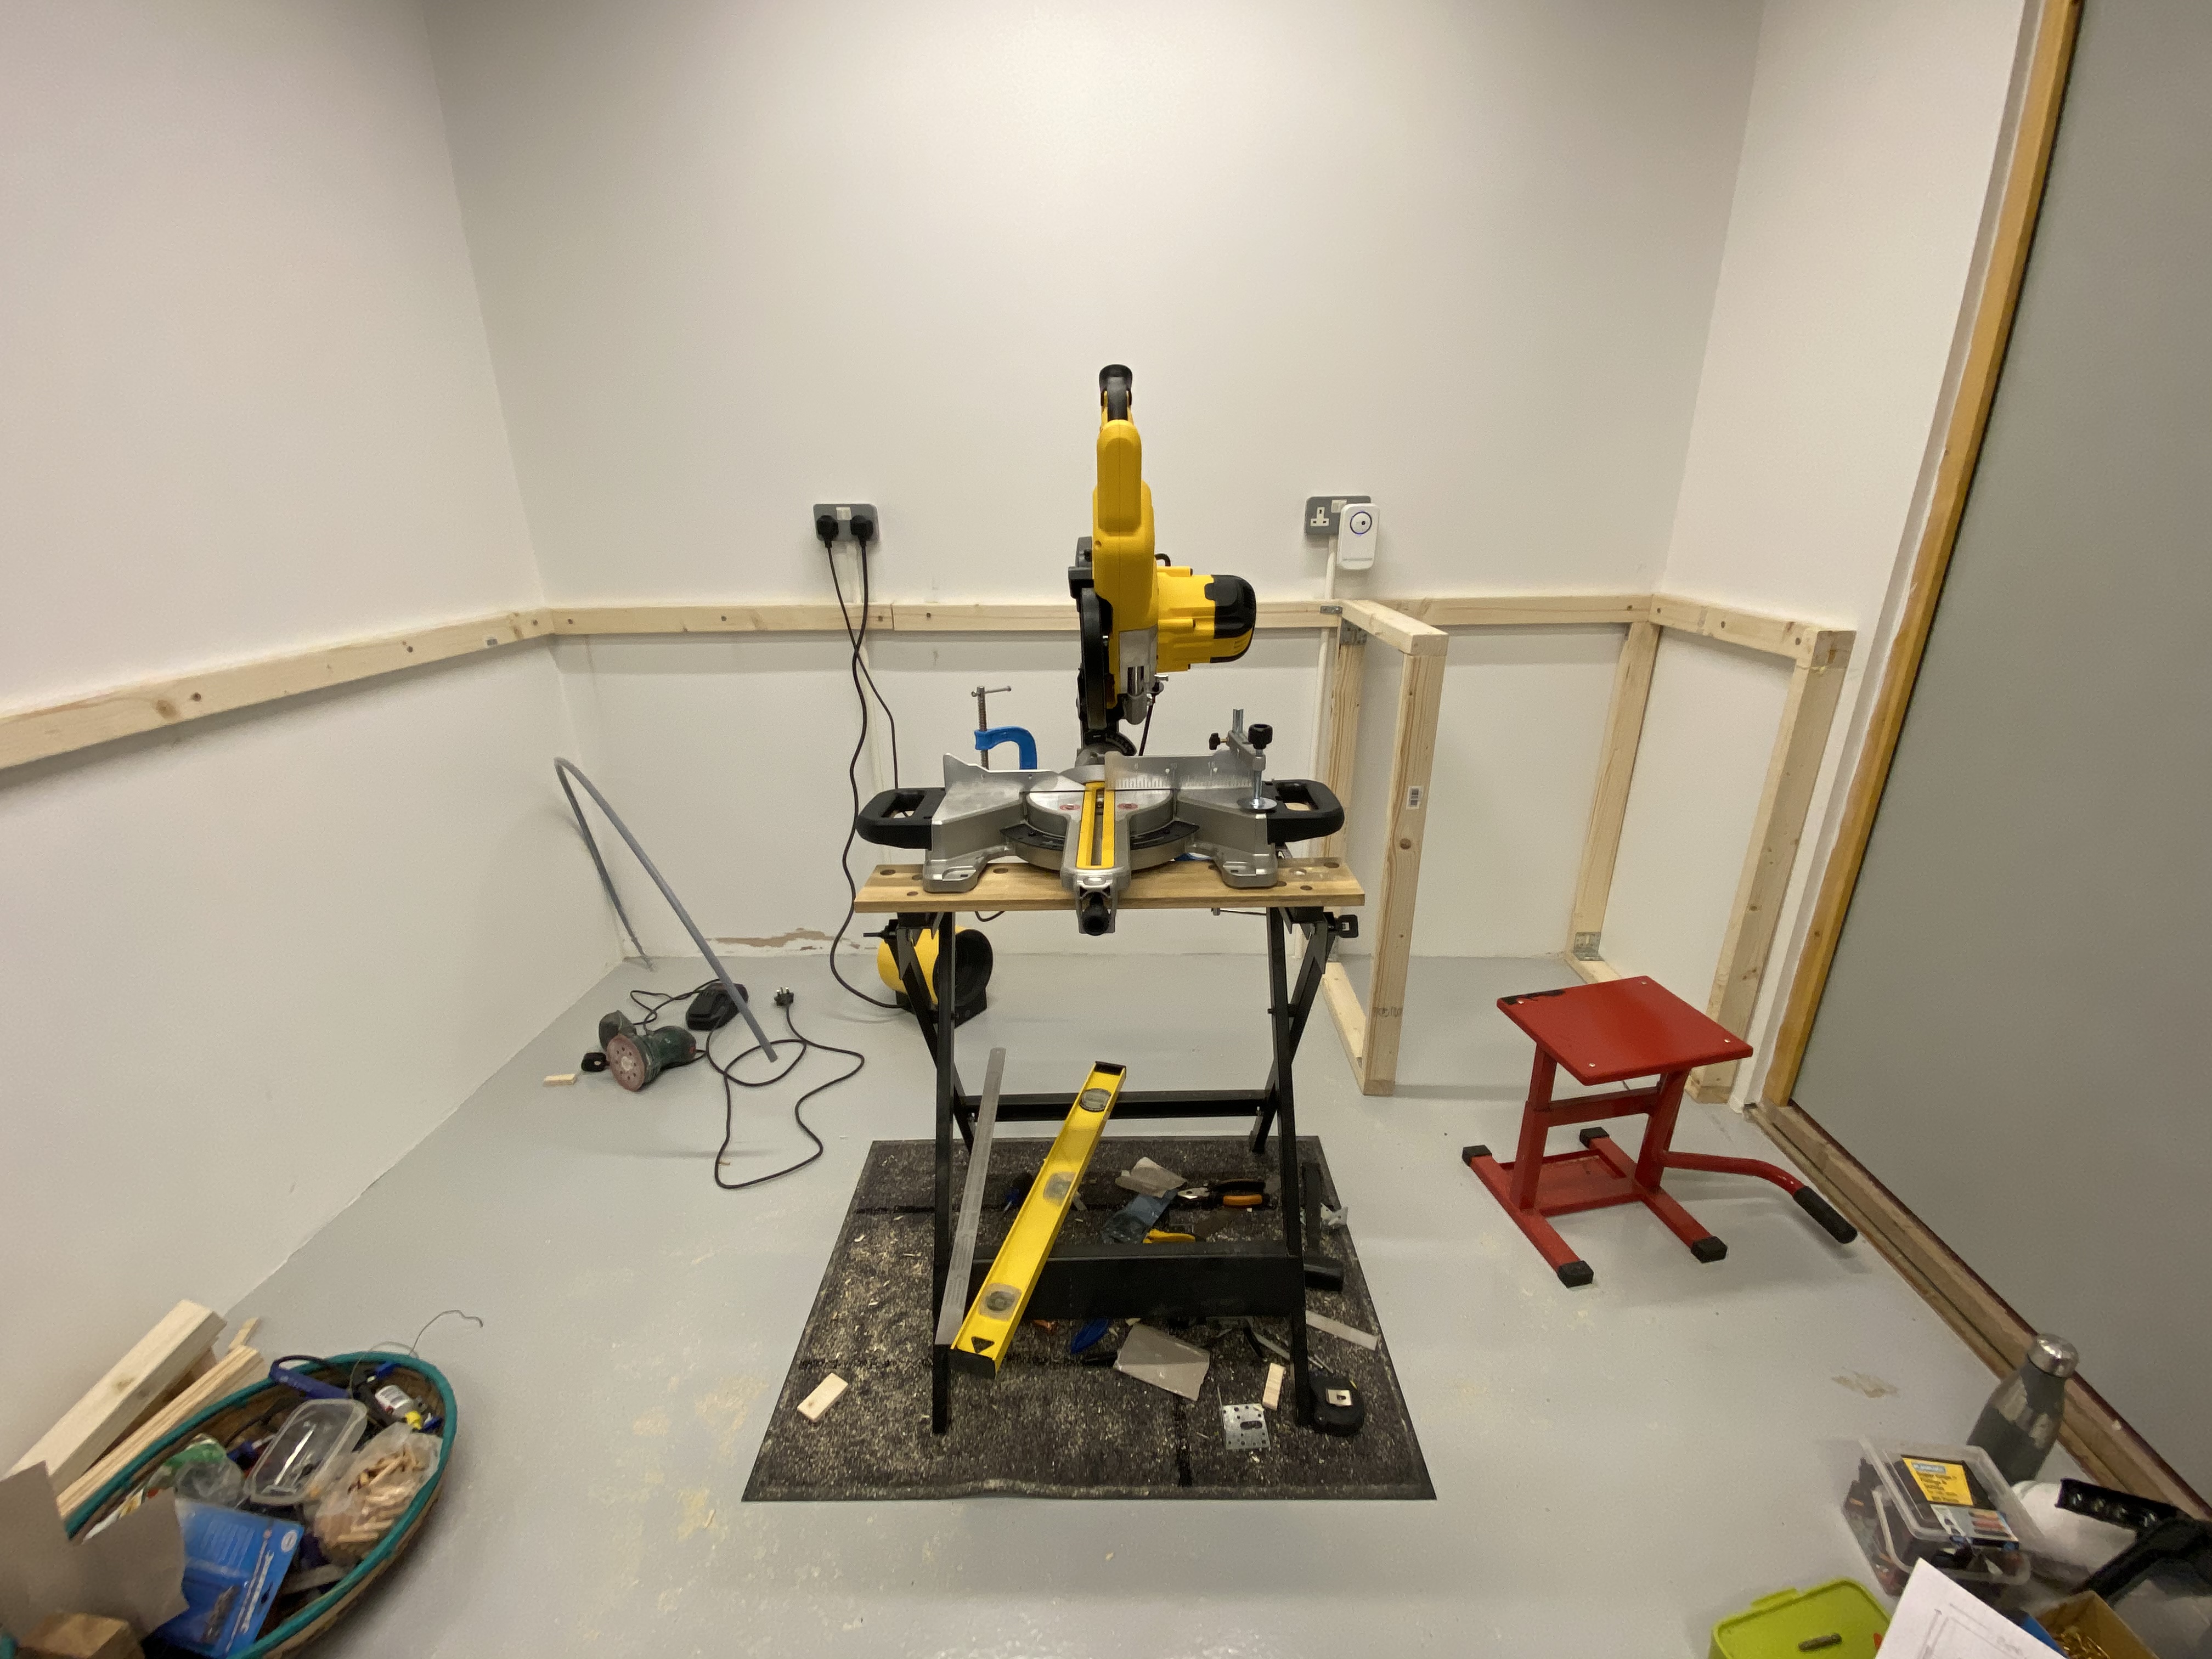
Oh yeah, now we’re cooking with gas! This thing makes mince-meat of the job.
 Building a plinth for it ATM.