kawasaki KH400 s3 restore/mod

this is from the guy who brought you the modded 93 cbr999rr hes at it again after hes bike sitting for 18 years p.s hes got a 94 3.2 supra that might be next lol

below is how far he has got and heres the link if you want to follow it

http://kawasakikhregister.myfastforum.org/ftopic987-0-asc-0.php

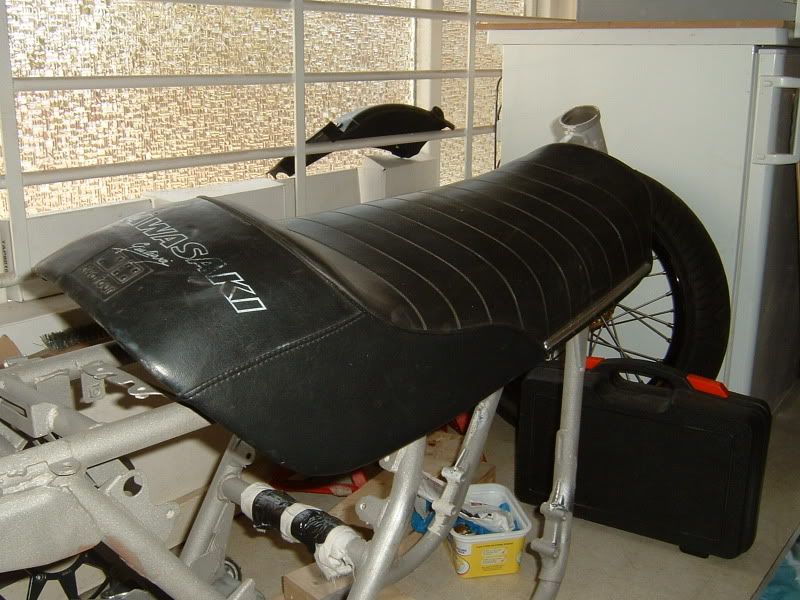
[quote=“cabbie”]So we got to the back of the lock up after 2 hours clearing junk and uncovered the S3

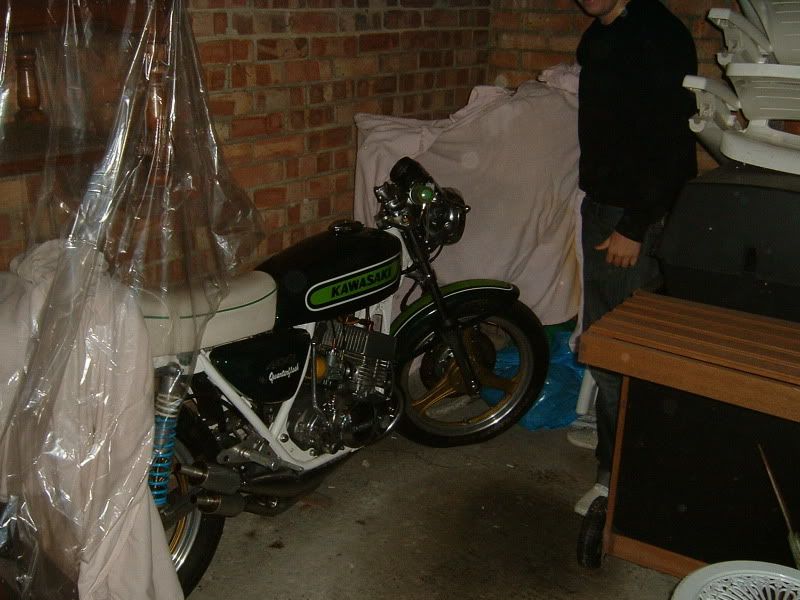
First daylight the bike has seen in 20 years

Took it back to the workshop for inspection

All the switch gear, idiot panel and clocks chrome is still good!

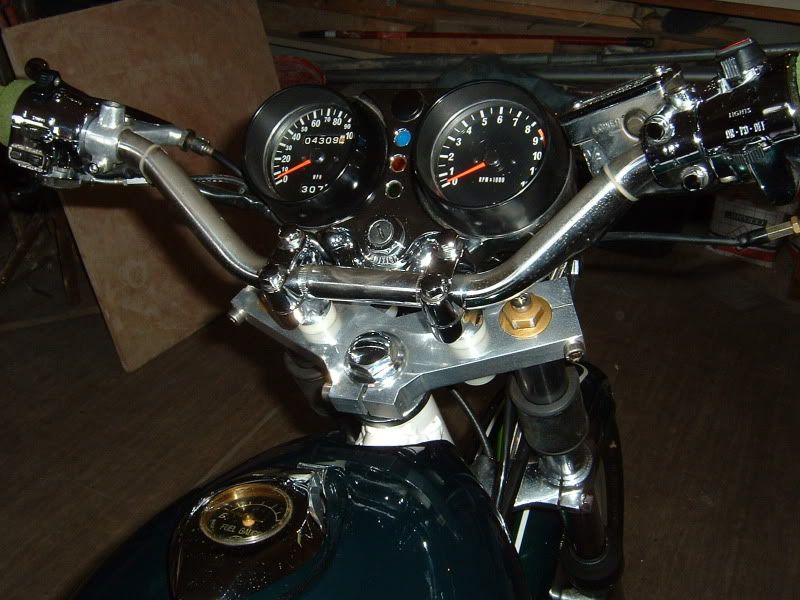
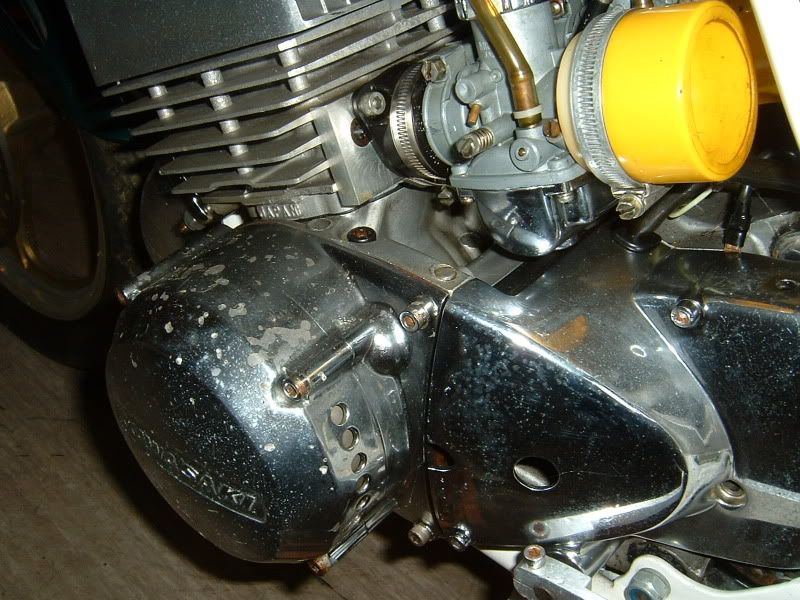
But all the engine covers, forks and swing arm have peeled and will need re-plating

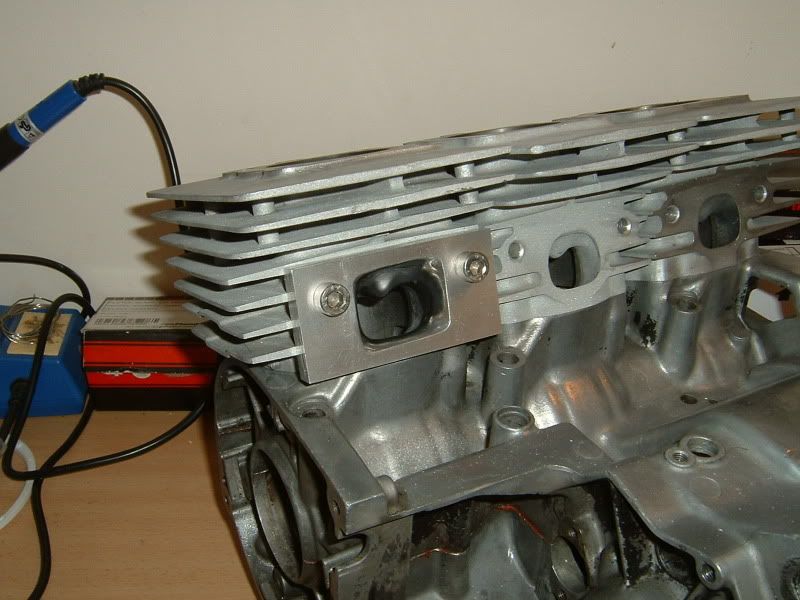
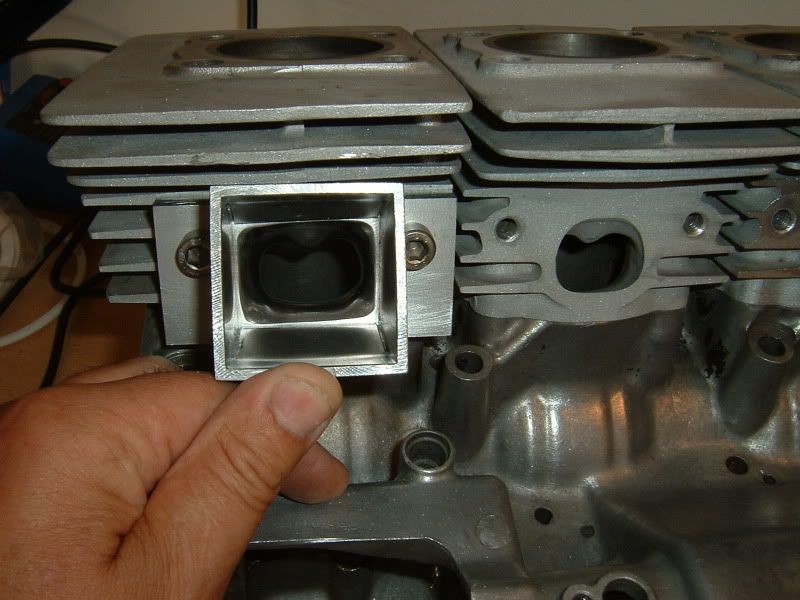
Here’s the rearsets I made, I’ll make a new set I think lol

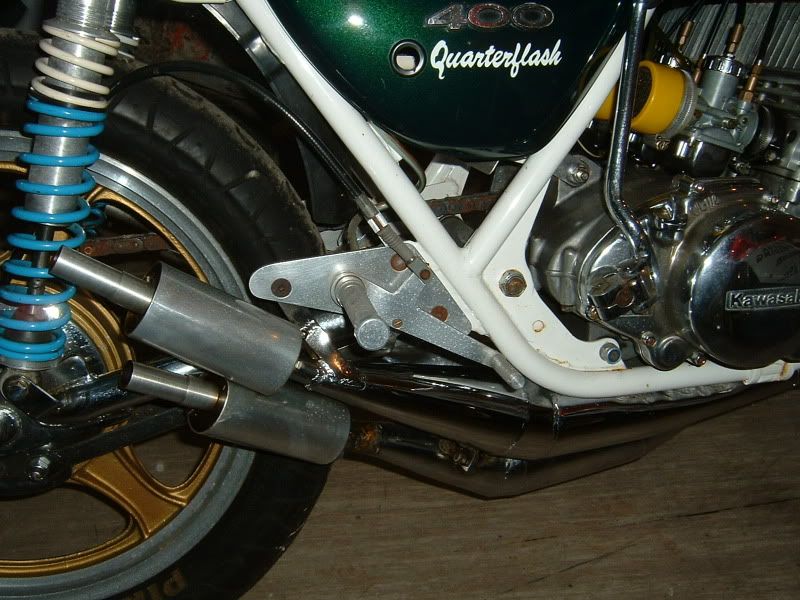
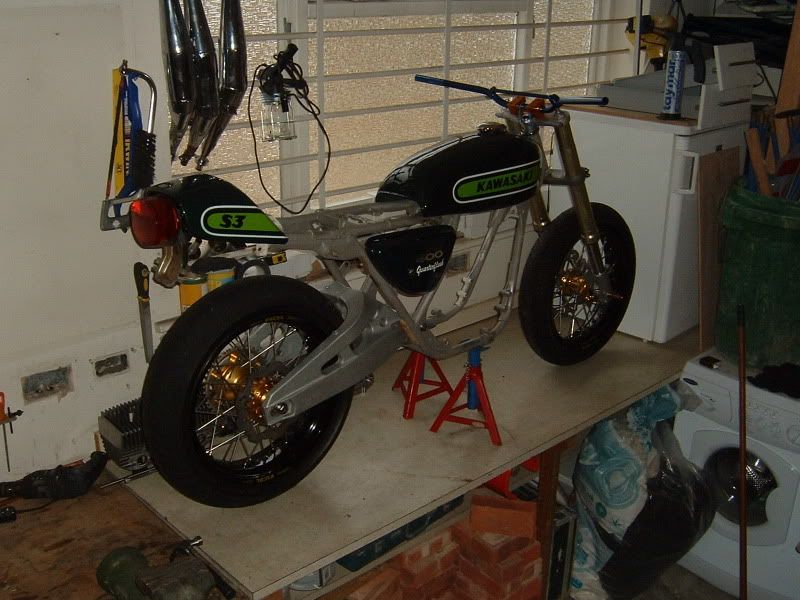
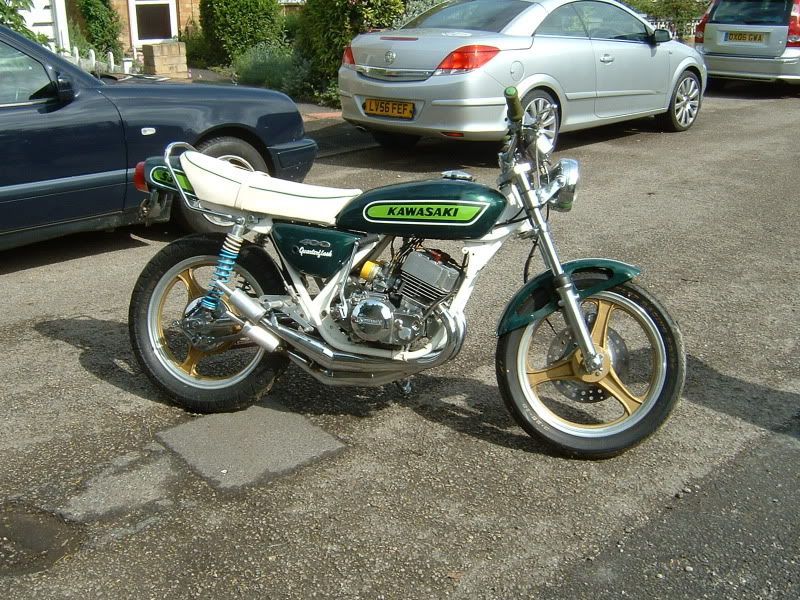
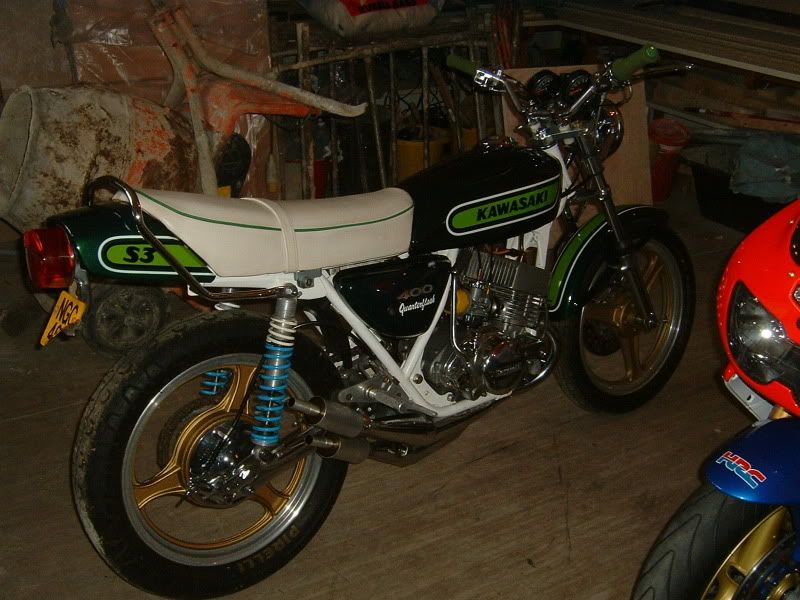
I’ll get the frame re-powder coated white and the pipes will need repairing as they are bent from a heavy crash also new TZ cans will be fitted.
Not too bad considering it’s been locked up for so long.
[/quote]

[quote=“cabbie”]I remember RB, wasn’t Nipper the owner of the H2 “masterblaster”?

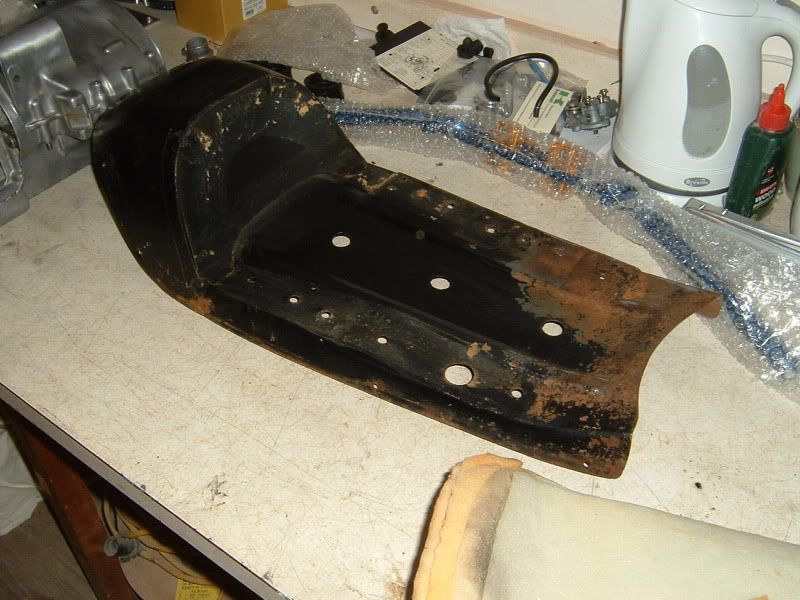
This was last night’s work, almost stripped.

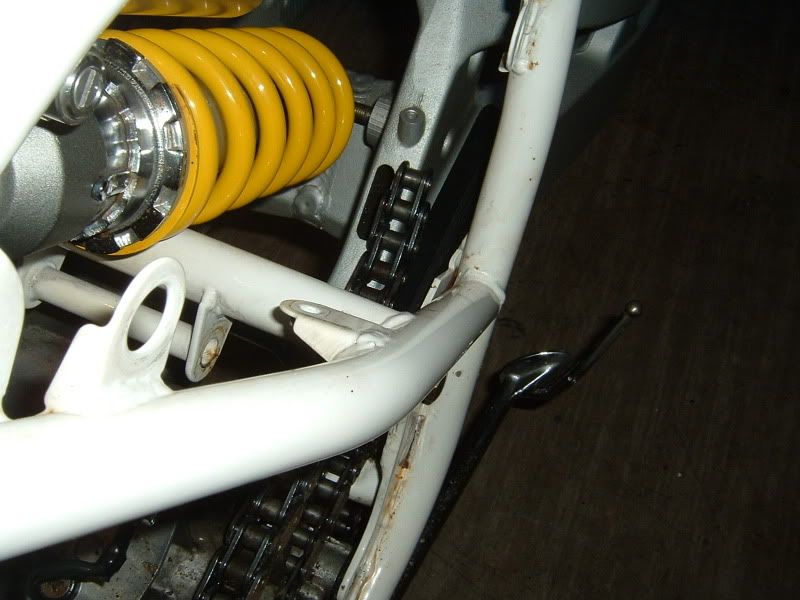
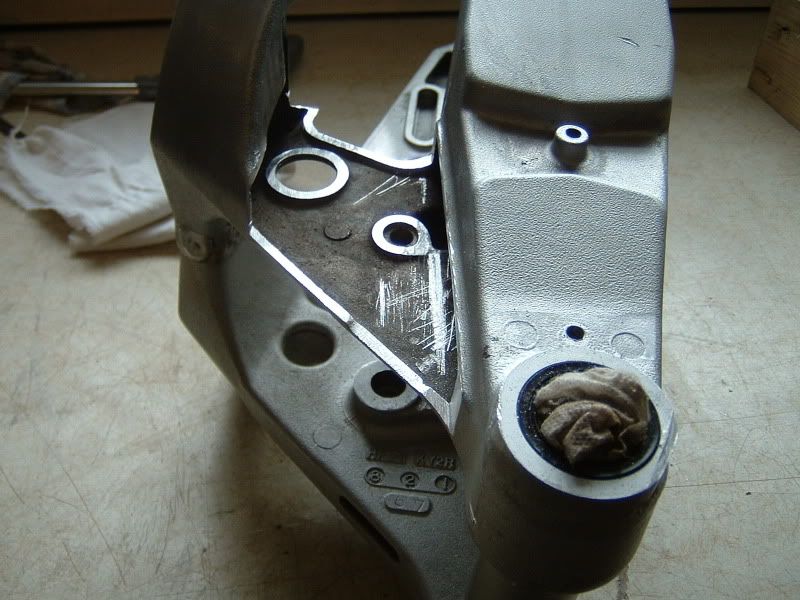
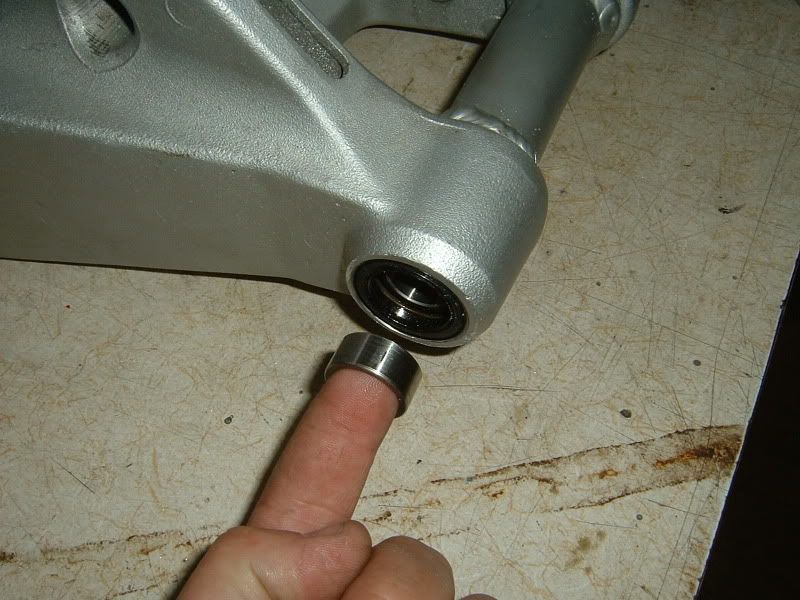
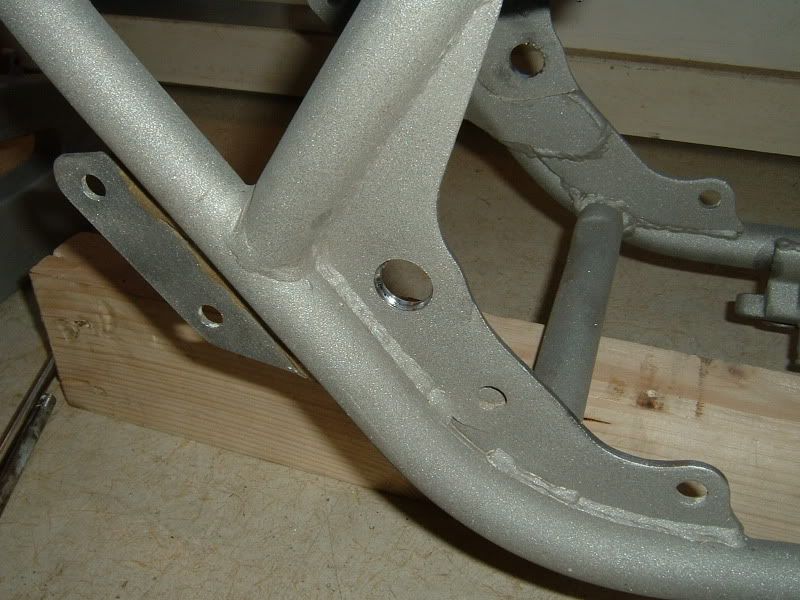
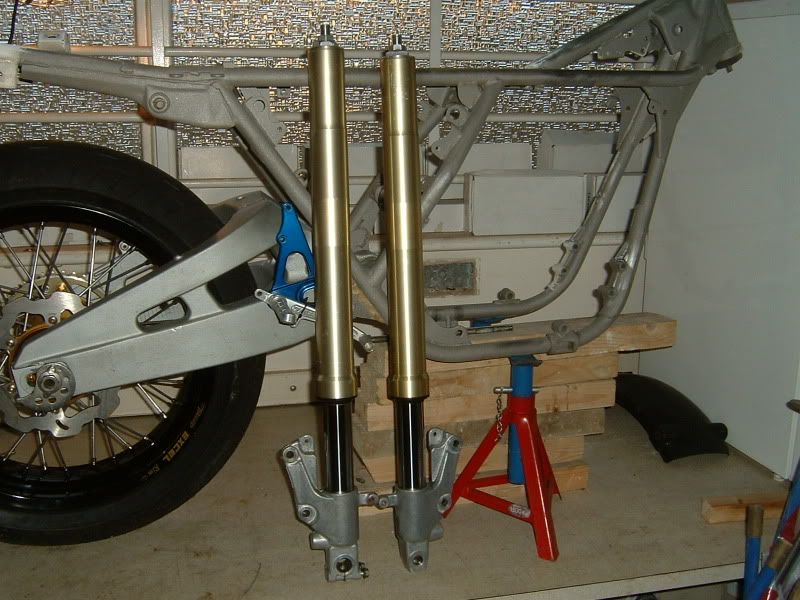
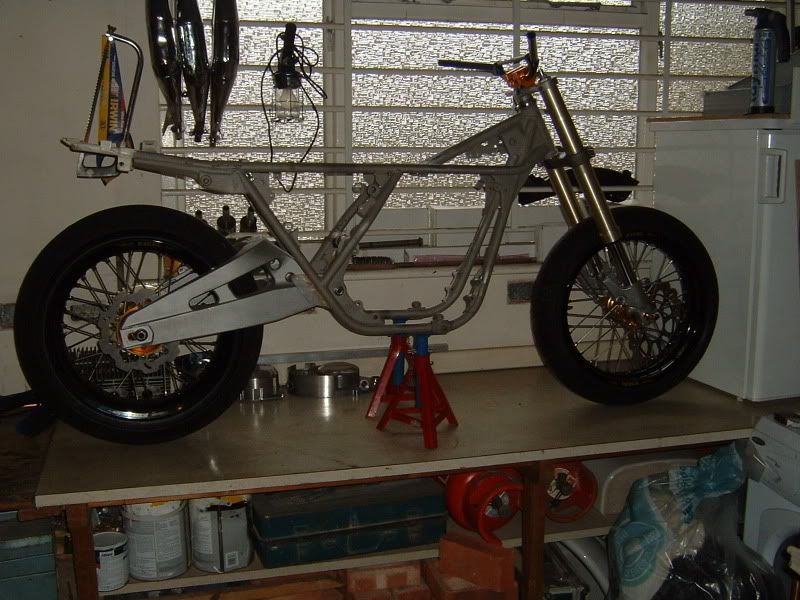
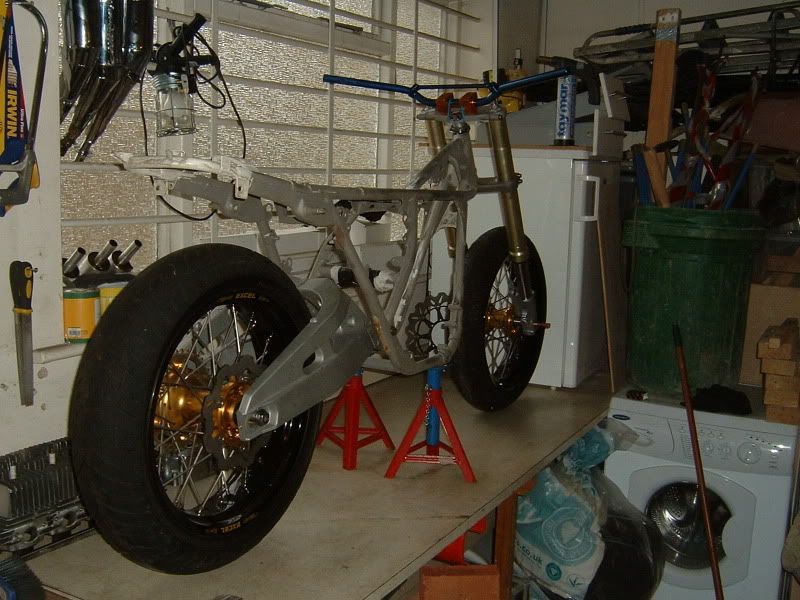
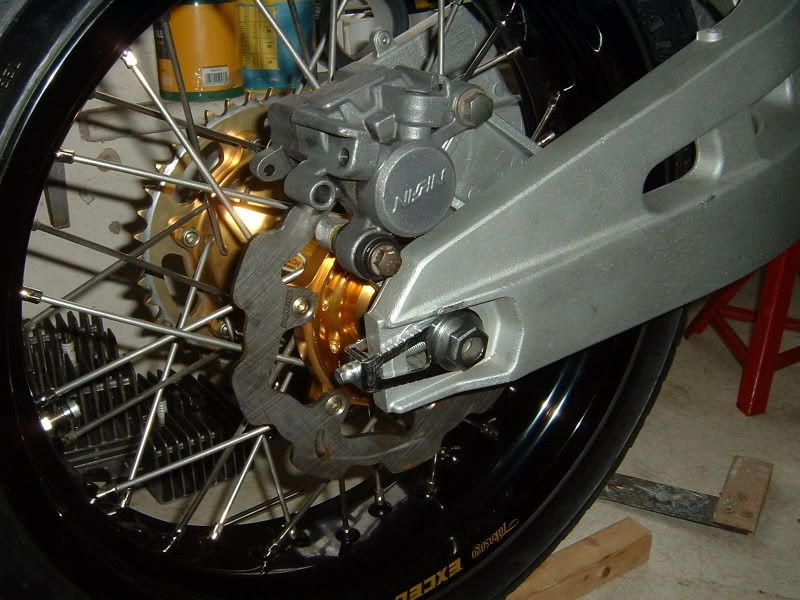
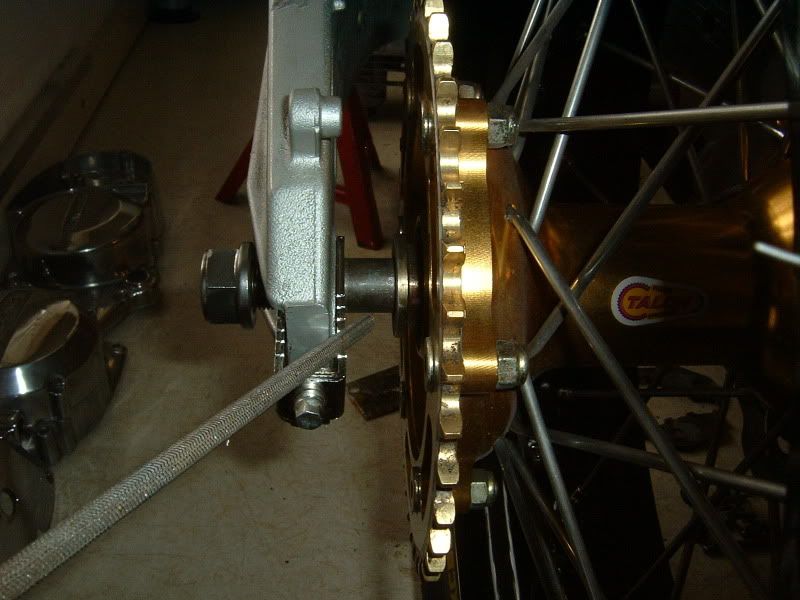
I took the S3 swing arm measurements to the bike breakers today and after an hour sorting though piles of arms came away with a perfect fit, it’s a CBR 600 F swing arm, slots in to the frame perfectly

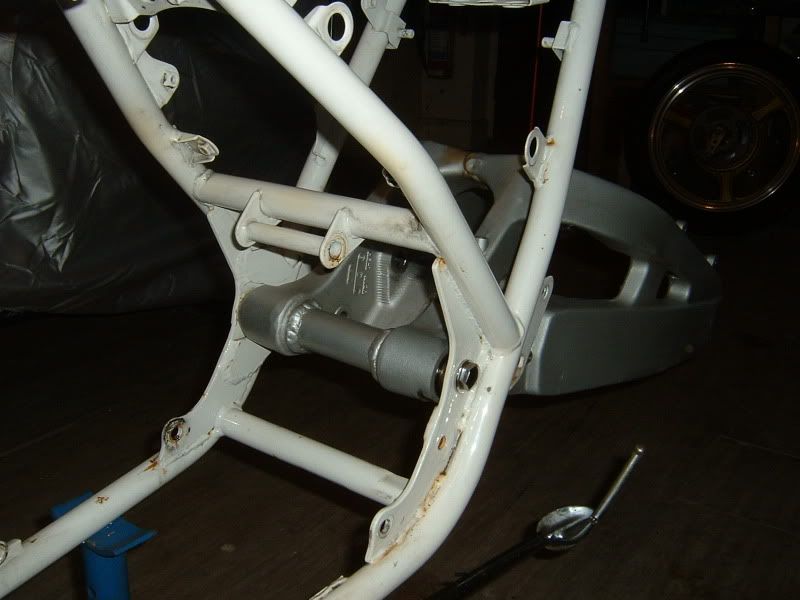
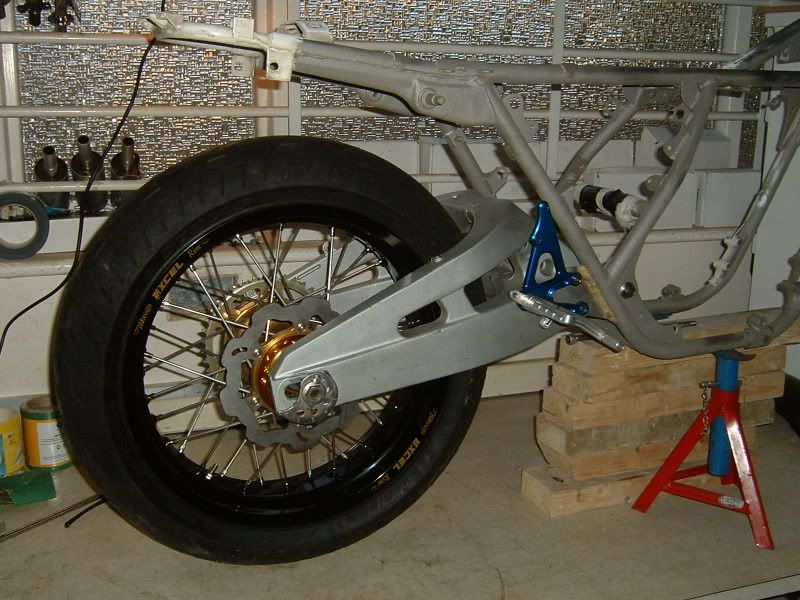
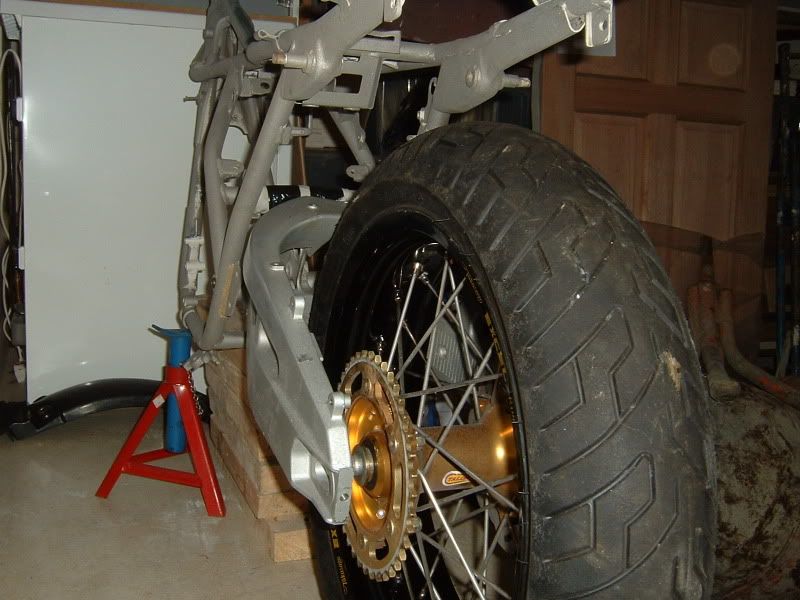
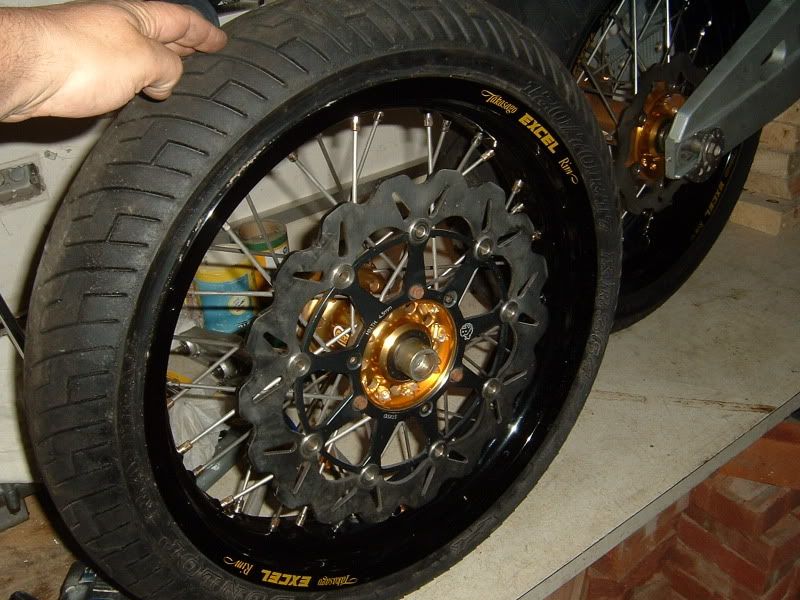
The wheel base will be 10cm longer but that will help when the smaller front wheel goes in, there is still a long way to go fitting the swing arm like getting the sprockets lined up etc, all good fun though!

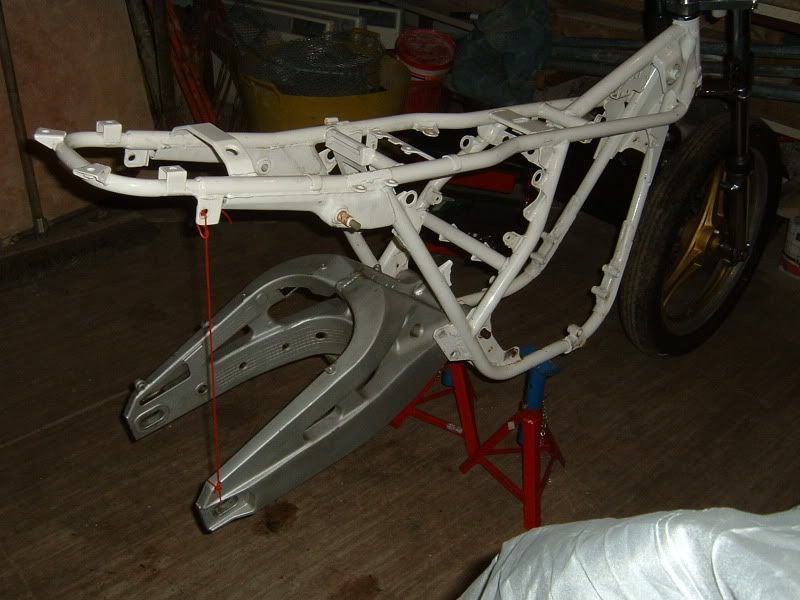
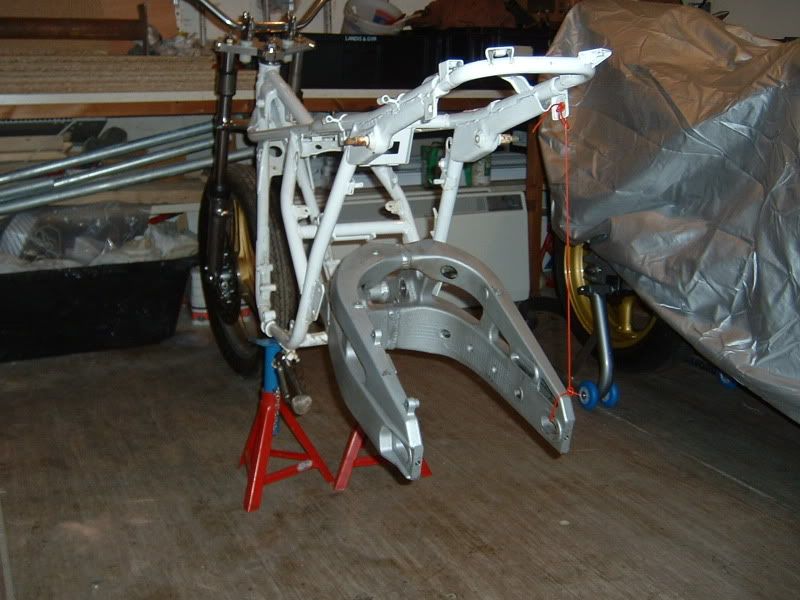
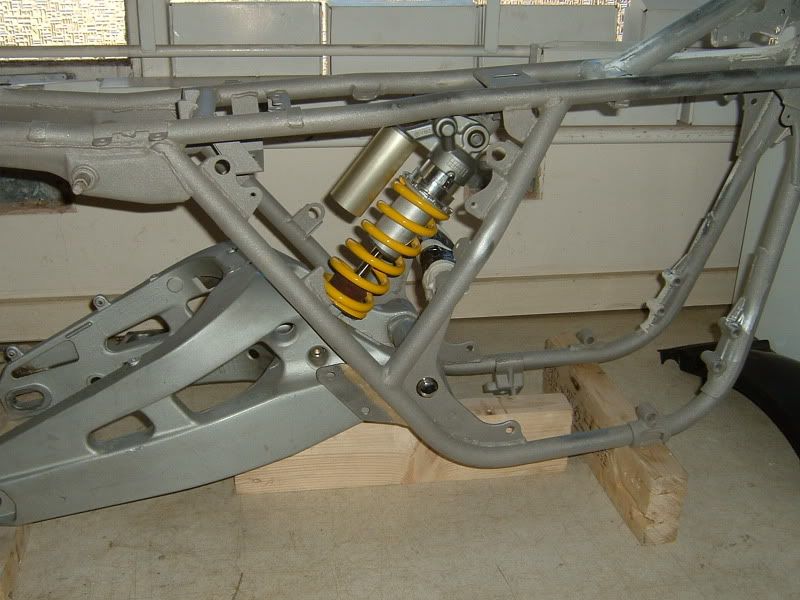
Once all the fitting is done the frame will be re-powder coated white and the swing arm mirror polished.

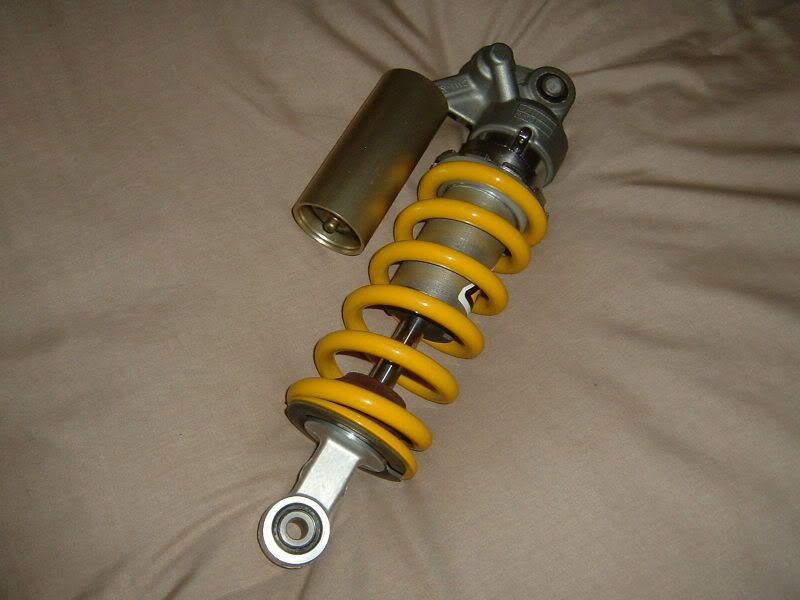
Here’s the shock, R1


[/quote]

[quote=“cabbie”]First little problem to over come, the swing arm will need a bit of surgery I think.

[/quote]

[quote=“cabbie”]A small up date of progress:

I’ve been scanning the net for parts needed and found a complete set of STD bore cylinders, heads and crankcase, I took the frame to the shot blasters just now to remove the old enamel, the new wheels are coming too.

I started on the swing arm, the section in the way of the chain has been removed, I will be welding a new piece in but that will be done later when the back end is fitted so I see exactly where the chain sit.

Soon as the engine parts and wheels arrive the project will pick up pase
[/quote]

[quote=“cabbie”]Got the frame back from the shot blasters, I set up the R1 shock but the pivot point is too far back so I’ll need to make up brackets to move the shock mount lower.

[/quote]

[quote=“cabbie”]Ok, time to start building, I bought a secondhand CBR 600 swing arm bolt and took it to my local machine shop to be shortened by 50mm and re-threaded.

Next job was to have the machine shop make a spacer to fill the gap between the swing arm and frame.

The holes for the original swing arm bolt are too small so I drilled them out to 17mm for the new cbr 600 bolt.

[/quote]

[quote=“cabbie”]Had a few parts arrive today:

The rear wheel fitted straight in and will need only one spacer made for the sprocket side, I was worried the spindle would be the wrong diameter but its the same as the cbr 400, nice!
Looks good I think?

I chose these wheels because the sprocket had the exactly the same off set as the S3 wheel so I knew the sprockets would line up without modding.

I also bought some LT 1000 rearsets, nice, and the rgv USD forks arrived to

New front wheel

New front caliper

Tomorrow the new engine is coming and I bought 3 flat slide carbs.
[/quote]

[quote=“cabbie”]The yokes arrived at last, now I can start building.

First job was to grind and press out the stems of the rgv and S3 bottom yokes, The S3 stem will be welded back into the rgv yoke:

The S3 stem is 2mm smaller in diamiter than the rgv one so a spacer will need to be made.

[/quote]

[quote=“cabbie”]A little progress! I had a spacer made to fill the gap between stem and bottom yoke, I’ll get the stem pressed in and welded in place tomorrow


[/quote]

[quote=“cabbie”]Made a start on restoring the seat, this a “two-four” seat I got cheap from Simon but it looks very secondhand so a complete rebuild I think

Although the base has some rust and is bent a little from a crash it’ll taken to the powder coaters for shot blasting and re-coating tomorrow

Unfortunately the foam is knackered but Matt at caulfield leather can re-foam and vinyl cover it back to new condition

I got the S3 stem welded in to the rgv bottom yoke today too.
[/quote]

[quote=“cabbie”]Got the top rgv yoke sorted,

before:

I don’t need the ignition or bolt fixings so I machined them off, I skimmed the top too to loose some weight
After:


[/quote]

[quote=“cabbie”]I got the yokes and forks fitted

With the tank etc just to see how it will look

[/quote]

[quote=“cabbie”]Little update for the guys that wanted every detail of the build

Drilled the top yoke for the riser

Turned two spacers on the lathe, these will be welded to the yoke Monday

And the riser in place


[/quote]

[quote=“cabbie”]I’m still hunting parts so progress is a little slow, I did get the yoke spacers welded on

And I’m changing the engine from piston port to reed valve, I cut the reed boxes

[/quote]

[quote=“cabbie”]Update:

Got the rear brake fitted and bought new chain adjusters, I’ll have the caliper stripped and anodised silver to match the front

Got the sprockets lined up nice

Just need an 18mm spacer to complete the back wheel fitting

The reed boxes need shaping, I cut a cardboard template to get the right angles

Here are the boxes cut, bent and trimmed, I’ll get these welded inside and out Monday

I’ve made the boxes well over size as I’m not sure of the final position yet, they will be trimmed down as necessary later

The tank, tail unit, side panels and mudguard have been dropped off at 1off-design for Will to do his magic, although I’m keeping the same colour and design he is doing some thing very nice with it.
[/quote]

[quote=“cabbie”]Evening guys

I got the reed boxes welded up and cut the angles, I also made up the base plates, next is welding the two together and spending all day dremeling them to match the cylinder ports.

Here’s how they will mount up, I still need to shorten the boxes by 8mm on the inlet rubber side

[quote=“cabbie”]Update:

I have got access to a full size mill, lathe and sand blaster :119: so life just got a whole lot easier.

I’ve machined 10mm off the back of the cylinders and sand blasted them

I’ve also fitted helicoils and new exhaust studs


[/quote]

[quote=“cabbie”]Made a start on porting the base plates to match the reed boxes, should suck a bit better now, LOL

Still a bit more to do but I’ll get the boxes welded on first then finish off, one down two to go!

[/quote]

very nice mate!! I cant believe ya havnt told me bout this one yet :alien:

this guy is insane! in am amazing way! :smiley:

you’ve kept it clean for sure

Thought I’d update this thread with the finished little 400

Little vid of the first start up (it’s got the oil pump running and premix so a little smokey)

http://www.youtube.com/watch?v=xb1-yvA3SsA

Not a fan of those gold bars but the rest of it is fantastic :w00t:

Love it.

cor took your time cabbie

It my age mate :w00t:

that is sweet m8.

Very very nice.

blimey mate stunning job :):):slight_smile:

great job ,nice to see a build from start to end…great stuff:D

tug heres a link to cabbies blade he built http://londonbikers.com/forums/Topic507470-35-1.aspx?Highlight=blade+gsxr

tug heres a link to cabbies blade he built http://londonbikers.com/forums/Topic507470-35-1.aspx?Highlight=blade+gsxr

awesome as ever cabbie, make sure we get a links to the next project as well