Ok this is Diy related but could have other applications.
I wanted a way of filling in deeper holes (no sniggering) in my walls after removing previous owners’ screws. You’re supposed to do it in layers but using the applicators means you are always filling from the outside wall
Had previously tried an empty caulk cartridge and gun but it was impossible to control the flow
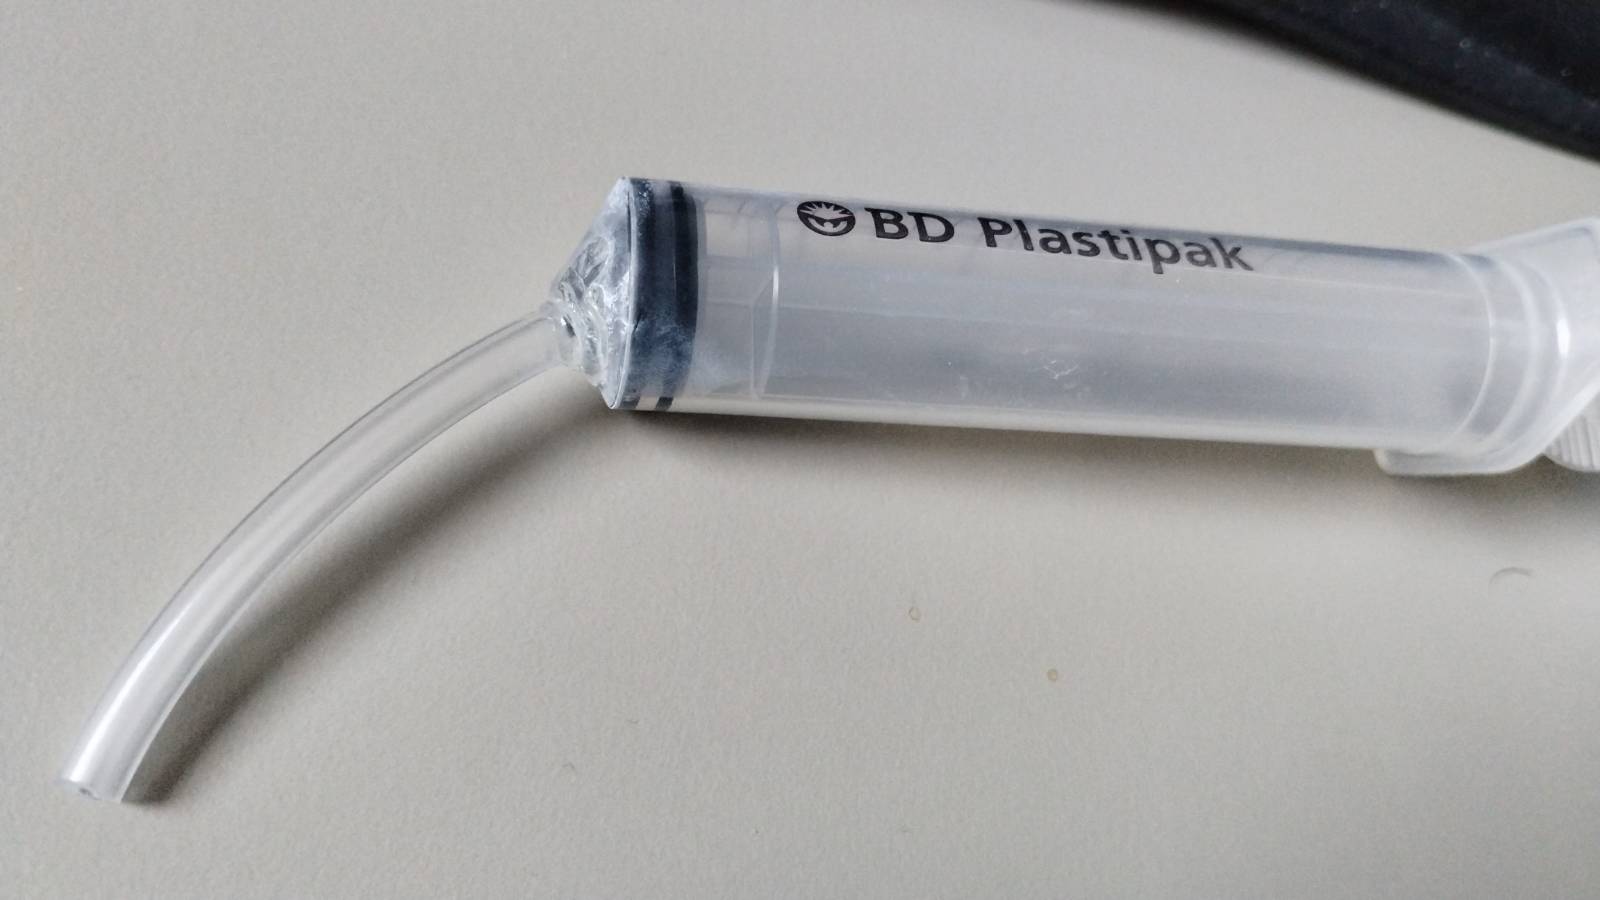
So, a syringe left over from when little one was a baby.
That wasn’t enough to go deep.
Cut nozzle off, drill a 5mm hole.
Buy some clear tubing from ebay.
Then a squirt of the mitre bond and activator and job’s a good un…
This glue is incredible. Apply, put surfaces together and a spray and bond is instant and super strong. Just wear gloves! Don’t know why I’m only just discovering this…
Disclaimer. I don’t care if the fill will take drilling later. It will be sanded and painted… new curtains up in different place.
PS. For some holes, a baby calpol syringe works wonders to get filler in
Better results will be had using a cartridge with some caulk in it
I’m guessing here that you’re looking for a one stop instant fill and be done fix, that’s not going to happen, you’ll always be left with a ‘tell tale’ of where the hole was. It may look so so when fresh but overtime it’ll stick out like a sore thumb. A proper job is so simple, it just requires a little prep and you don’t need to be told preparation is everything when you’re looking for a clean flat paint finish.
I’ve done this 1,000’s of times and the results are invisible - Remove screw, remove or drill out rawplug, fill hole to just below the surface using a cartridge of grip fill, caulk, silicone or no more nails (whatever you have to hand) applied by pushing the nozzle in as far as it will go and back filling the hole before slowly withdrawing the nozzle. Note whatever you use here it will shrink so allow to dry before a final fill using a fine surface filler, gently smooth with a 120 grit paper on a sanding block, fill again until happy you’ve a flat finish, once dry prime the area with a 50:50 PVA:water mix to seal before painting.
That’s pretty much what I’m doing, just with polyfilla from a tub (which I have open) rather than opening a cartridge of something.
I am using polyfilla (deep fill) but applying it in stages. So doing first 20mm, letting it dry, then a bit more, letting it dry, then a bit more.
The issue I had with cartridge gun, one squirt and it was flying everywhere out of the hole. I couldn’t apply small amounts in stages.
I’m doing it this way just in case I ever need to drill again. Practicing on the wall I don’t for when I need to do it again and do…
After 2 (or three) layers will apply a final layer with spatula / scraper. Then let dry and sand down. It’s just getting those small layers built up inside.
Also, where would the fun be if we didn’t get to bodge things together to see if the glue works
Don’t forget when your done with the filling and before painting give the area a coat 50:50 PVA:water it seals the filler against moisture ingress from water based paints (or solvent…) which can cause the filler to ‘blow’.
That I did not know… Having said that, I neither know what a PVA is
Google tells me it’s polyvinyl acetate… right will think about that. Because I am really not a fan of buying something that will just stay open 95% full until I need to do it again.
PVA is white wood glue. If I was a gambling man I’d wager your daughter has some in her craft play box! If not a small 100 to 250 ml bottle can be had from Asda, Aldi, Sainsbury, Tesco and others for less than £2. No wastage, give the left overs to daughter for craft play