


iv seen alot of bikes with top fairings with ducati 999 style lights but im guessing they are race fairings been modded
So, the RS 125 seat arrived and the tank matching started

How I do this is trim as close as possible

Then using double sided sticky tape stick sand paper to the tank, you can then sand the seat to a perfect fit.

Here’s some before and after shots, still loads to do with the subframe but should be finished nixt week.
Before


After


I love the sand paper trick very smart
Not just a pretty face a Bazz?
Got the lights fitted and seat suports made

And started mocking up the outer skin etc

Little update.
Thought I’d get the pegs sorted while the subframe rails are being cut.
These sad looking rearsets are in standard position and useless for this motoII look alike project.

I scored these off ebay for the cost of a large pizza cause the guy that was selling lost the heal plates and tie rods! nice, Not sure what bike thay are for but don’t fit the blade

I wanted adjustable height anyway so I’ve made some mounting plates, I’ll send these away for CNC’ing

All done with the pegs 3" higher and 3" further back, knee down action at last!

Might have to re-think the zorst layout

Amazing work. Love it
yeah you didnt need that exhaust any ways 
great work cabbie 
Got the subframe plates back from the CNC guy Paul.

Tank mount, seat supports and seat side lugs made and fitted

A few shots of the bike with the new seat in position, It feels tiny to sit on, almost like a 600! I’ve also extended the exhaust and dropped the can angle about 10 deg.


When the seat is bolted in place there is no access to inside so I’ve made a little access panel

Once the alloy cover is welded to the rest of the subframe this piece will blend in

As this is a Moto 2 replica I’ve decided to go with a stick on foam race pad (even the front mounting screws will be visible ) The seat is ready for paint now so I’ll drop it off tomorrow.

Started fitting all the leccy bits in the subframe

Made up the undertray and got it welded on

Shock reservoir and zorst hanger rubbers fitted, as the battery will be locked inside the seat and hard to get to without removing the tail I’ve fitted a charging jack plug to charge the battery.

The tail was dropped off at the painter today and will be ready next Saturday.
Managed to fit all the leccy bits in the subframe (just) bike is all wired up now and working. (yes it’s a gel battery)

And made a new zorst hanger.

That’s it done, just got to wait for the tail to be painted next week and pick up Saturday, (I hate the waiting thing)
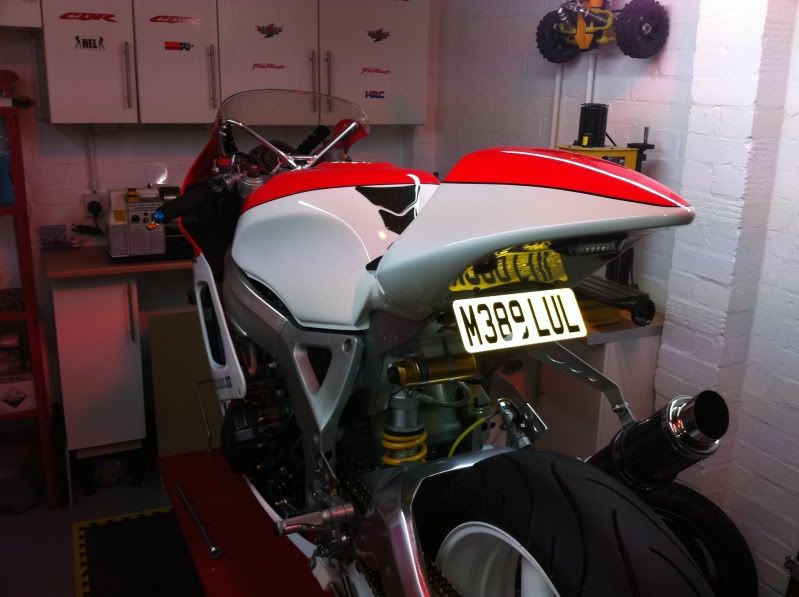
Got the tail fitted but the light out side was gone here’s some pix but I’ll get some better ones tomorrow in daylight


I wasn’t looking forward to cutting and shaping the seat foam

I worried for nothing, this stuff cuts easy and a quick sanding with 60 grit soon had it in shape, the Velcro didn’t arrive so I couldn’t fit this yet, tomorrow with a bit of luck and I’ll be able to go for a blast, nice.

Still waiting for the rearset adjusting plates but should be here tomorrow too.
Very nice has been fairly quick turn around shame about the waiting on
Bits.
Nice gold forks in the background 
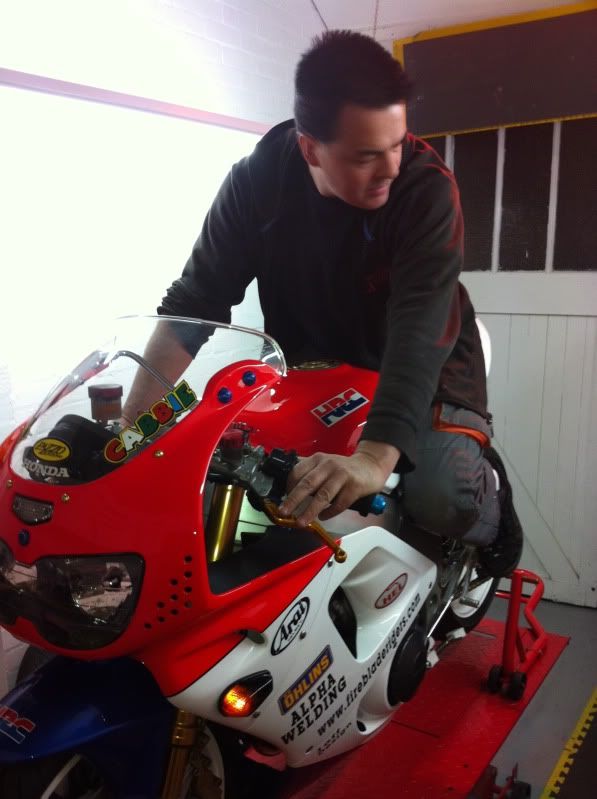
very nice indeed!
Went for a blast after work today and loved it, didn’t want to get off, lol
For those who asked here’s some daylight pix and I promise I won’t post any more pix of it for those who are sick of looking at it, LOL


Lovely bike mate. Dont stop the updates, no one is boed!
Next update will be in January after Bob Farnham has given the motor a full strip and tune with, extra gas flowing cams etc, looking for a 25% power increase
yeah, keep posting… i’m in awe of your modifications and attention to detail! 
tidy little mod there pal, looks factory.