


I have a set of that style of extractor . I did not even bring them out … Those things are my absolute last resort . It will be hours of trying other things before I try those .
I used the style of extractor for removing exhaust studs . Far more reliable and easier .
Today the belly pan has arrived -
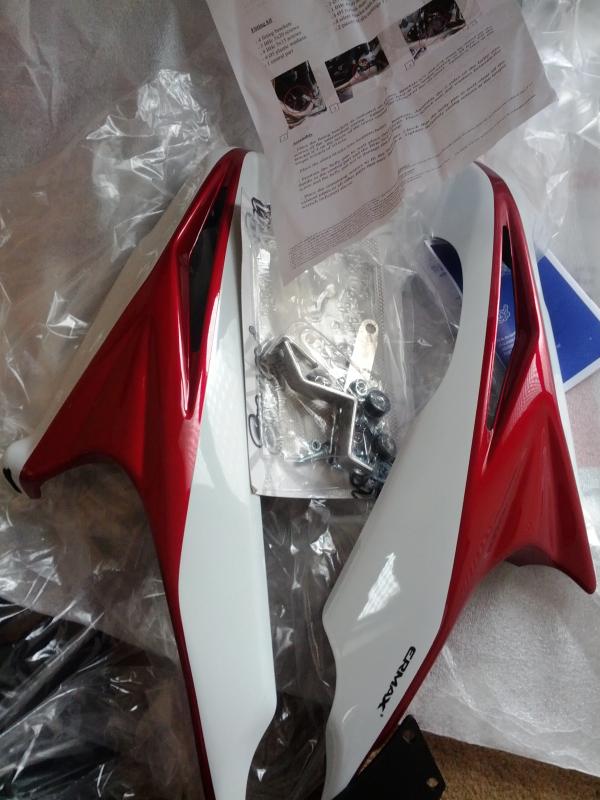
Looks simple enough… :blink:
There are basically 4 points that I need to attach the bracket to. Two look pretty simple, but the other two are tricky to get to.
Might have a crack at it in the morning 
Measure twice drill once …Watch that throwing arm for torque control 
That’s the one thing that worries me. The instructions give different amounts of torque for each bolt, which I would have no clue about. Maybe I’ll take it to an expert 
if at first you dont succeed … call NumNum :laugh:
I dont know about any experts … But I will have a look at it with you if you are unsure 
You should have just got a bike with fairings 
no its much more fun this way. buy a naked bike and buy the fairings bit by bit.
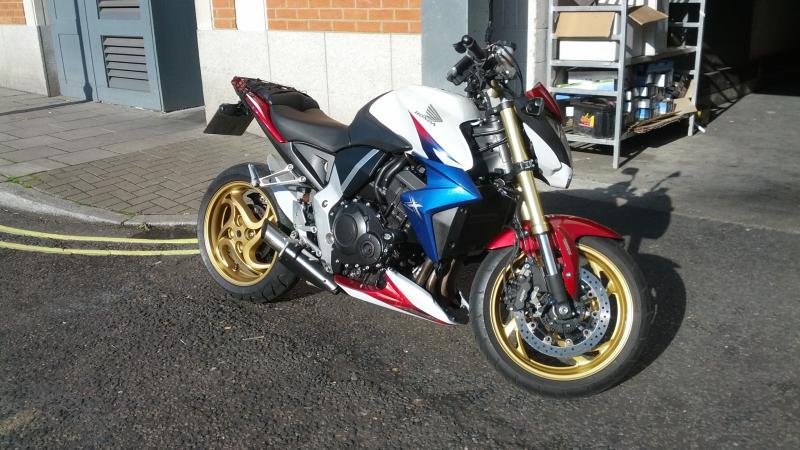
i think the front needs attention now…
No problem mate . You coming round saved me changing out my slippers to start the XS . I think a seat cowl and removal of pillion pegs would finish it off nicely .
Well this one I’m going to try myself (erm, you’re home this weekend right Numnum?  )
)
How hard can it be?
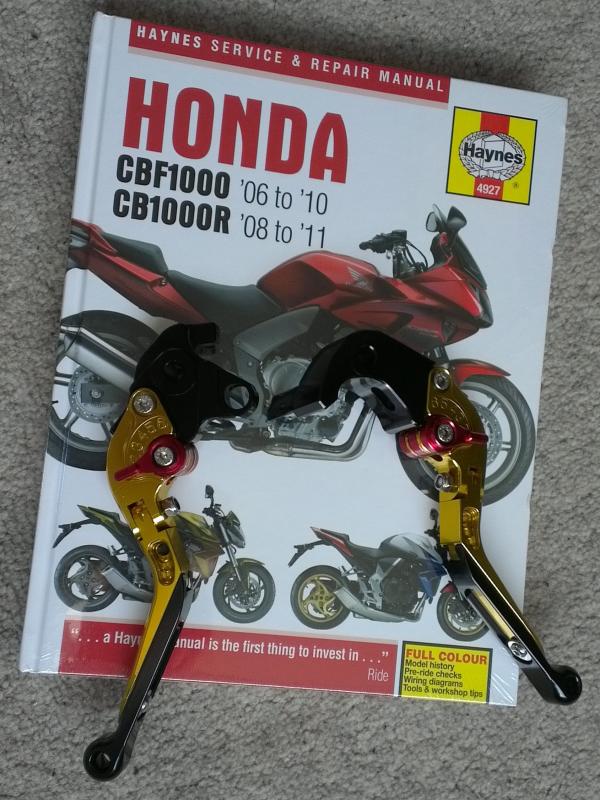
As far as I know, its one bolt per handlebar.
Give me a ring if you need a hand. I had to do this when I bent the lever on the YBR.
Bike looks sweet!!!
fitting those levers will be a piece of p1ss
don’t forget to grease up
Even I done a couple of leavers Andy and thats saying something. lol
Why is Westie heading round?
:laugh:
hehe, I just bought a set of those levers too. why’d you choose gold?
To match the wheels and forks
hmm ok
To match the wheels and forks when he washes it