Here’s a quick How-To
I’ve shamelessly cut this out of Bikechatforums
There was once a time when everybody went to china to get their HID’s, particularly by going to diane-shop’s page. Now, we all know that it costs about £40 for a set including delivery, but customs charges are a bit hit and miss. I knew i needed on for the 929 and i was happy with the one I had on the 6R, but I wasn’t bothered going for chinese sellers.
So i was searching about on ebay for UK only sellers and came up with this dude’s page.
http://cgi.ebay.co.uk/ws/eBayISAPI.dll?ViewItem&item=370150358648&ssPageName=ADME:X:RTQ:GB:1123
So I thought to myself, i only needed ONE ballast and headlight and associated wiring so i didn’t need the parcel to be sent with the box since it’s a bit pointless, especially when we can fit it ourselves so I wanted a huge discount! Some UK sellers only sell twin kits, and I weren’t prepared to pay for that. I contacted him and paypalled him 35 quid which was for the HID ballast, bulb and delivery (couldn’t care less if it had a warranty or not, because i had a spare bulb anyway). Score, Chinaman prices from a UK seller - came within a week of ordering.
I was disappointed when the package came because i thought that it was incomplete. The jiffy packing was to my expectation however. But being a n00b, it turns out that the newer style ballasts are digital and have inbuilt circuitery so don’t require the associated relays and swtiches and power coming from the battery to start it up. Contacted Martin (the seller) and he reassured me that it’s simply plug and play. Sorry I couldn’t get a photo of the kit, but it’s pretty much the same as what they have in the ebay auction (just no box).

So what you have is one digital ballast with +ve and –ve leads to the bulb and you have the power/signal feed in the form of spade connectors which connect to the original H7 plug for the headlight. Installation took pretty much 5 mins. I popped off the bulb, replaced it with the Xenon bulb, and with the ballast in place, it was ready to go.
Sorry if it’s not too clear but here’s a few pics

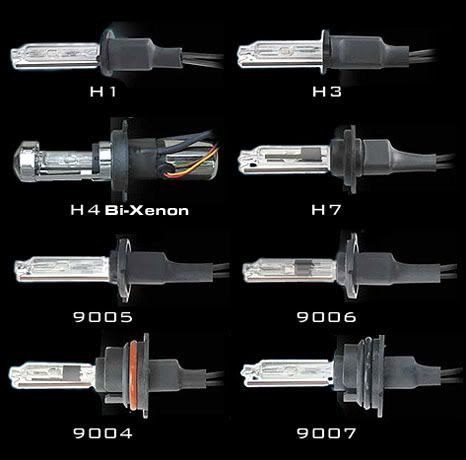
Here’s the xenon bulb with wires threaded through the protective rubber boot. The original H7 plug is shown in the middle.

There’s the ballast. One the 929, I’ve mounted it on the RHS fairing infill with the rest of the leccy wiring. It’s out of the way and doesn’t mess about with the steering. No cable ties required.


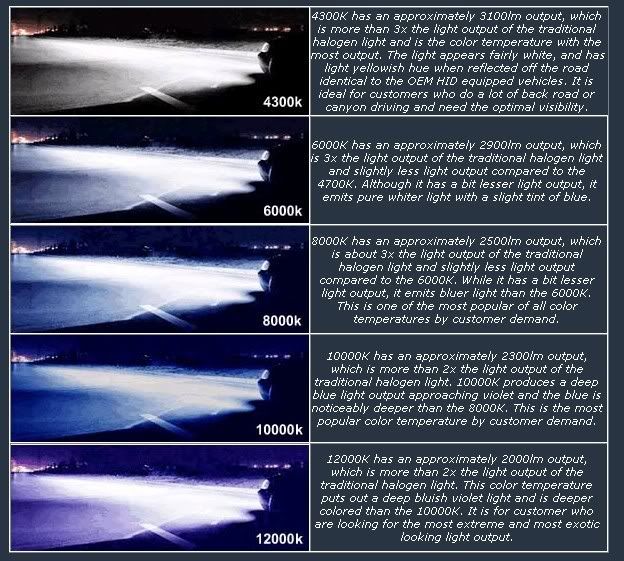
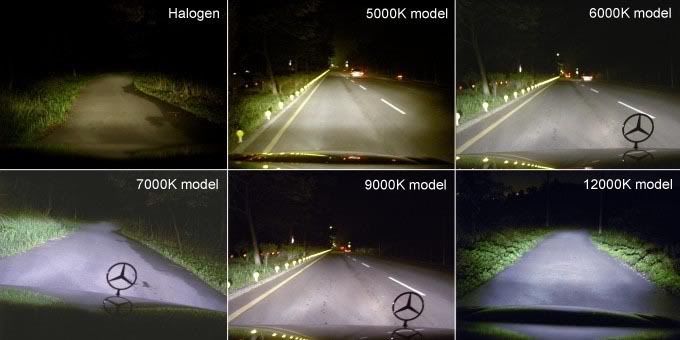
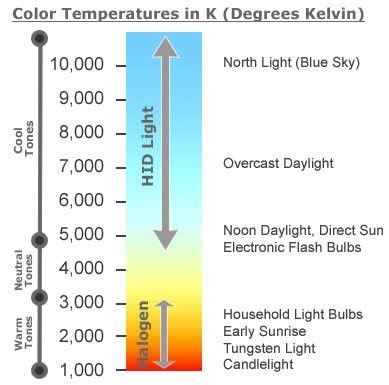
So there’s the 4300K light with beam aimed correctly. Pilot lights will be replaced with LED’s in due course.

Here’s the High and dipped beam


I also tarted up the rear end by fitting A LEGAL SIZED PLATE! YES A LEGAL SIZED PLATE, supplied by Roryplates as usual because his plates are generally better made than some of the crap I bought in the past. Bike came with 7x5’s but I didn’t like the idea of taking the **** so I just want to be as legal as possible when I go out riding, especially if i’m getting a race can.
But the HID kit is awesome because it’s literally plug and play. The fact that you don’t have to mess about with wiring that leads to the battery means that your steering remains unhampered. The wires and cables on my old H4 unit for the Ninja often got snagged by the steering. But top marks to these guys for being helpful and for understanding my requirements. For £35, it’s definitely much better than the old bulbs I was using and a marked improvement. It’s cheaper than china prices, it’s UK based and you don’t have to worry about customs charges. If you’re somewhat mechanically competent, well you don’t even need to be that, you just need to make sure that you can connect two wires, I recommend getting this kit. Doddle to install!
Okay,
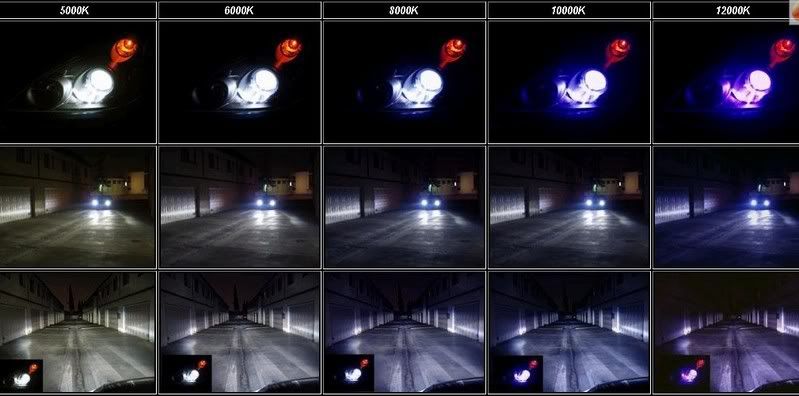
Here are some more pictures; night shots more specifically.
Low beam HID

Low beam cockpit view

Low beam and LED rear lens/numberplate light unit. Beam dispersal pattern is broad and regular. The diagonal light spread on the shed door is a relfection from the conservatory doors.

Cockpit HID Low Beam

Cockpit HID Low Beam & Incandescent High beams. High beams are rarely used. HID’s offer a longer beam anyway.

FULL and Low beams …

BLING innit
Well that’ll make for practical winter riding. That said, it’s all to easy to ride the bike fast, so having better lights will help me see obstacles before they become a serious hazard!
PM me if you need any help in the install if you do decide to get one; well worth it!
For comparison, this is how I installed a H4 Hi/Lo Bi-Xenon unit on my ZX6R; it’s the type that has the solonoid to vary the beam between hi and lo.
Finding a place to mount all the equipment became the main challenge since the wiring box needed to be placed midway between the ballast and battery. I had mounted the ballast beneath the lights in the nosecone,
Once again, i’ll let the pictures explain what i did. It was a matter of just routing wiring and getting the right connectors. Unfortunately for me, they did not have the H4 connector supplied to go with the wire from the ballast so i just smashed the plastic and wedged the appropriate spades into the H4 connector.

A bit of a mess I say

Ballast out of sight under the clocks

How I bodged the H4 adapter onto the connector.

Some night shots of the Xenons


Titz